Who manufactures that strut brace? Is it a devil ?


Who manufactures that strut brace? Is it a devil ?
Dont i deserve an answer?

Its not a devil brace, i think its made by reichard??
Getting there now dj

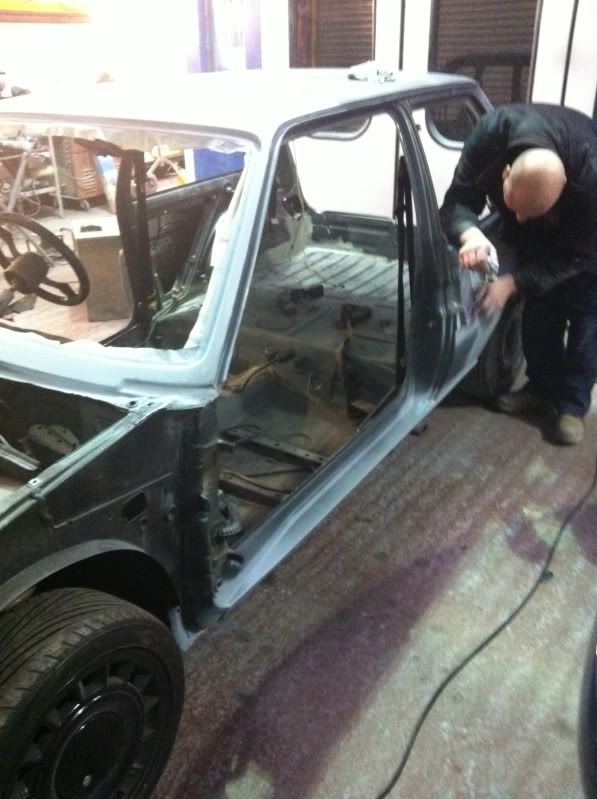
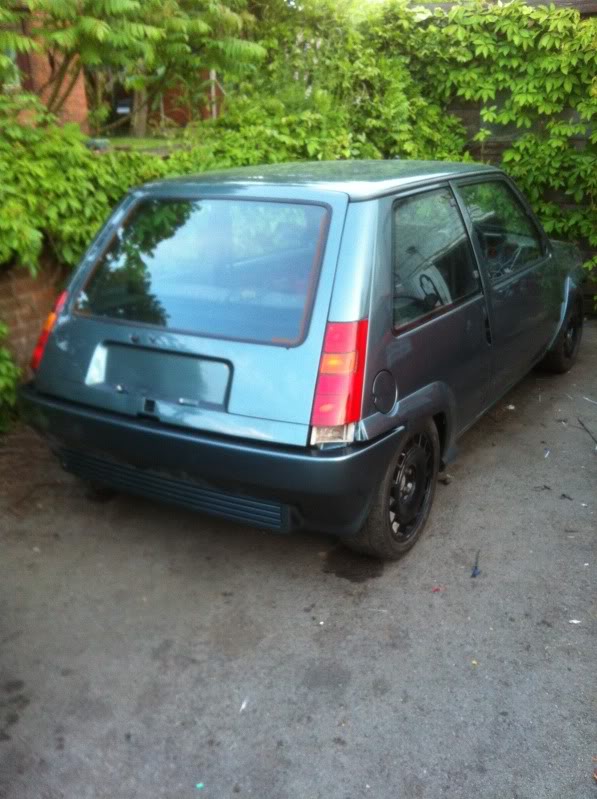
lol sorry johnny, im not sure if im honest dude, i just liked it and bought it off a friend :P, then had it repaired and polished.. cheers man, dying to get my hands on it now and start putting it back together, gota weld up some seat subframes etc yet.
went to see the car yesterday, its very close to paint.. all on for end of month :d.. then ive just gota put it all back together

Cars looking great, loving the engine work. Can see where your time goes.

Great work Damian keep at it great to chat today on the phone look forward to seeing this little beaut all fresh and finished mate keep at it not long now mate
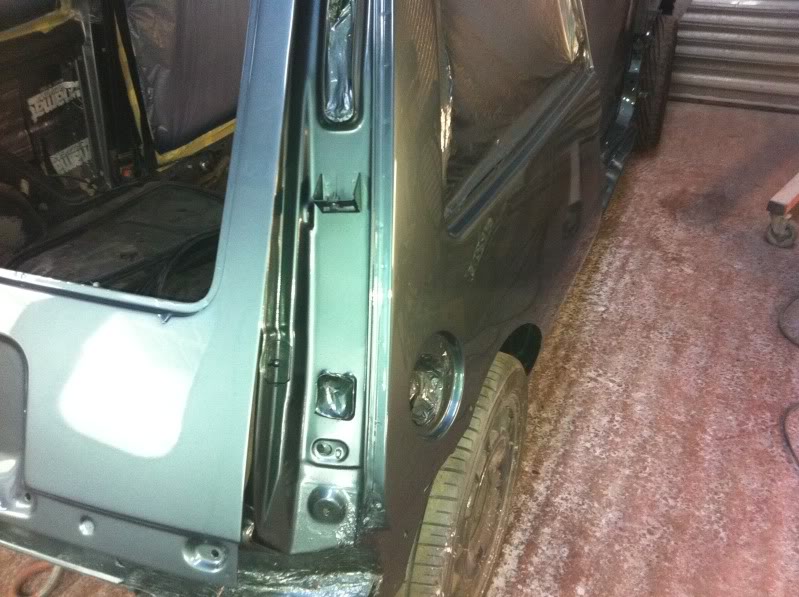
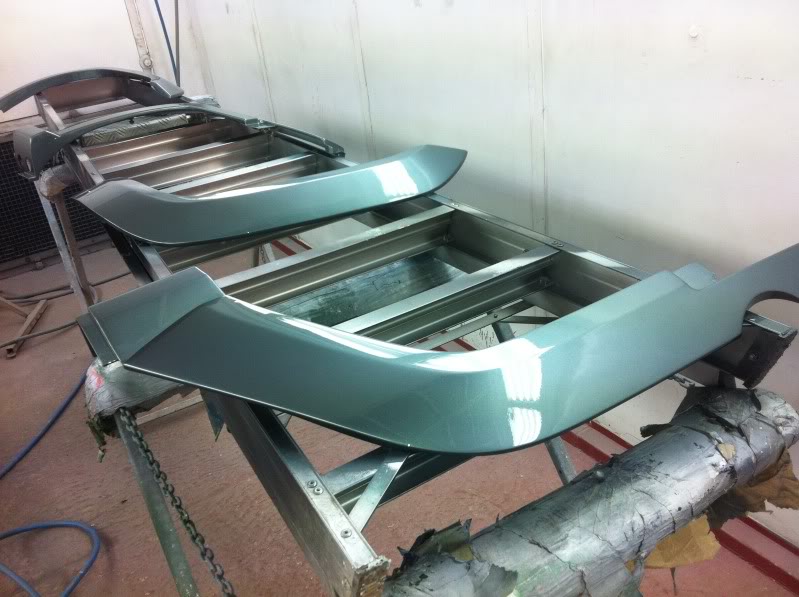
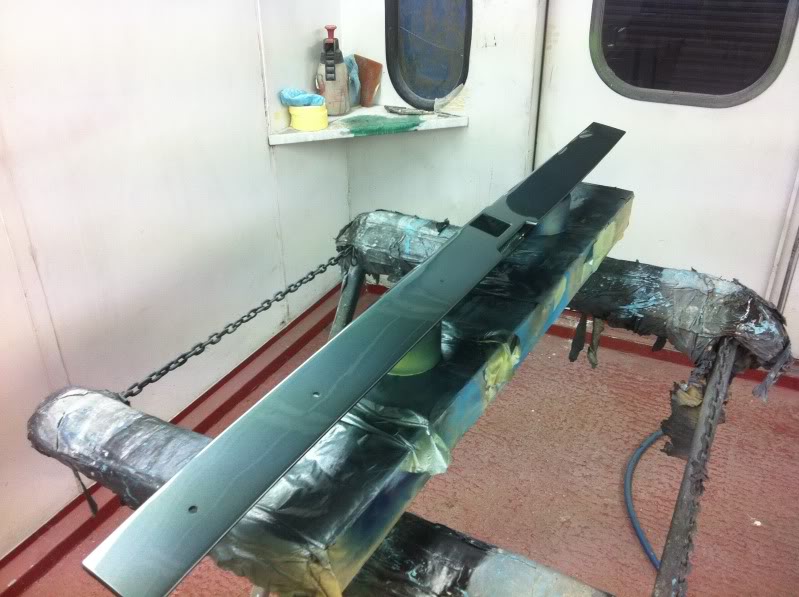
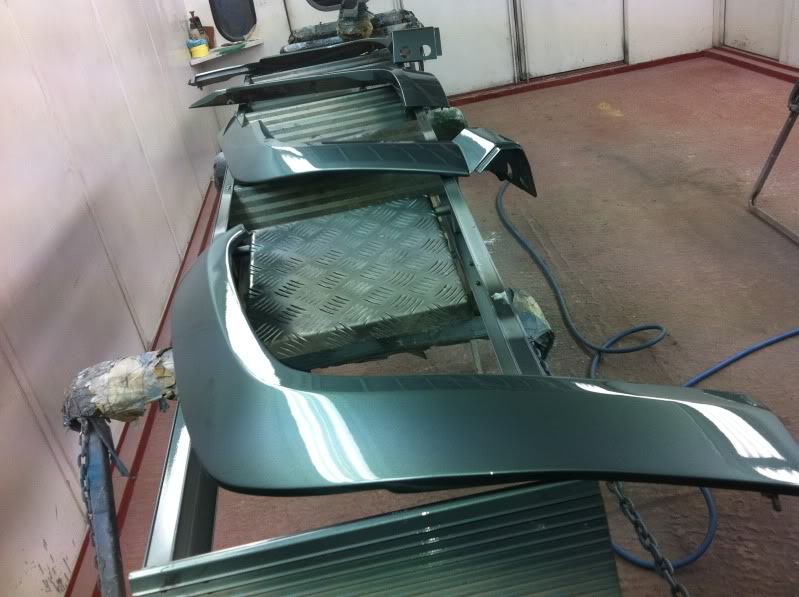
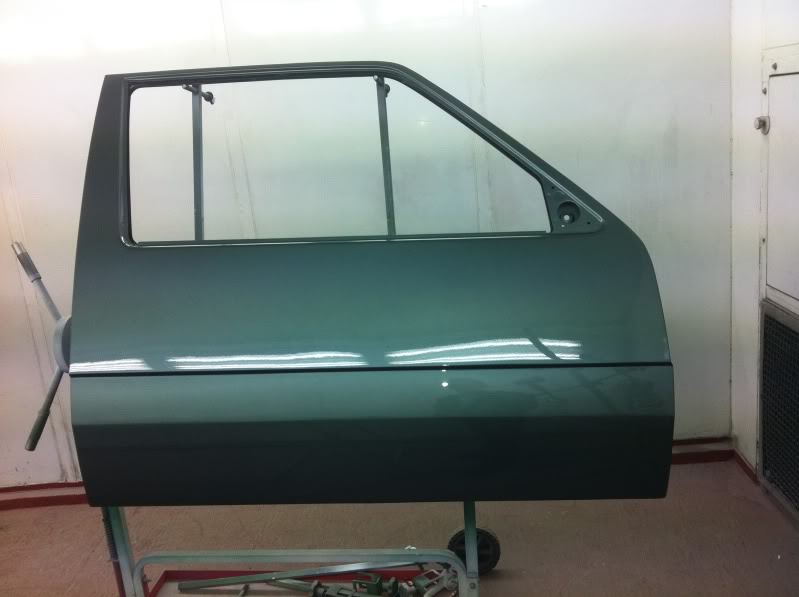
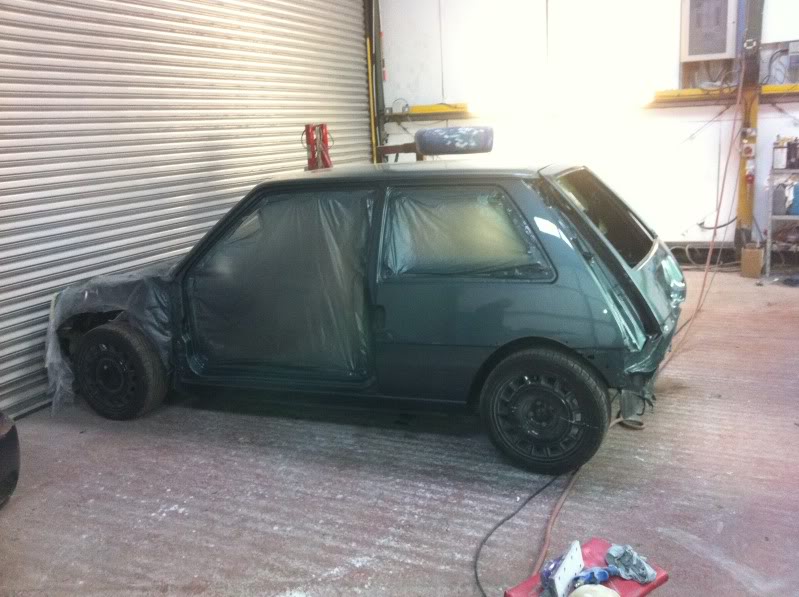
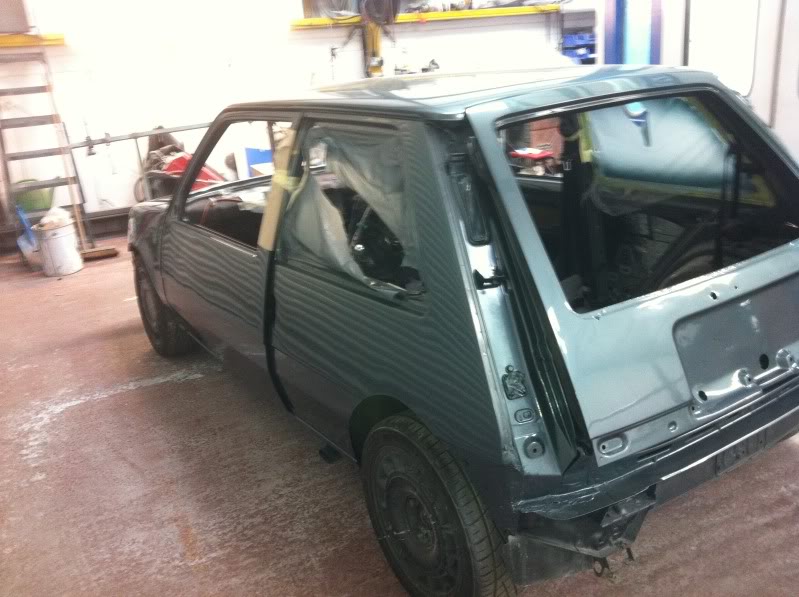
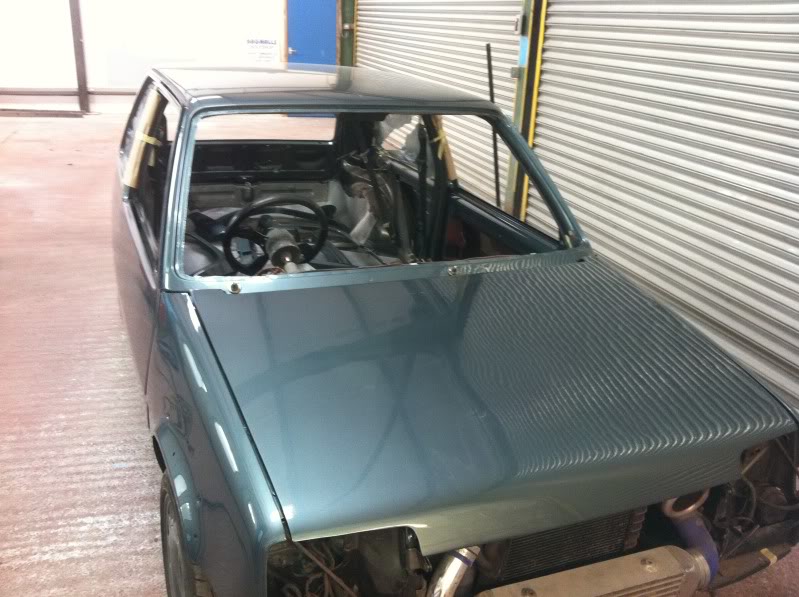
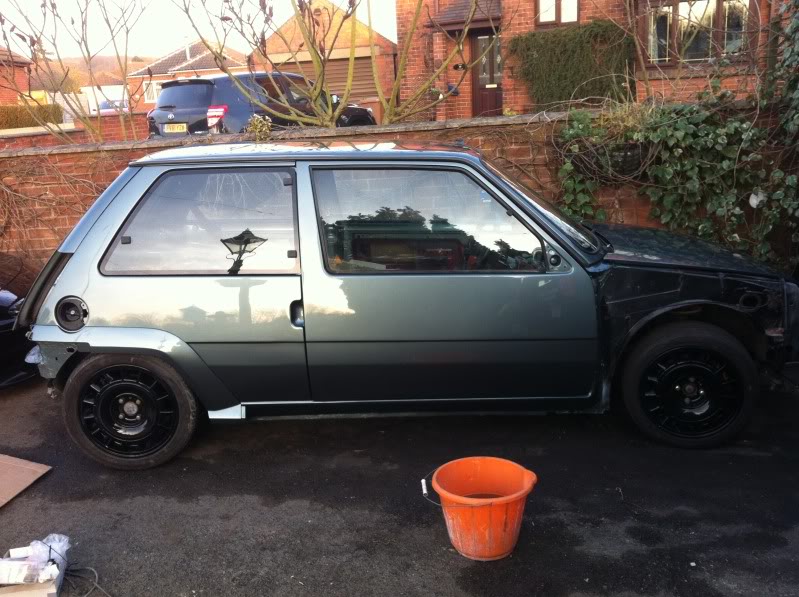
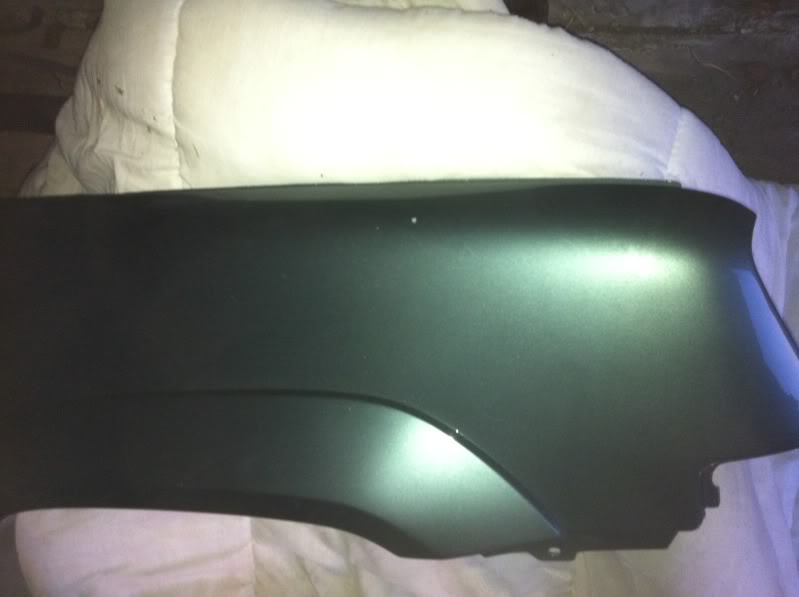
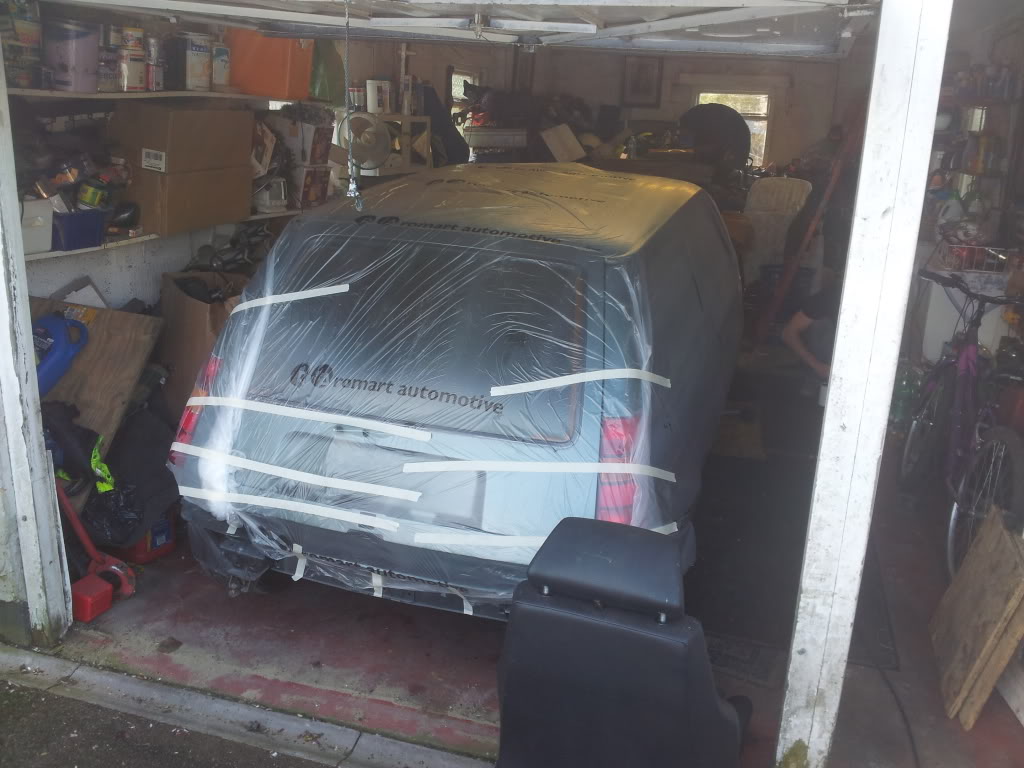
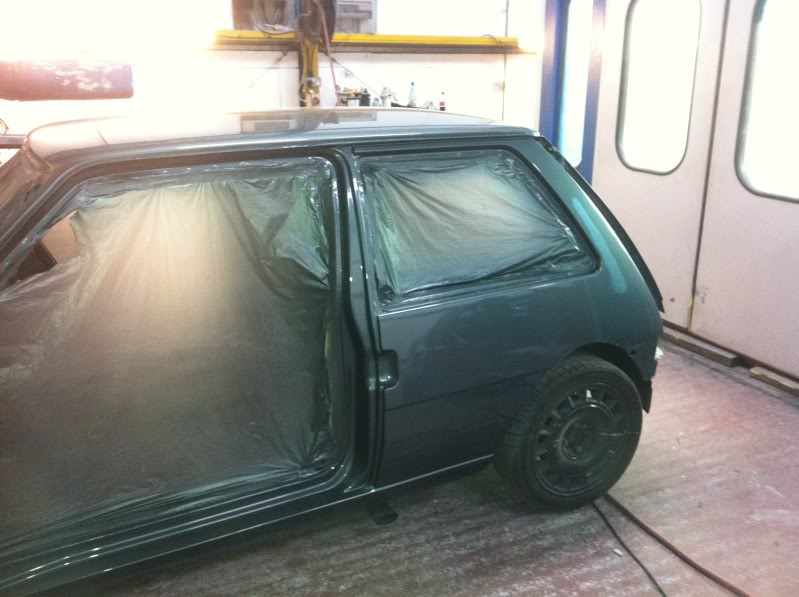
well today the car has seen paint, this is straight out the gun and require a flat and polish yet. you will notice its a diffrent colour to the original, when the sprayer (carl) asked for my colour preff i went for the original colour that the car should have been in, which has a strong green flek within it, however when the light moves away from it its a dark grey.. Kinda hard to explain, next week it will be ready to collect, and take to bits.. very carefully
Last edited by djinuk; 24-02-2012 at 22:53.
Looking fresh mate, well worth the wait.

Looks mint mate, looking forward to seeing the end result!
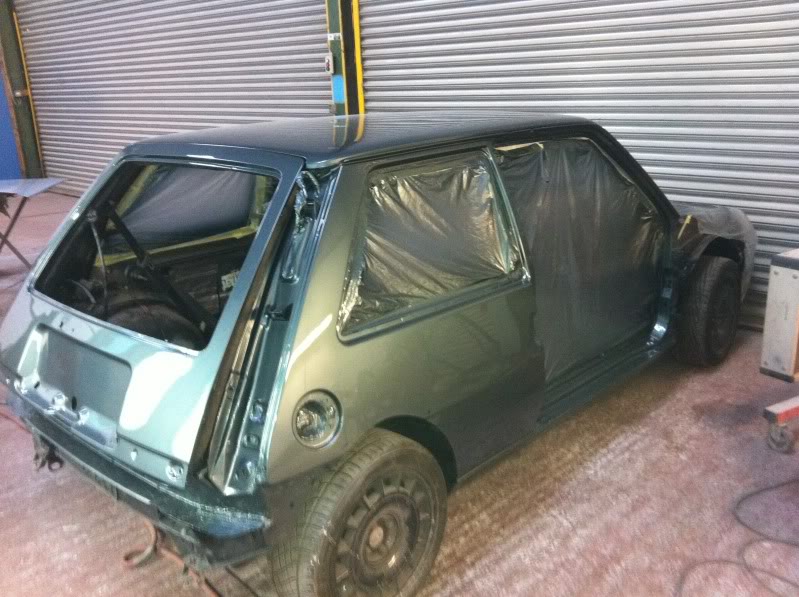
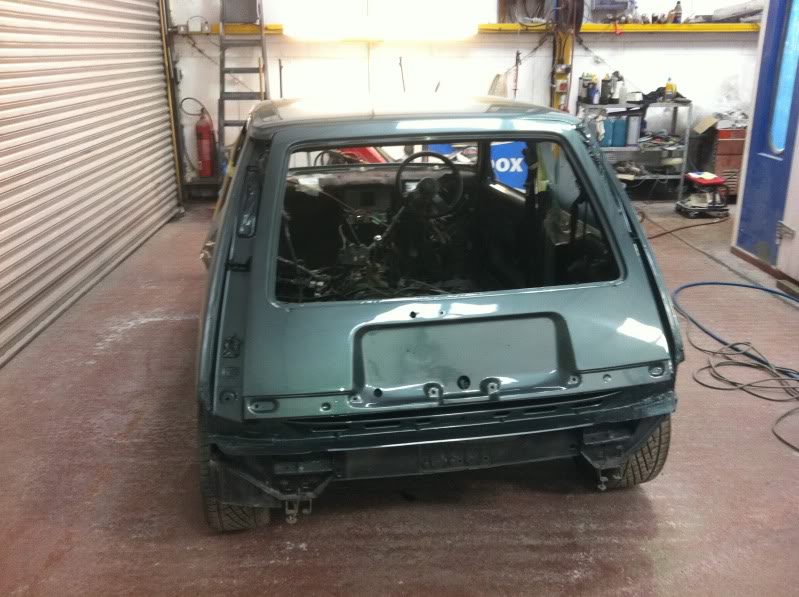
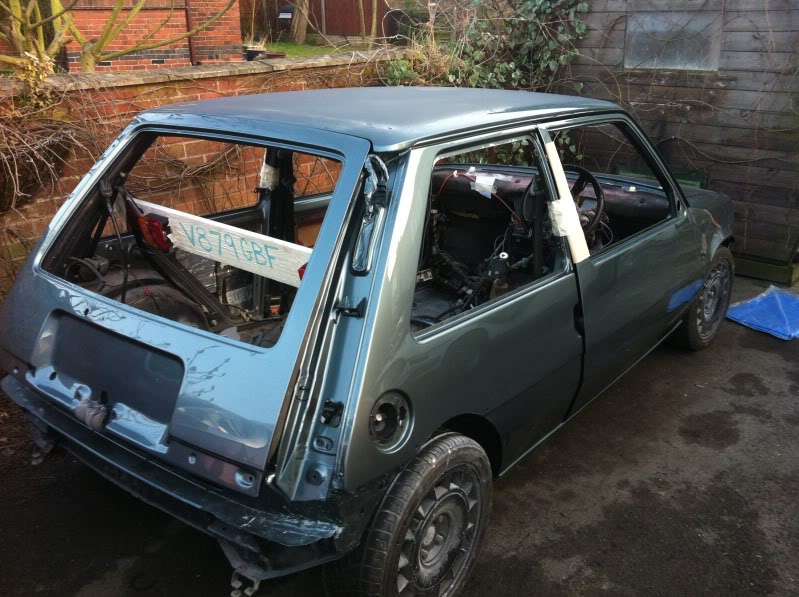
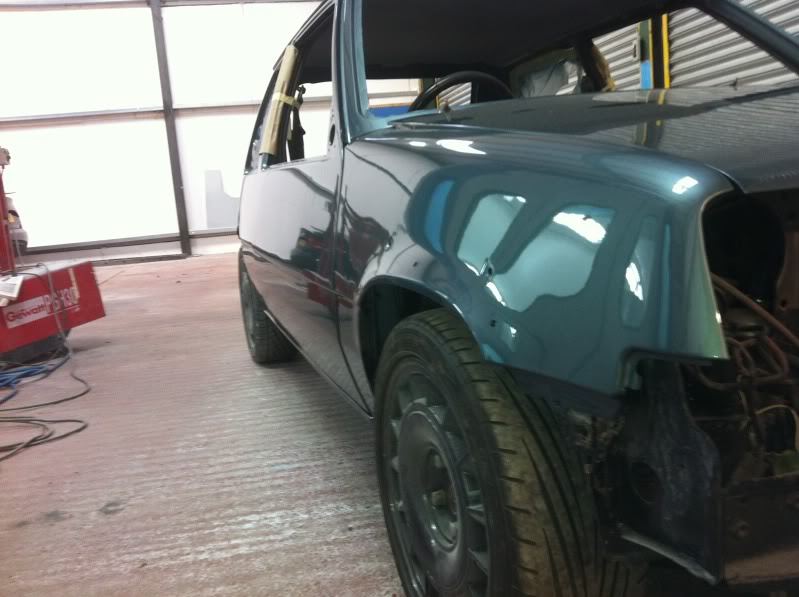
ready for collection
Beautiful!

Looks mint mate wish mine looked the same!

ooooooooooooooooh shiny shiny
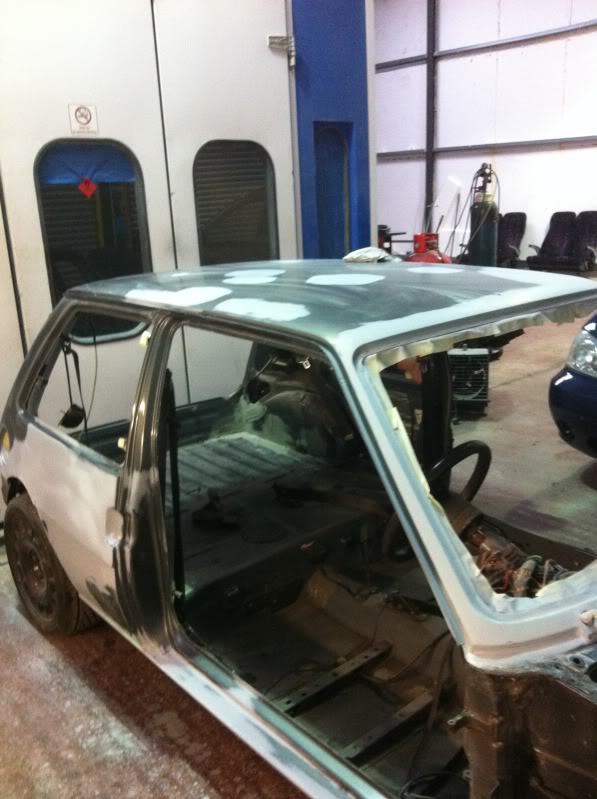
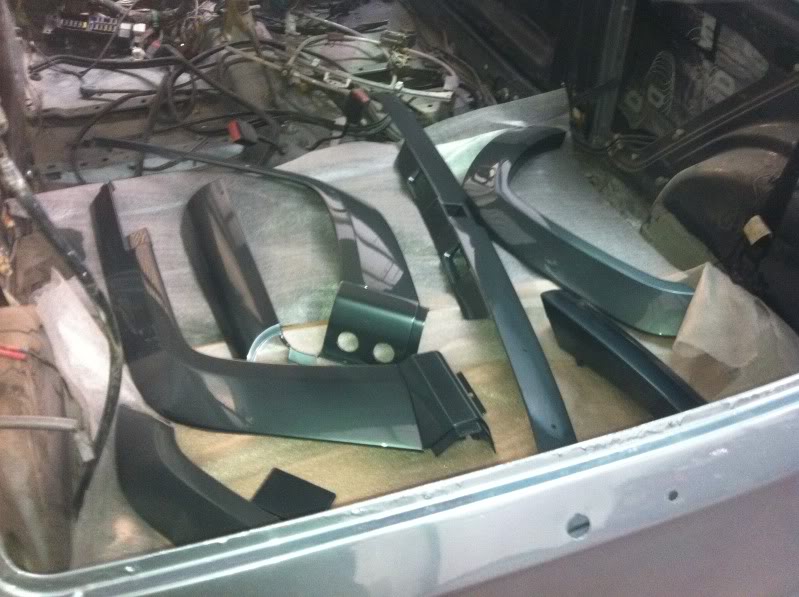
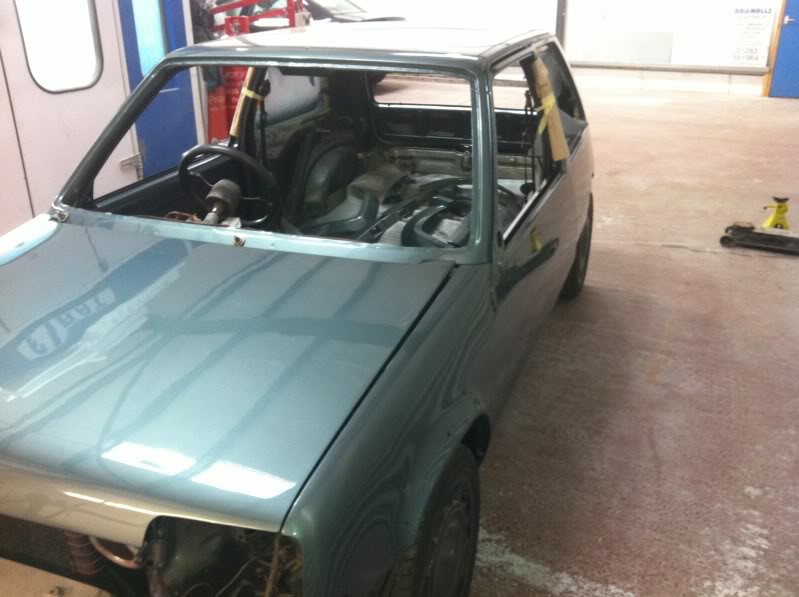
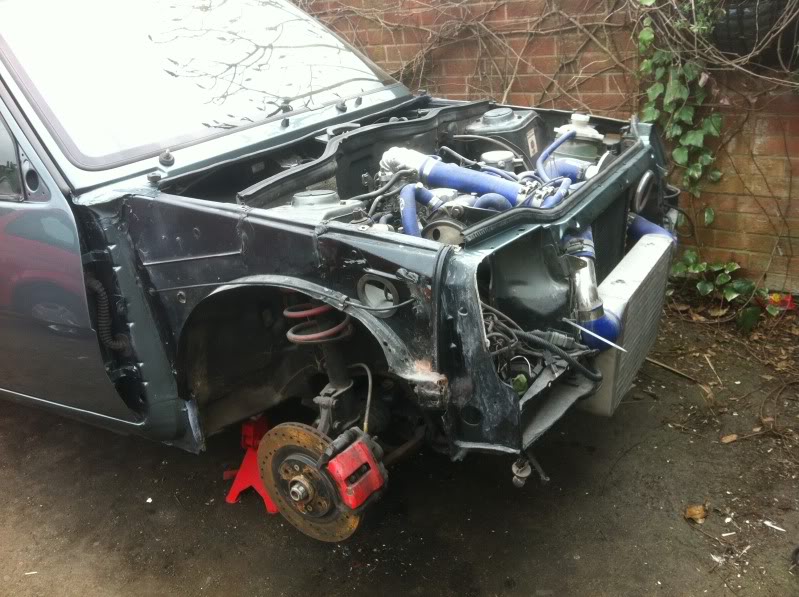
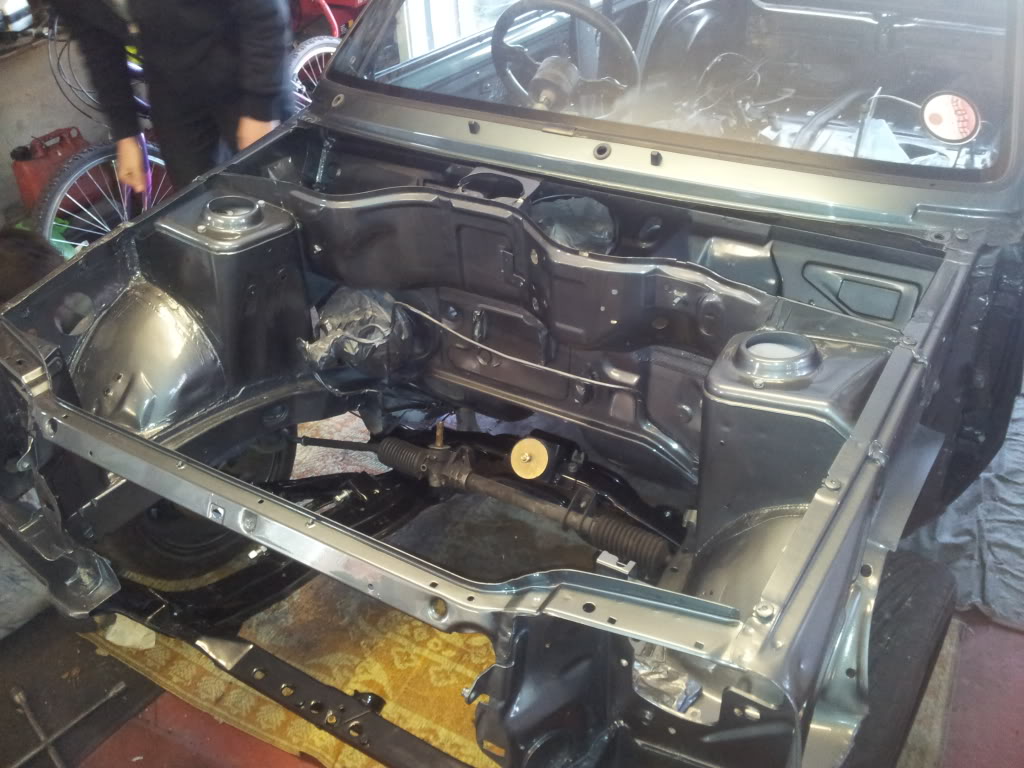
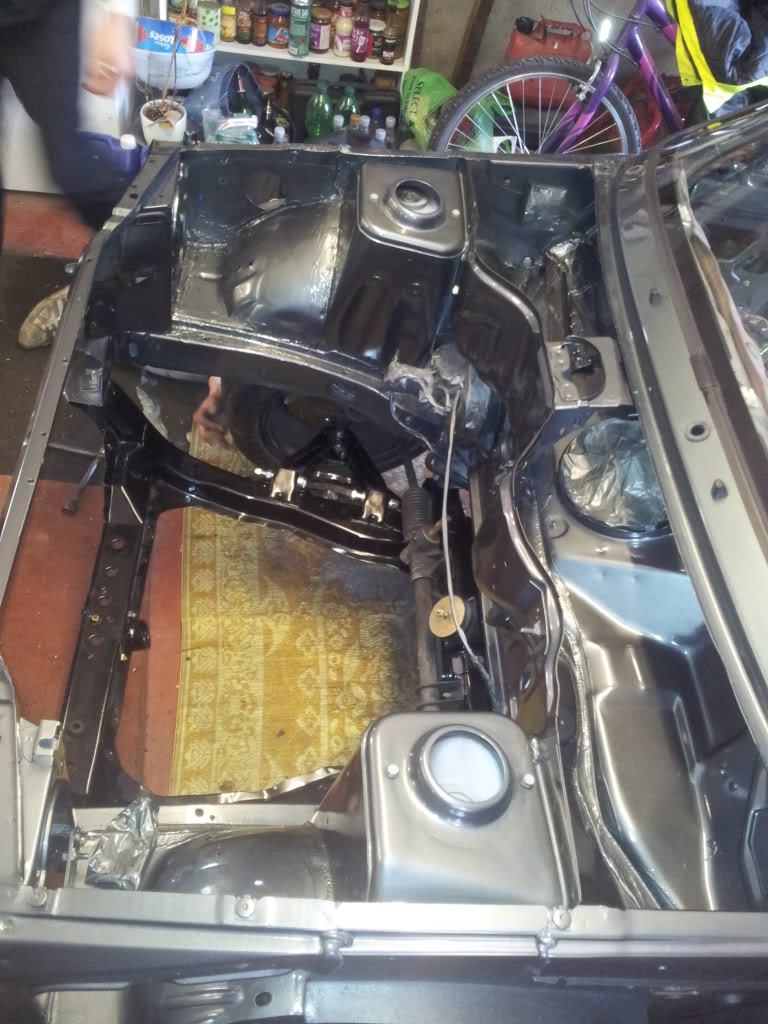
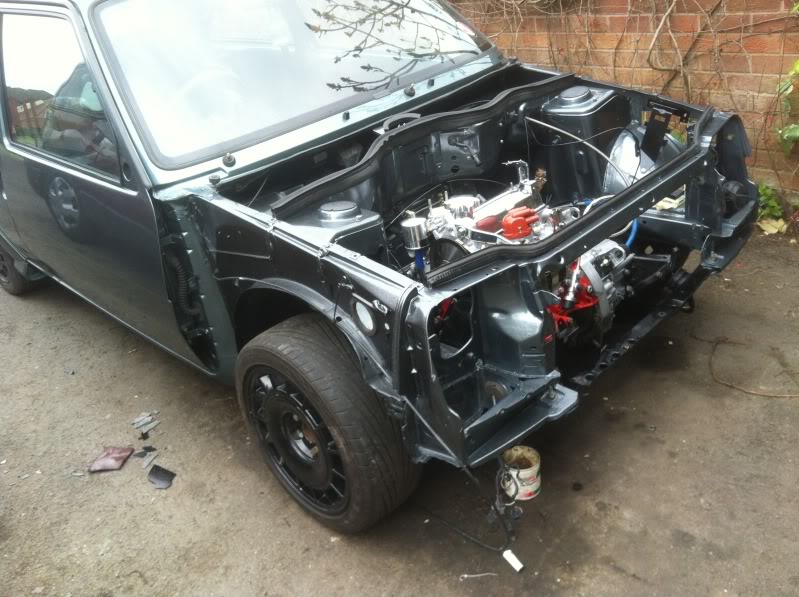
began the rebuild, fitting arches, front windows, rear windows, also fired the lump to check she still runs.. She started without issue

Does look good, fancy a tungy againone of the best colours for a 5

Looking good pal

love it mate! very jealous! and its time i bought another so if you know of any for sale that i dont know of pop by!
and FGS get rid of them turbines and put some standard 13s on
Cheers guys and I will do alex, turbines will be going but defo not going to o/e 13s, not feeling them 1 bit. Most likely Williams for winter and bbs rm for summer.
lol turbines are the new venoms!
Nice effort gone in so far, you've got to be happy with the progress! Was thinking of getting some RM's for mine, but people want silly for crap wheels!Originally Posted by djinuk

yea , theres no such thing as cheap ones really, my advise is just to get some mate, you wont loose money on them, think of it as a unboltable investment
Looks well mate, nice and fresh
Yeah I think your right! Did you get yours machined out easy enough?
yup no issues at all buddy. cost me £7.50 a wheel

Top work this DJ, really wish I could give mine a full hit of paint like this, another one saved!
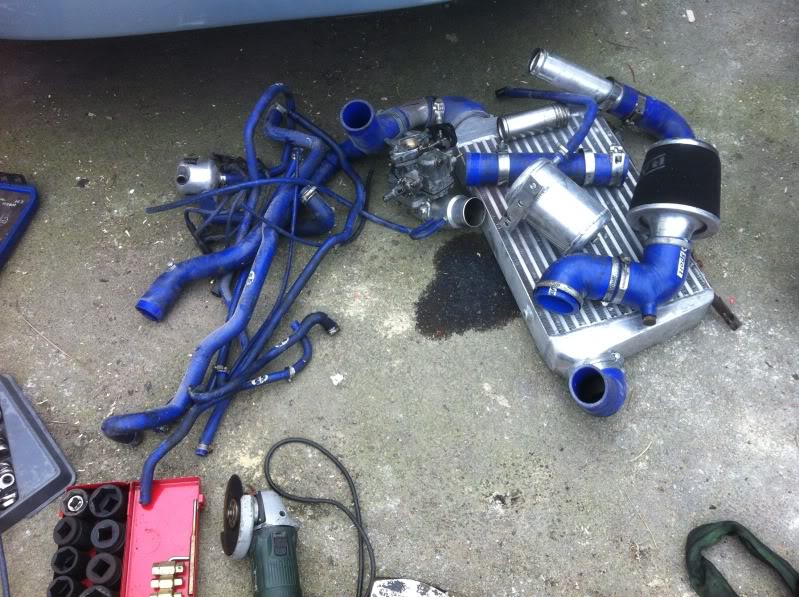
I have a few questions about your intercooler, I have exactly the same cooler, I like your pipe run, I was going to go under the subframe and round with the outlets of the cooler at the bottom, but having seen your pics think I will just blatently copy your pipe run!
Are the reducers off the cooler, particularly the one on the drivers side 45 degree reducers? How is the seal from the reducer to the ally pipe again on the drivers side? No issues? And finally,did you have to chop much if anything out from the bumper and grill?
Just seems a much more practical pipe run than going under the subframe, and I will be able to keep the fogs.
ill be honest buddy, ive no idea about the pipes used, i bought the whole lot as a kit off turbo ted some time back, ive never blown any boost pipe off other than the top carb one, and thats at 18psi. Your more than welcome to copy the run though buddy, as for cutting, ive made no cuts to the bumper at all
Cheers Dj, already priced up the bits required
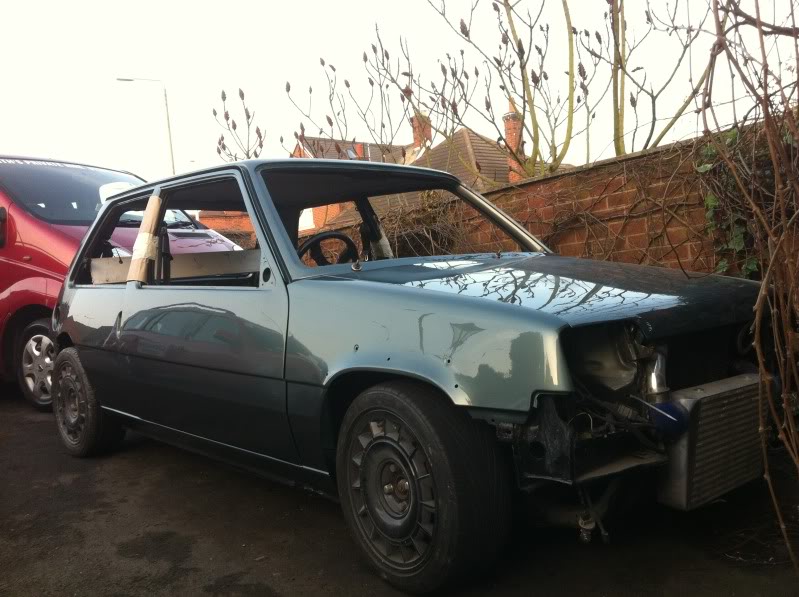
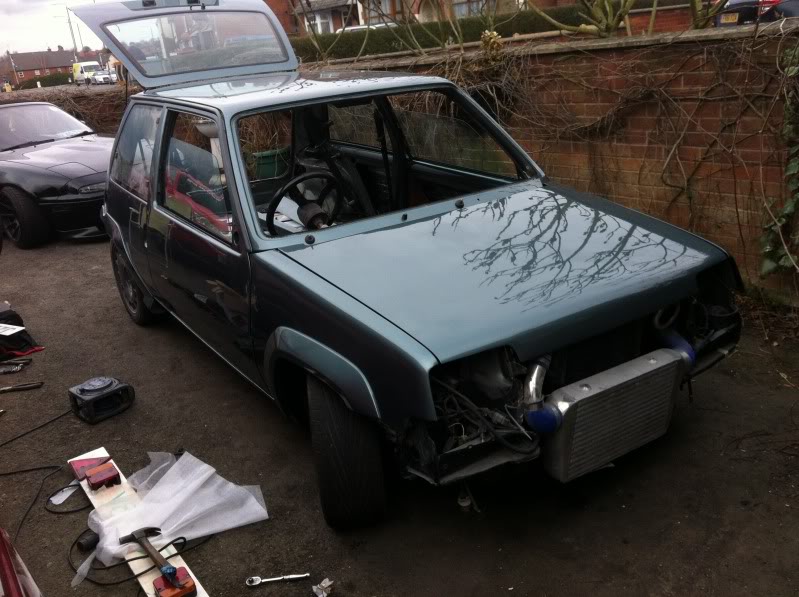
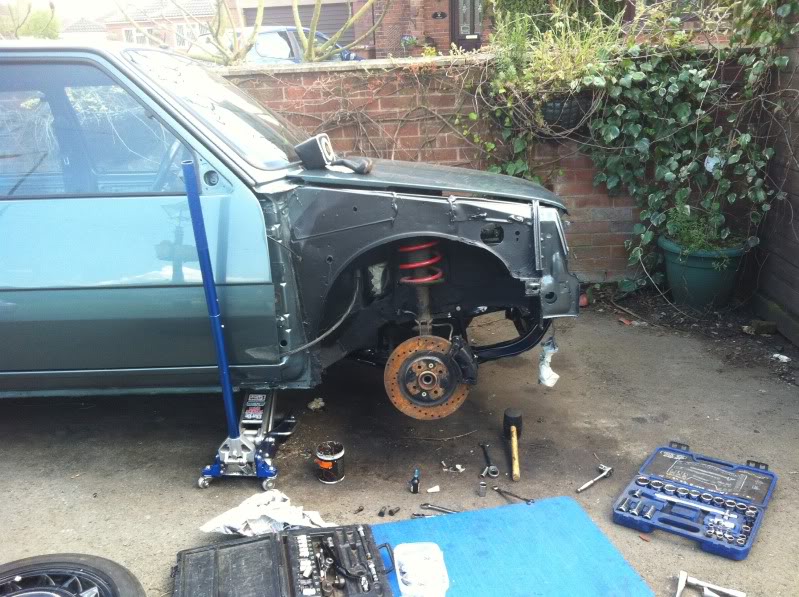
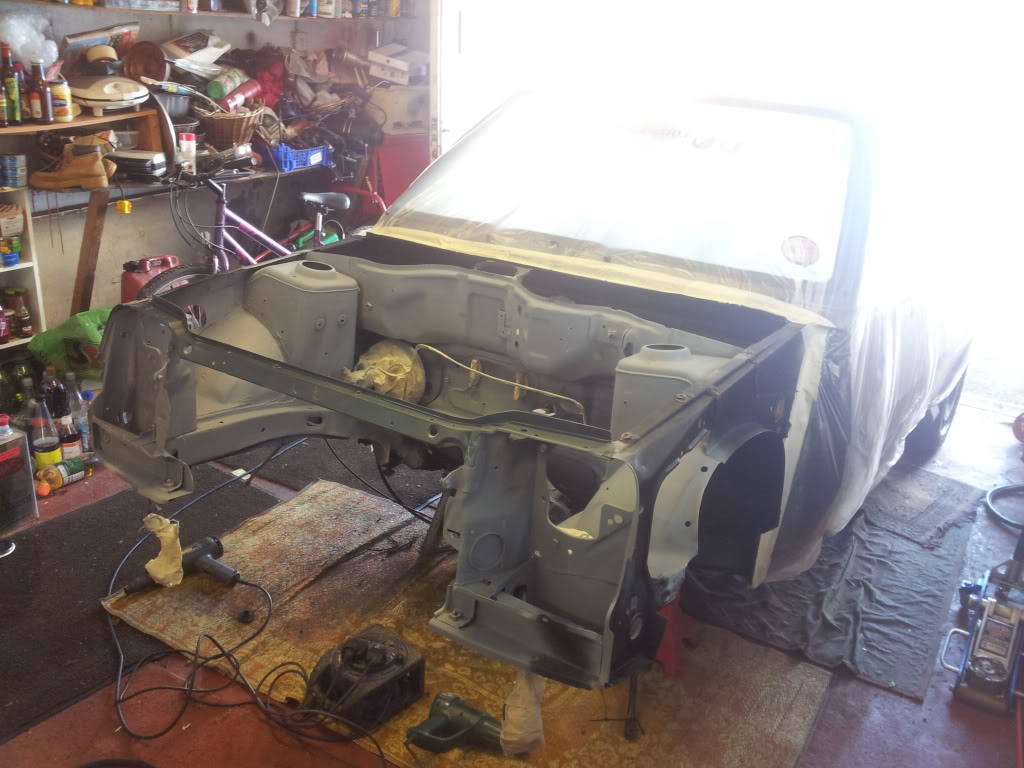
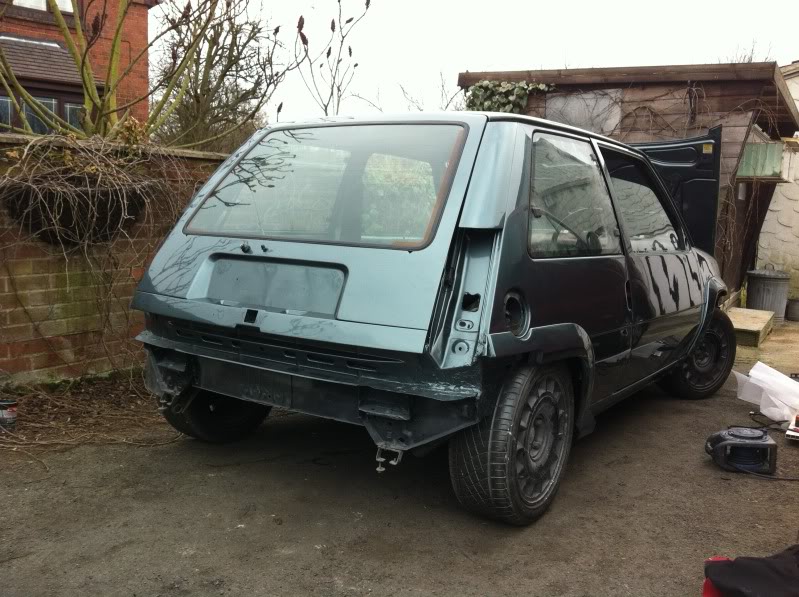
as she stands at the moment, wings off ready for engine out job.
Gutted though as noticed this, no idea at all when and how it happened, but theres a right chip out the paint, and unfrotunatly andy its more towards the top, going to leave it until the whole cars done and have to get it repainted..

Thats looking sexy nice work mate.

Looking very nice and fresh indeed mate out of the bodyshop finally, looking forward to seeing your progress. Leave that Mazda alone and keep crackin on with tungy!
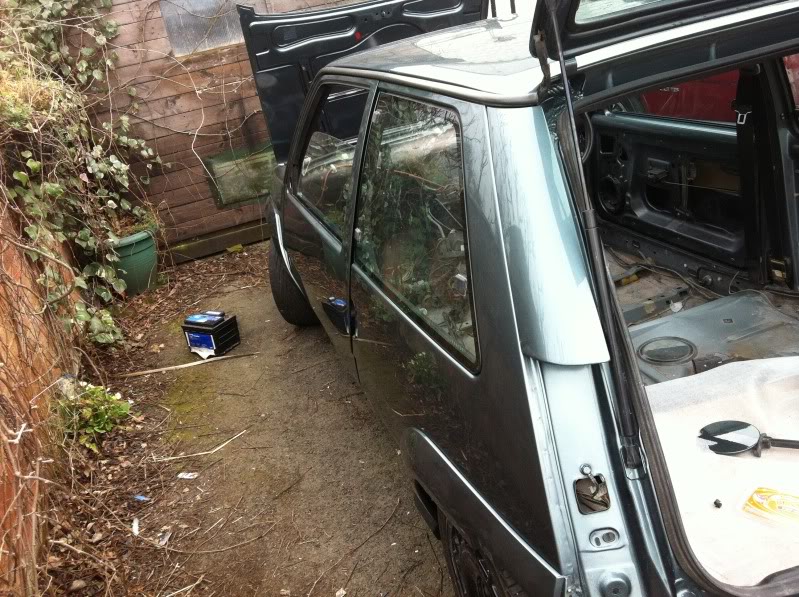
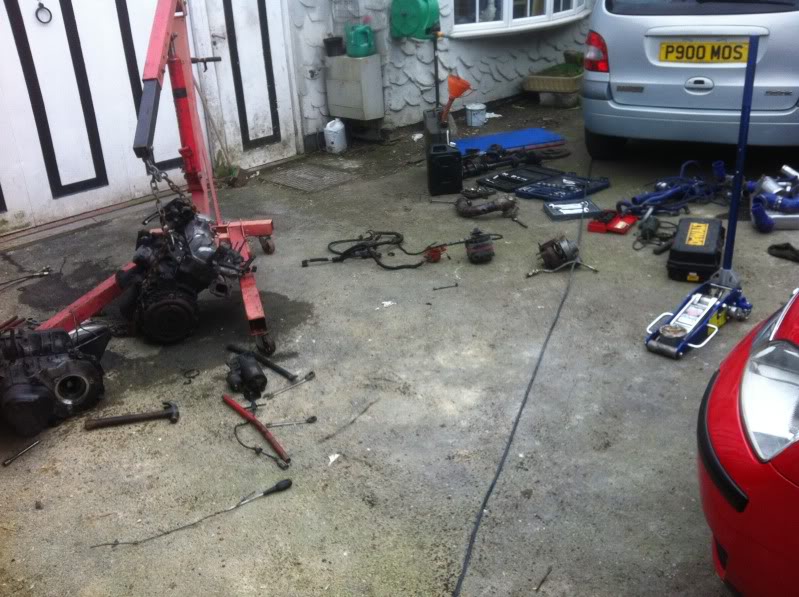
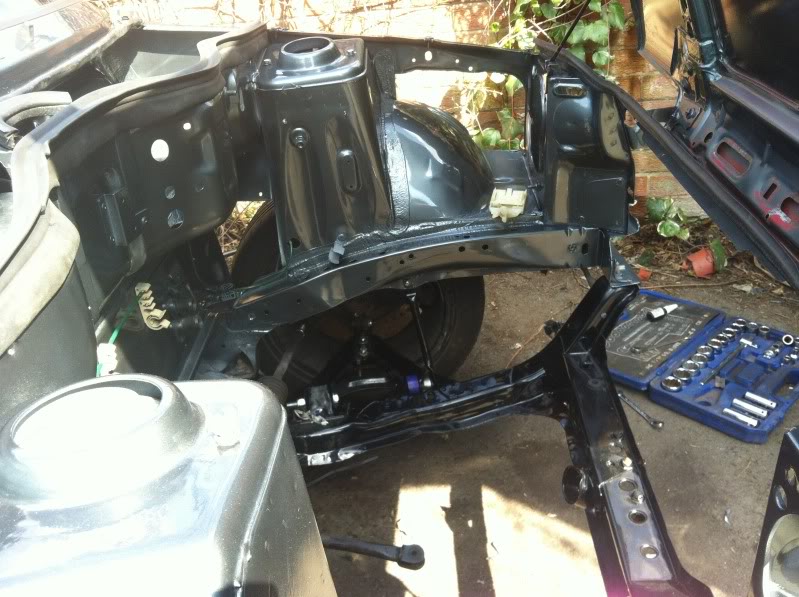
Today i put aside 30 mins to get the driveshafts removed from the r5... One thing led to another and i ended up stripping the lot down.
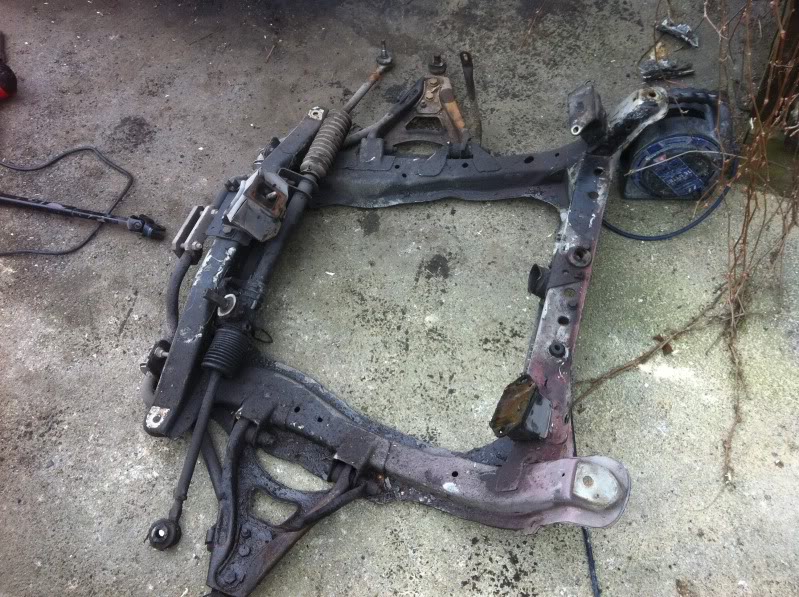
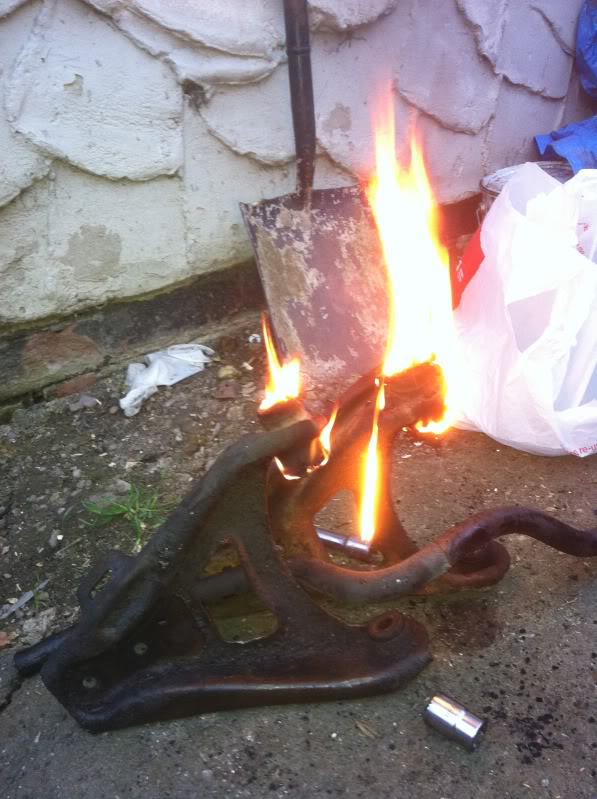
stripped subframe down today ready for powder coaters, and burnt out the bushes.
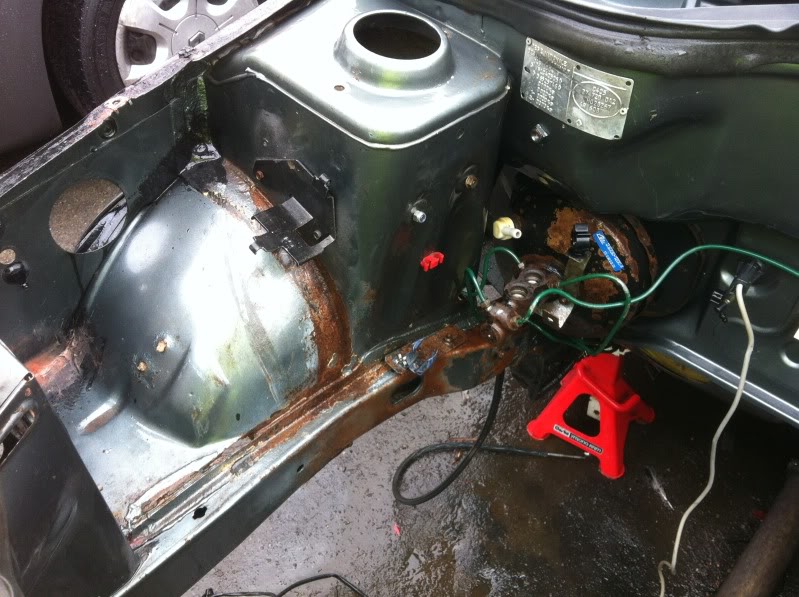
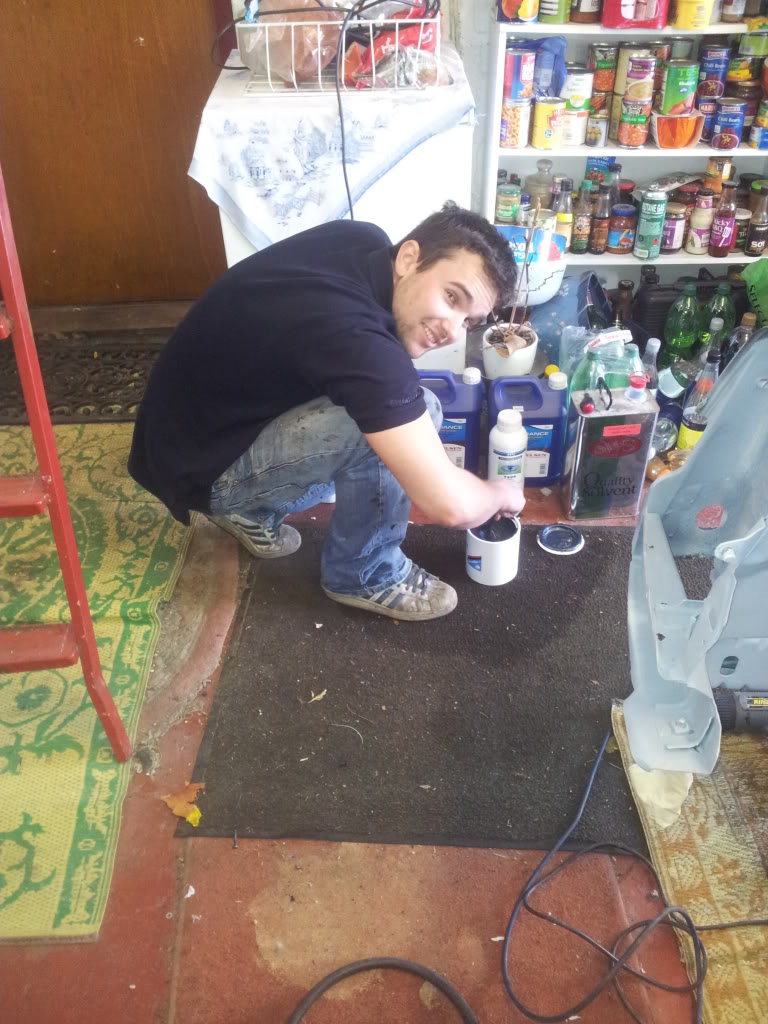
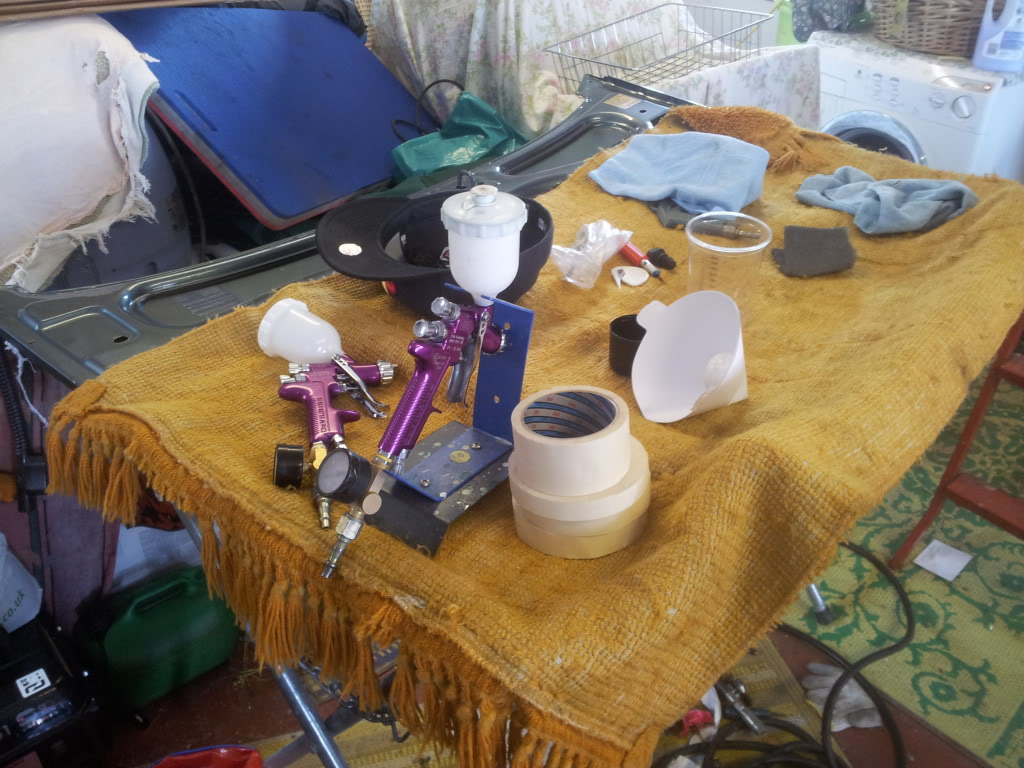
As its raining and my arms ****ed (not sure what ive done exactly) , i just began degrease a few bufty bits outa the bay.
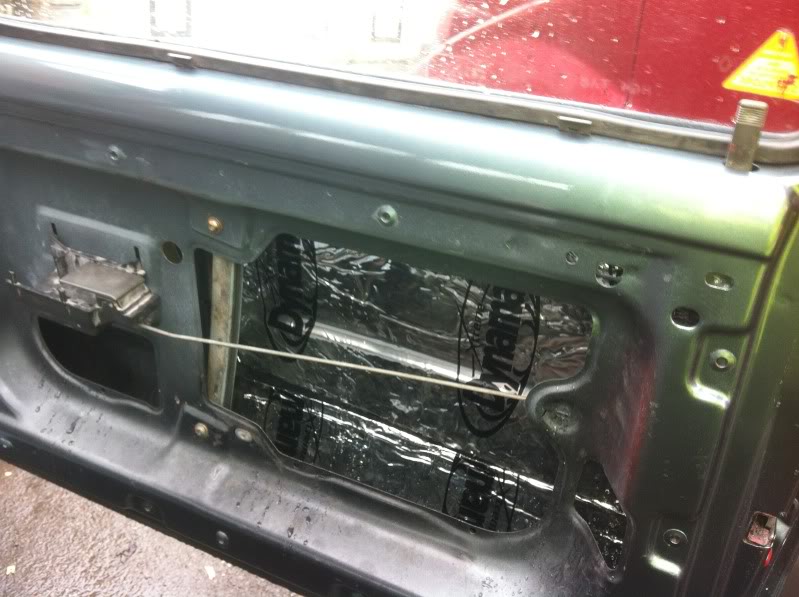
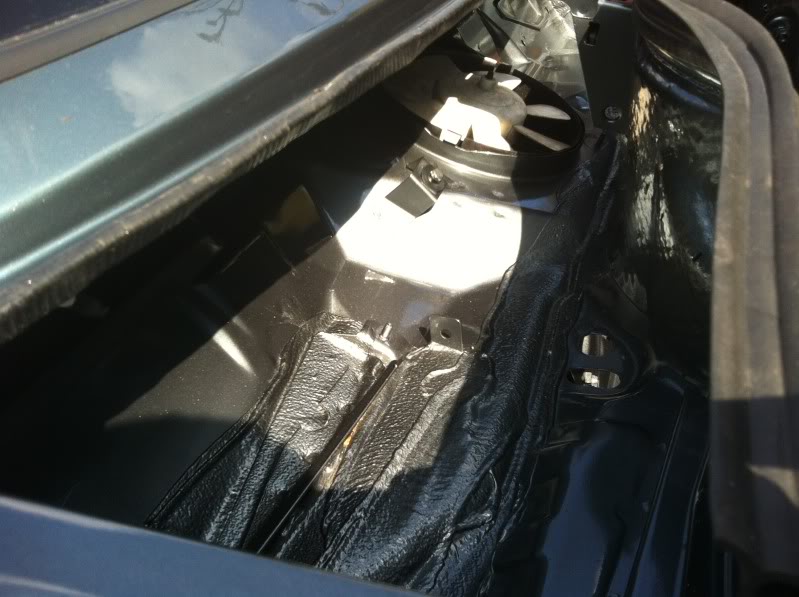
grabbed some dyno matt to put in my doors just to make them a bit more rigid, the previous doors had some in and i prefered it, felt like tinny.
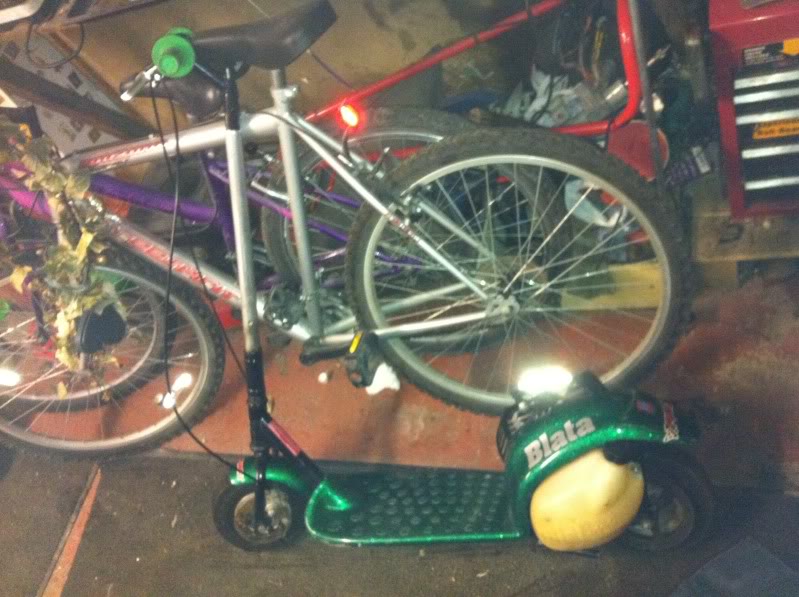
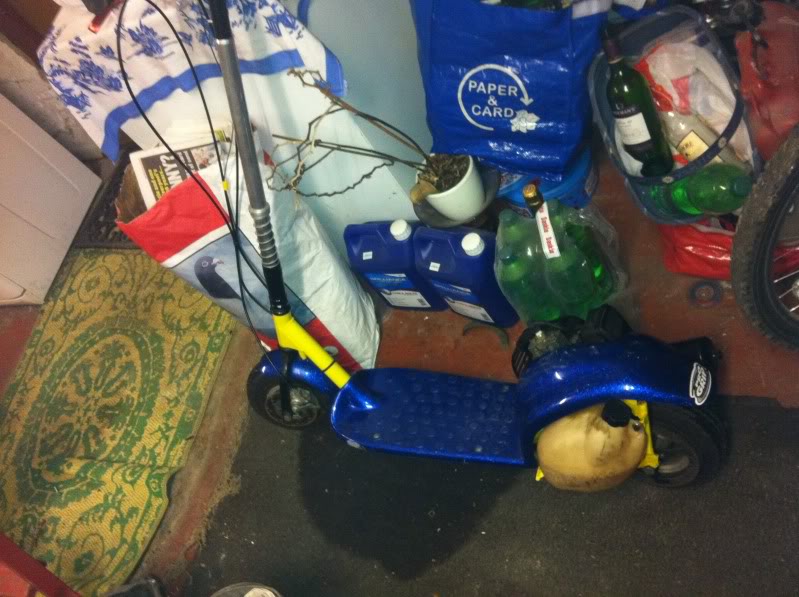
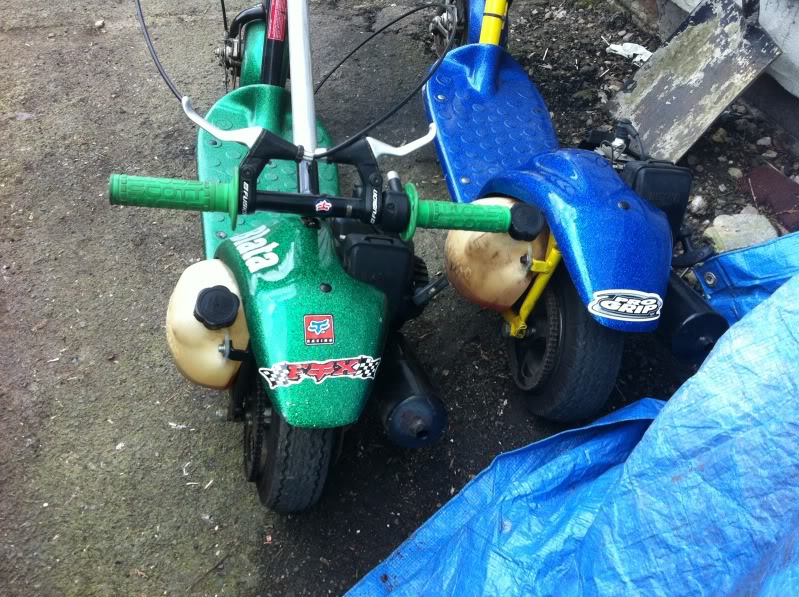
Also i felt the need to buy another toy.. well two actually.
fitted fresh bushes into the steering coloum
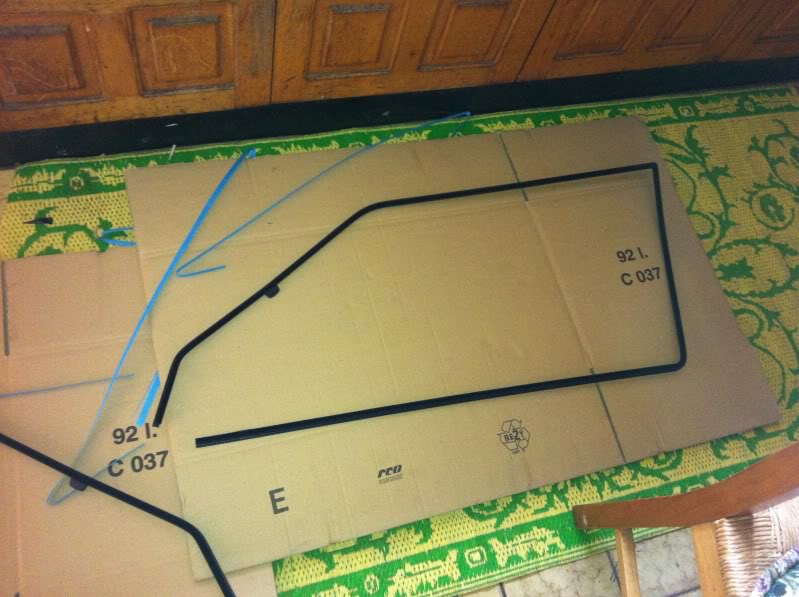
and got my brand new outer seals from renault however.. for some reason on both sides its scratched the glass very badly
oh and i played more with my toys,..
dynomatted doors
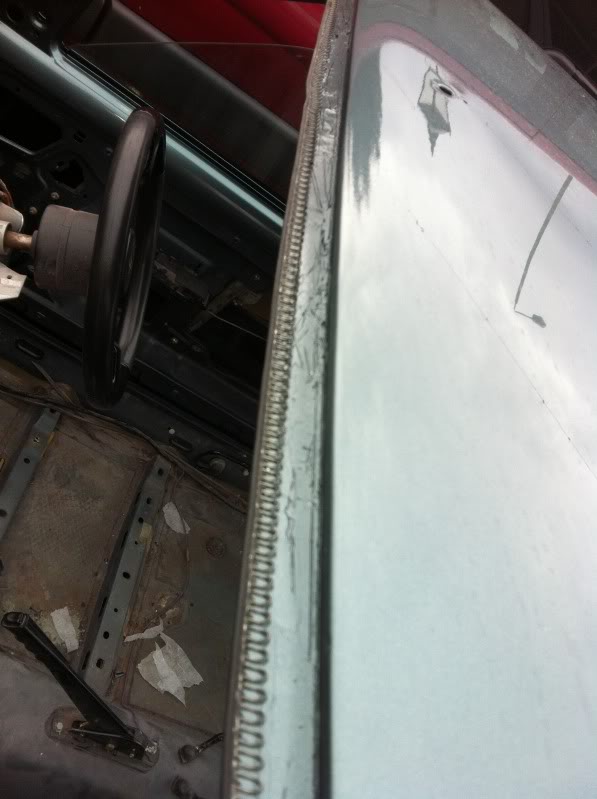
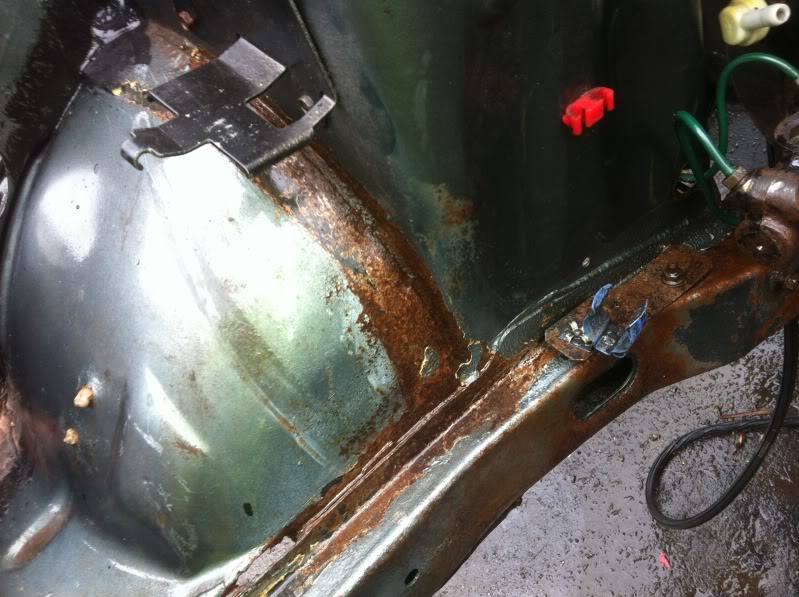
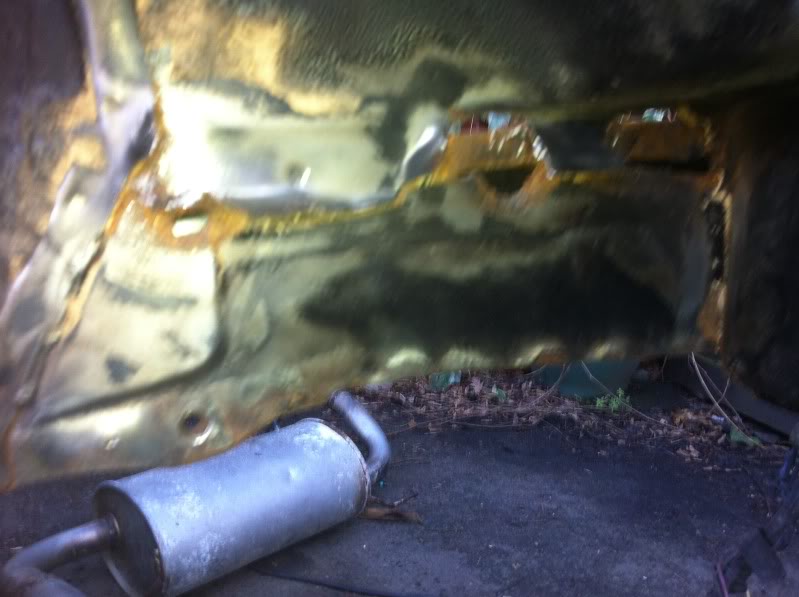
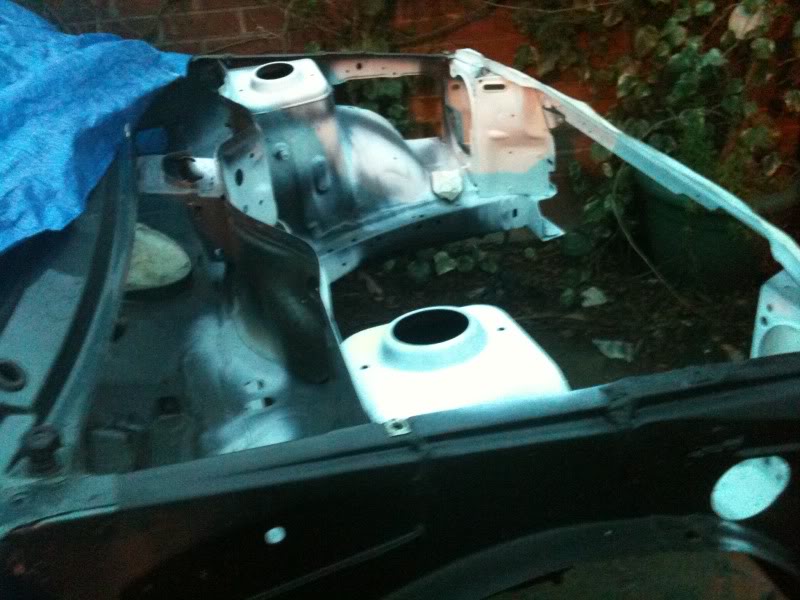
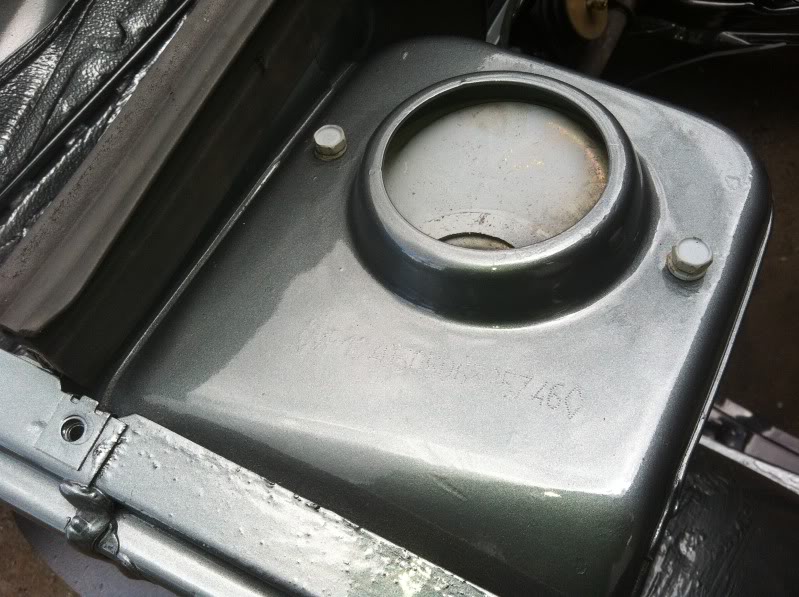
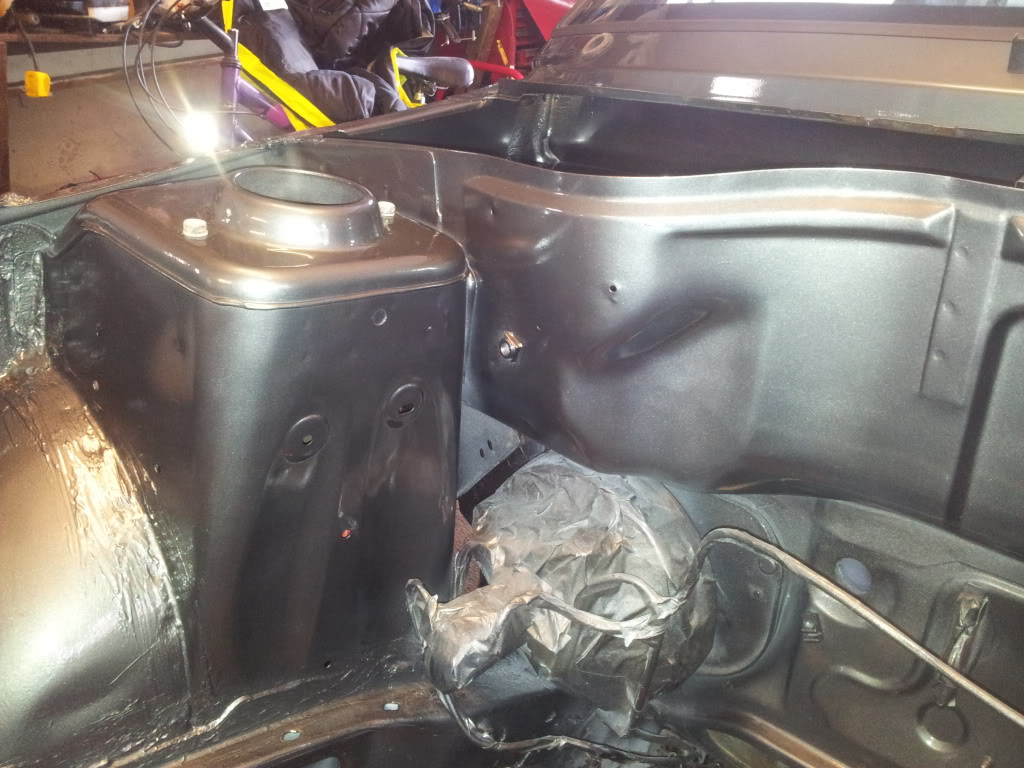
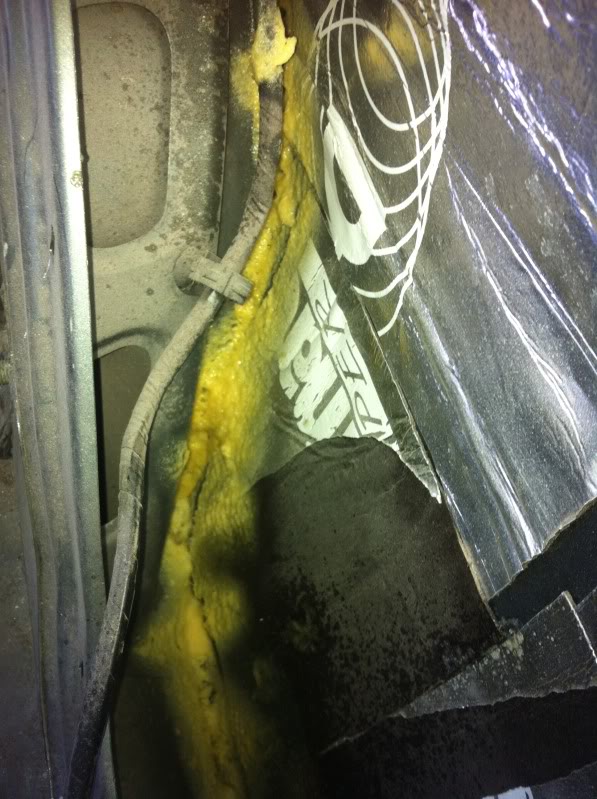
and borrowed skids pressure washer and daves degreaser to clean up the bay.. you will also notice a small hole i need to weld on the drivers side.. i always chased back the seam sealer to remove any underlying rust.

update.
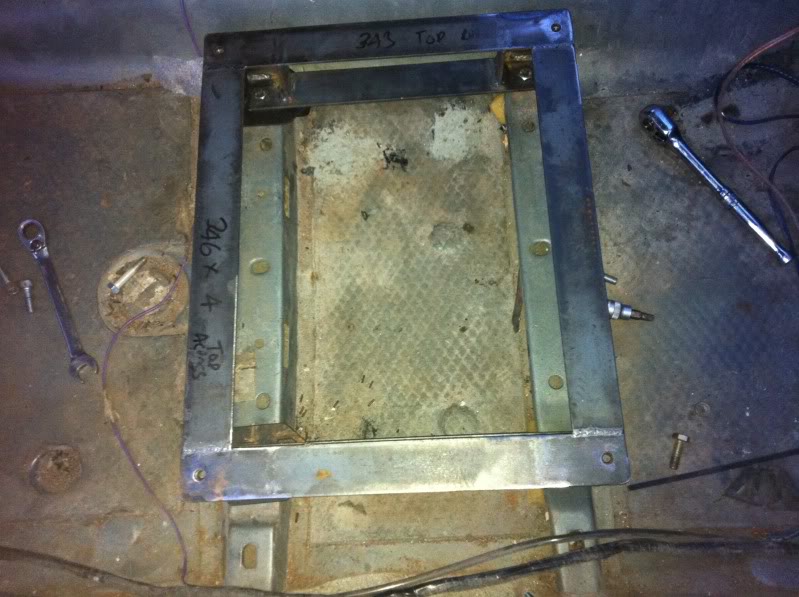
Dave richards made me some fantastic subframes - they look heavy in the pics but actually only weigh 1.5kg! very very light i was surprised.
also i removed lots of seam sealer and dave welded a small plate in.. not to be to be fairr.
also wax oiled inside my doors

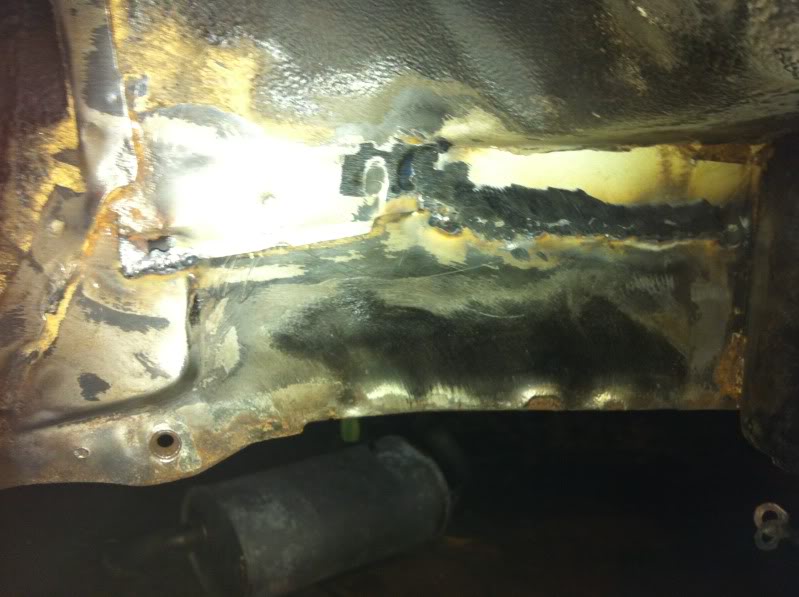
Looks good, but get that fibreglass bridge filler removed from the front bumper mount area and weld the hole up with an insert! The cars looking good mate - keep up the good work!
funny you say that as i did that exact bit of welding last night, although the hole was a bit bigger by the time i had done, couple of bits of plate and its mostly there..
amazing product, beats waxoyl hands down.
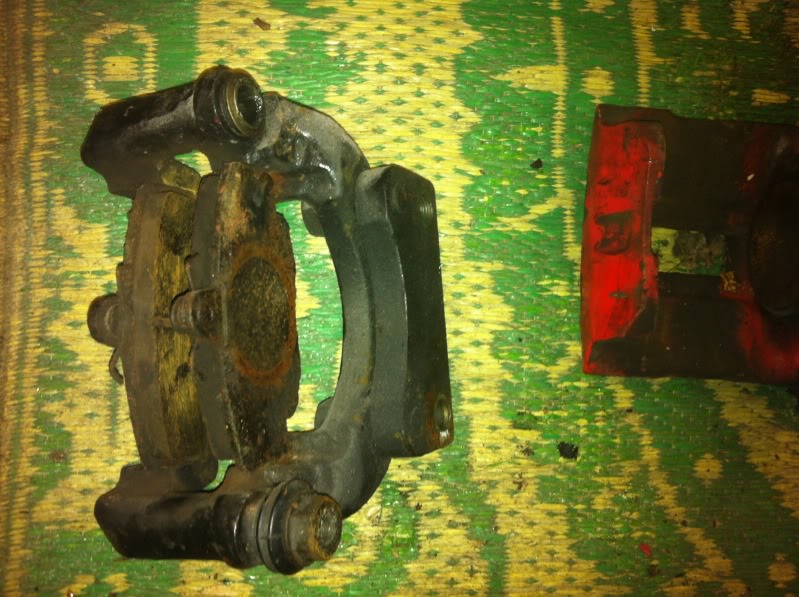
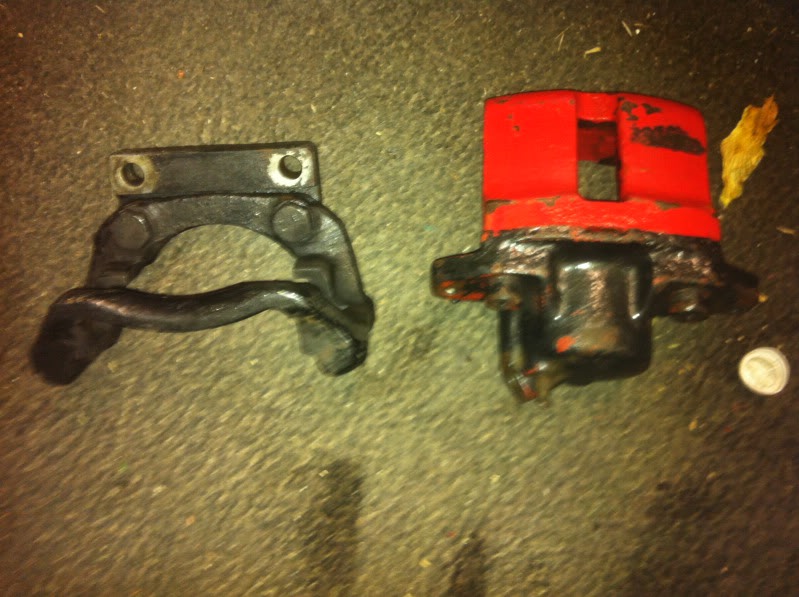
going to chuck some black on these, nothing too perfect, but just not a fan of chav red.
tonight i got items ready for powder coaters, theres also the seat frames.. everything is going black.
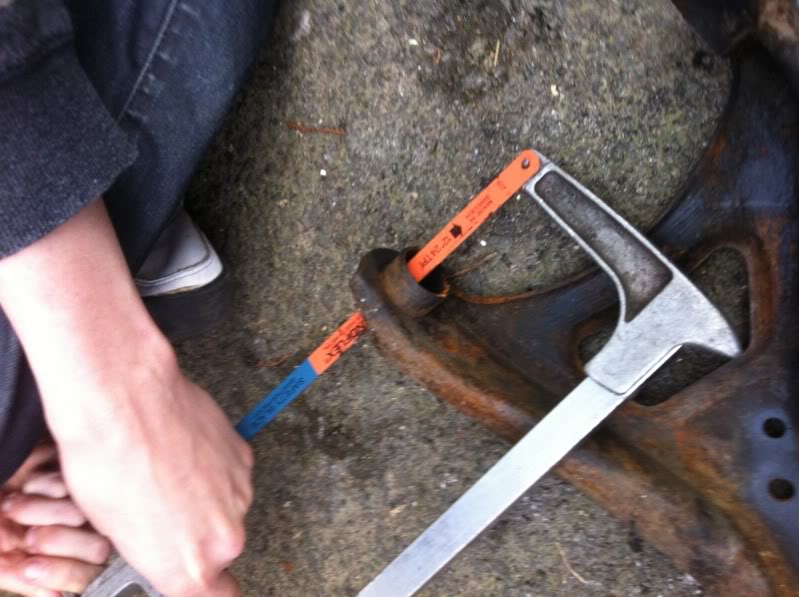
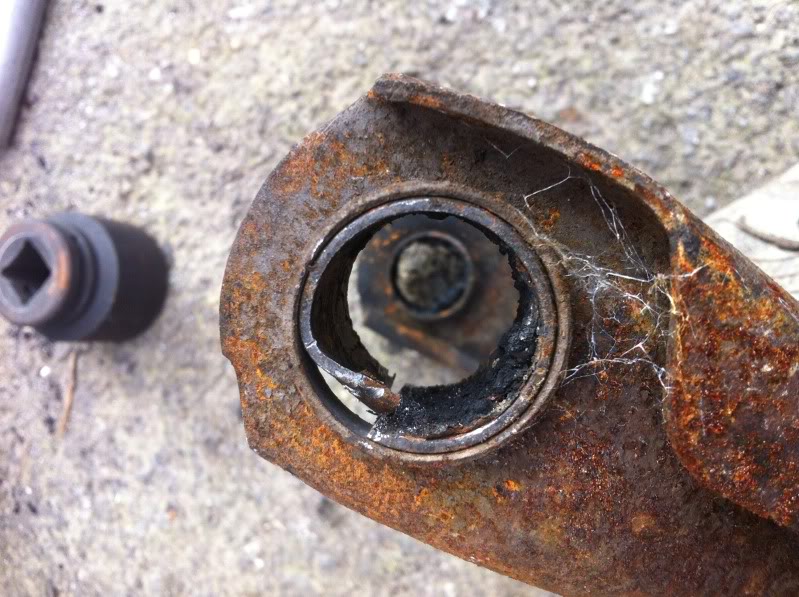
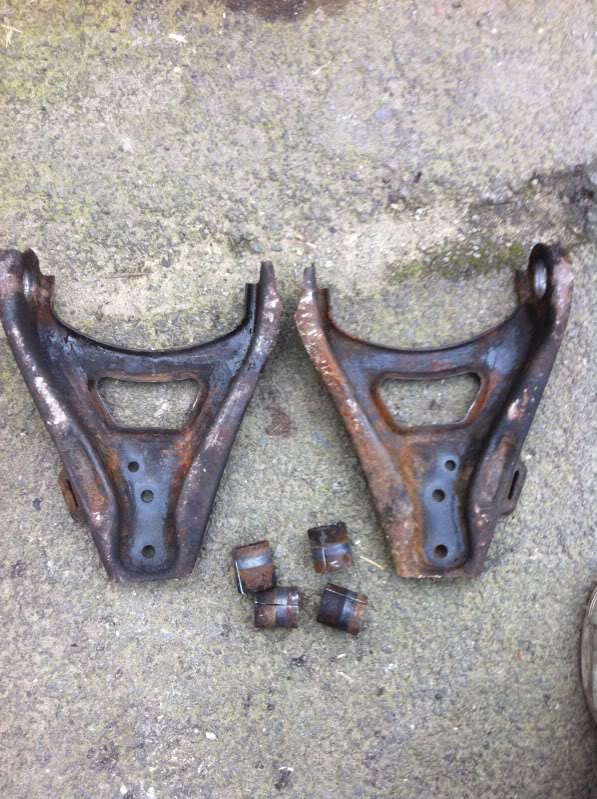
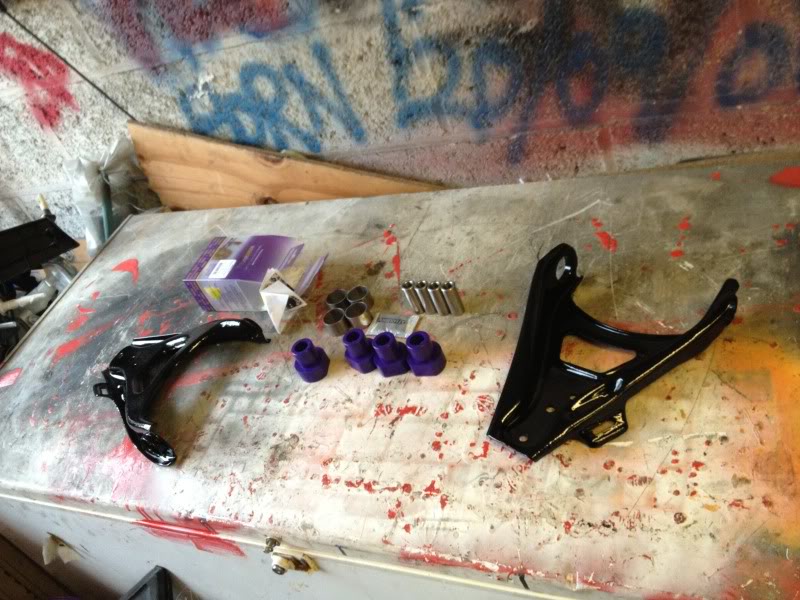
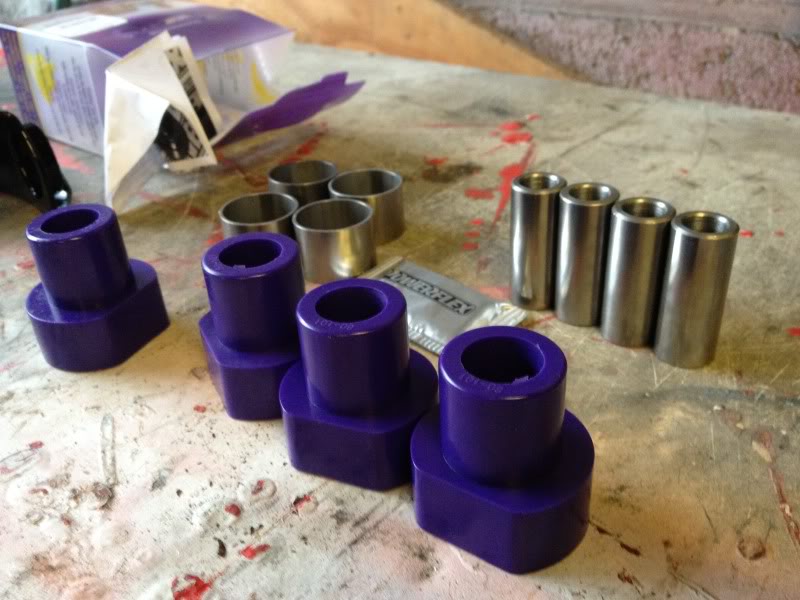
Also cut out my old bushes from the wishbones
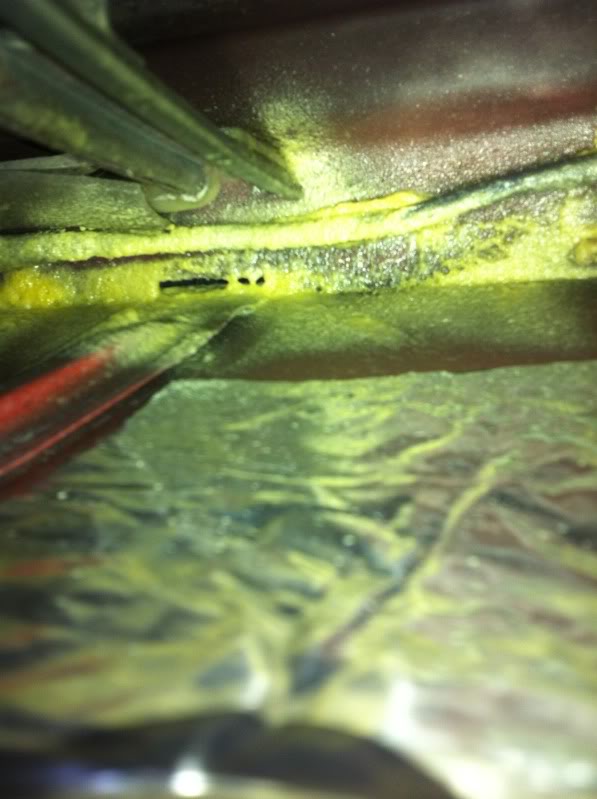
Also finished seam sealing the inner arches, and stonechipped/waxoyled
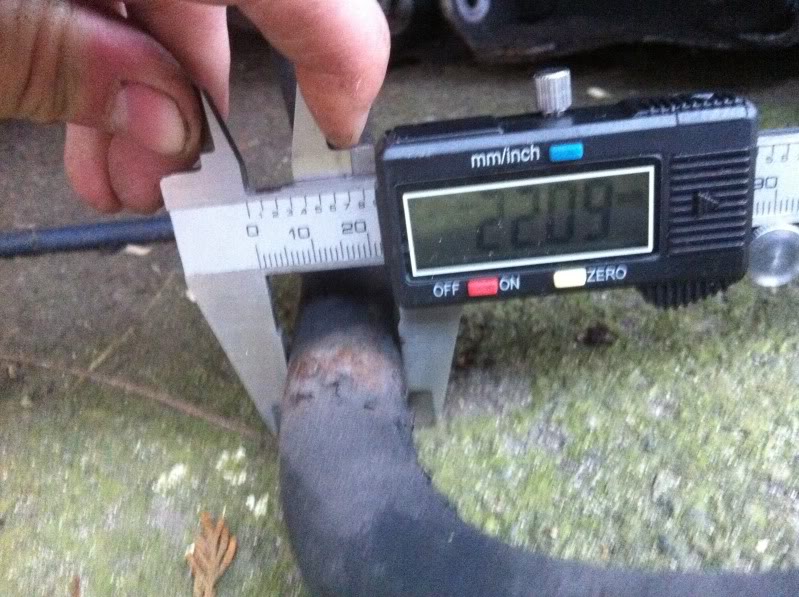
trying to work out which arb bushes i need.. 21mm or 23mm hmm
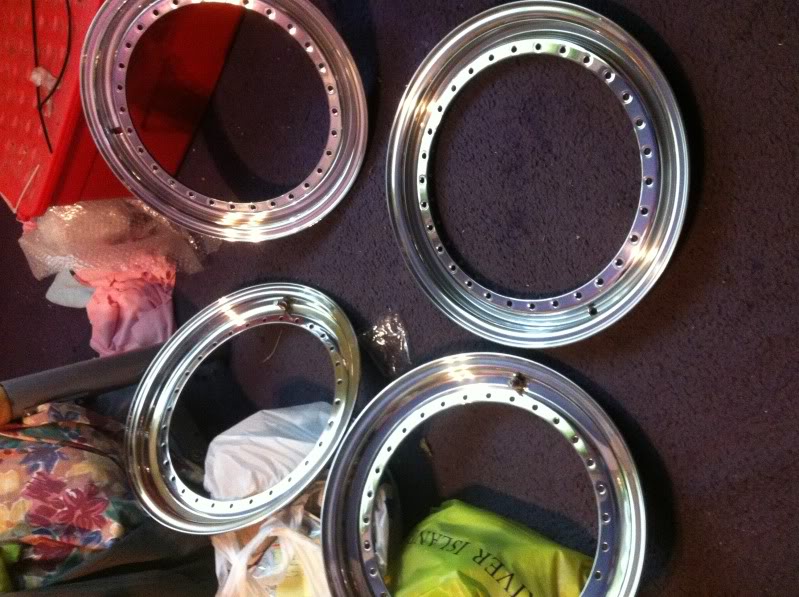
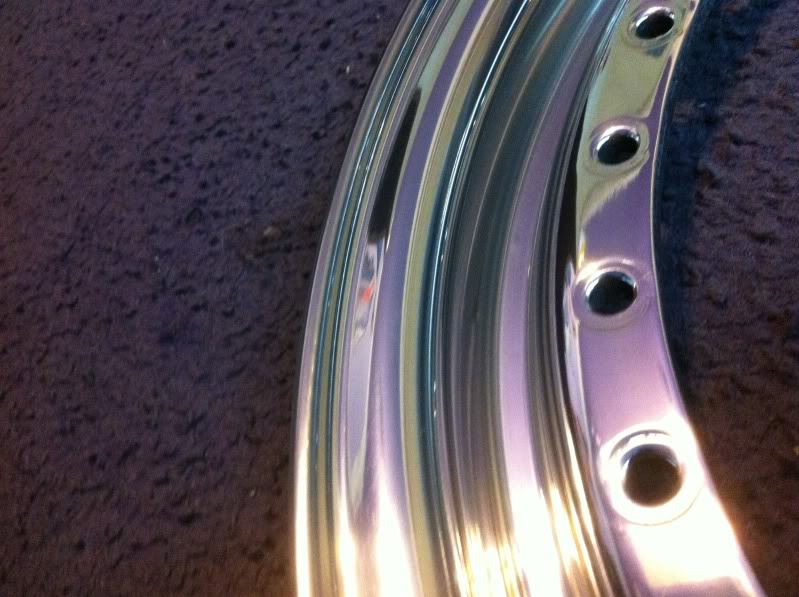
renault 5 split lips are all ready
Update.
recieved all my subframe etc back from the coaters.. currently however i do not have a phone so photos are difficult.. but... heres a few .
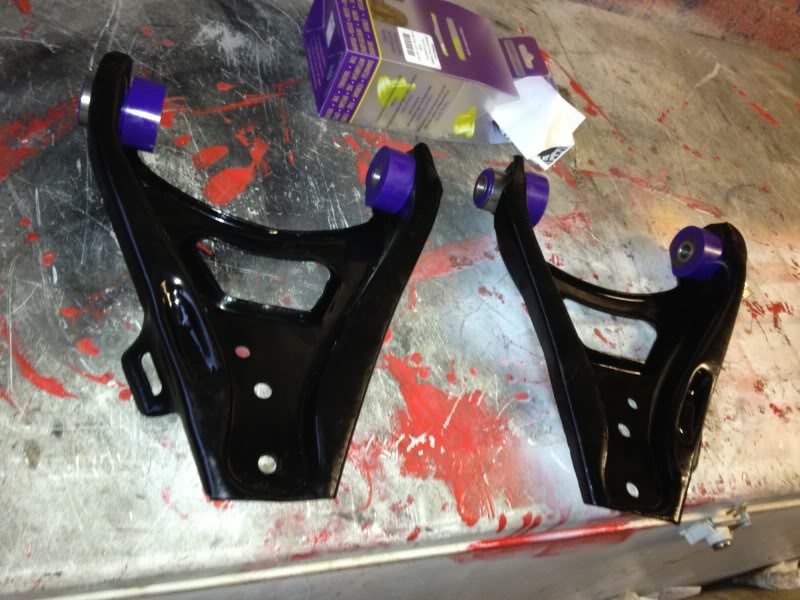
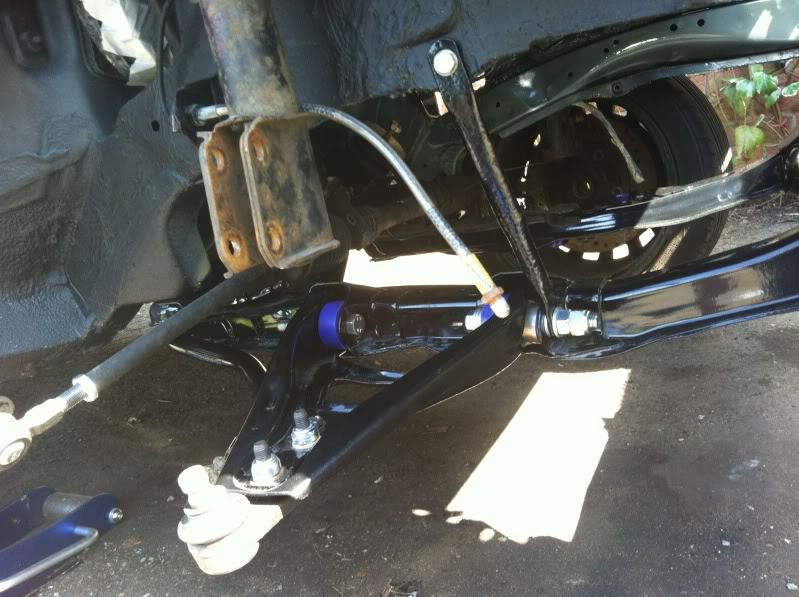
Got my wishbones, and some new Powerflex bushes.. with the help of skid and his vice we got them fitted.
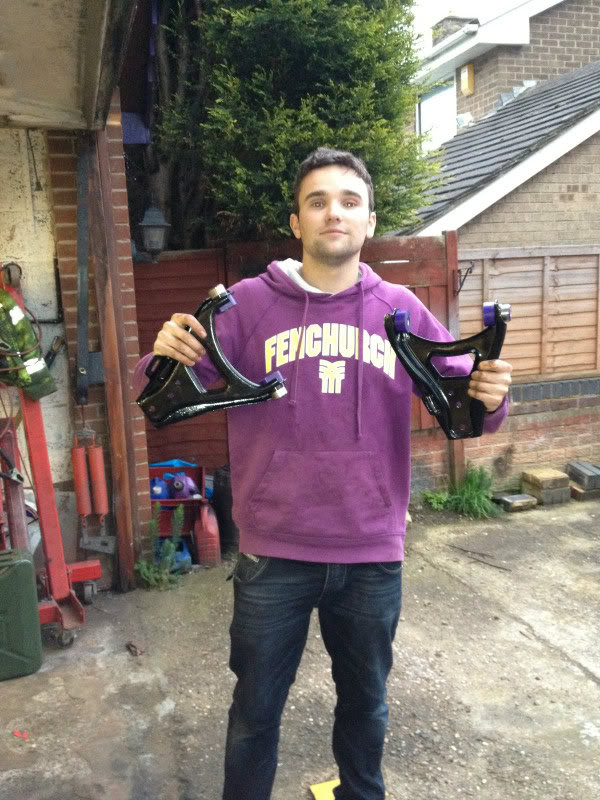
colour coded bushes to my hoody
^^^ dick headdddddd ^^^^ lol
Update
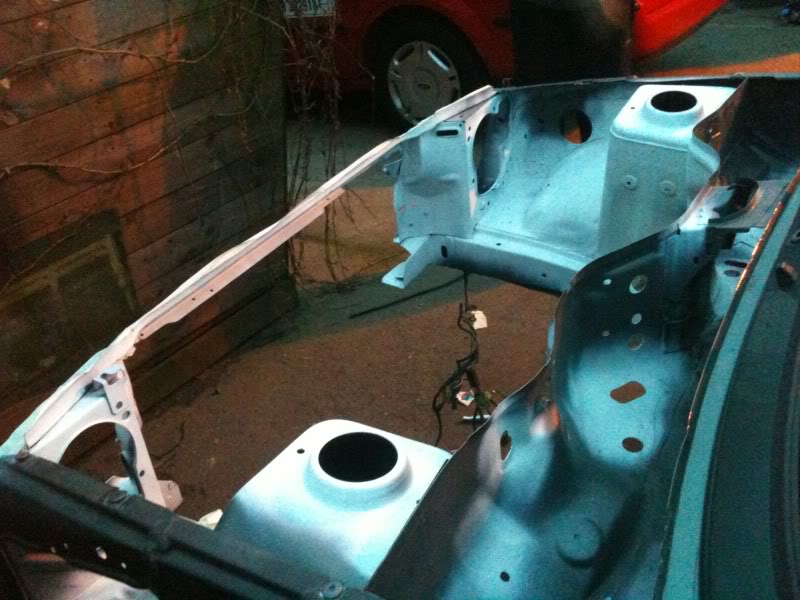
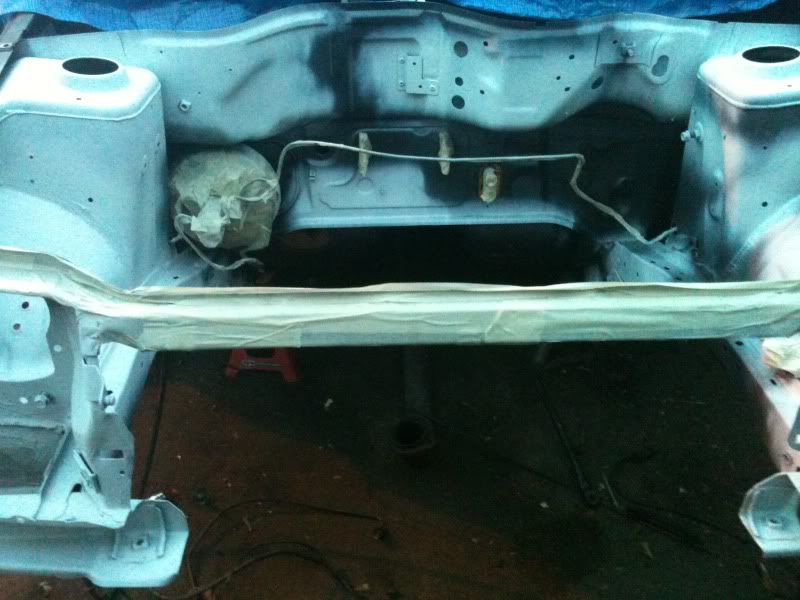
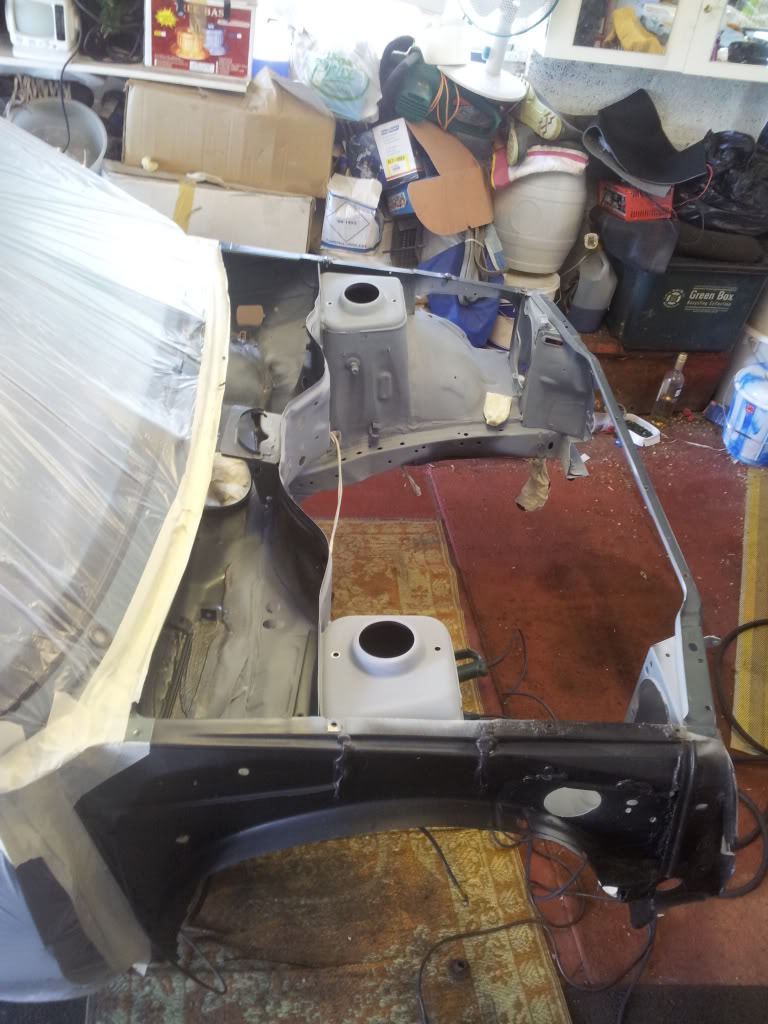
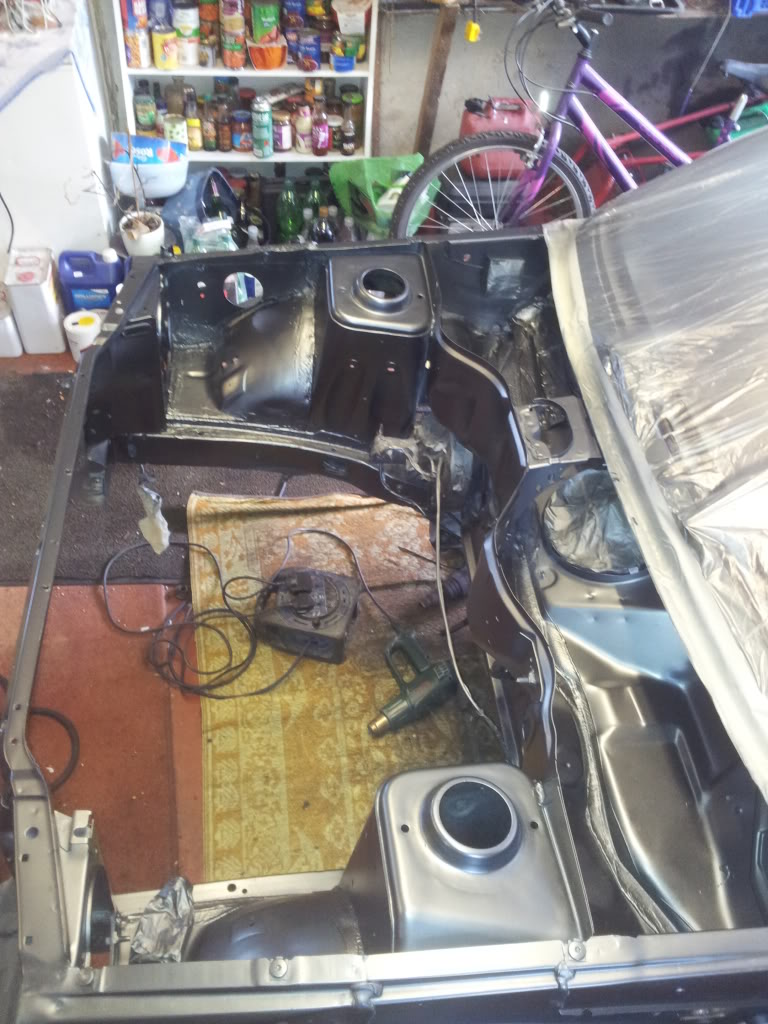
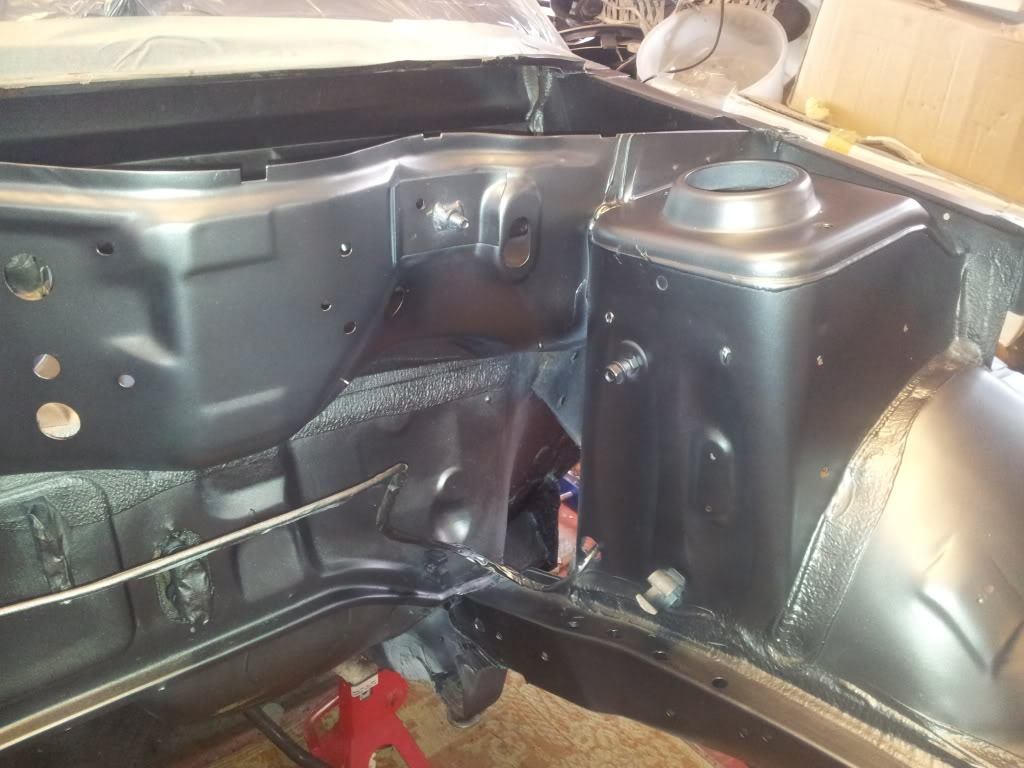
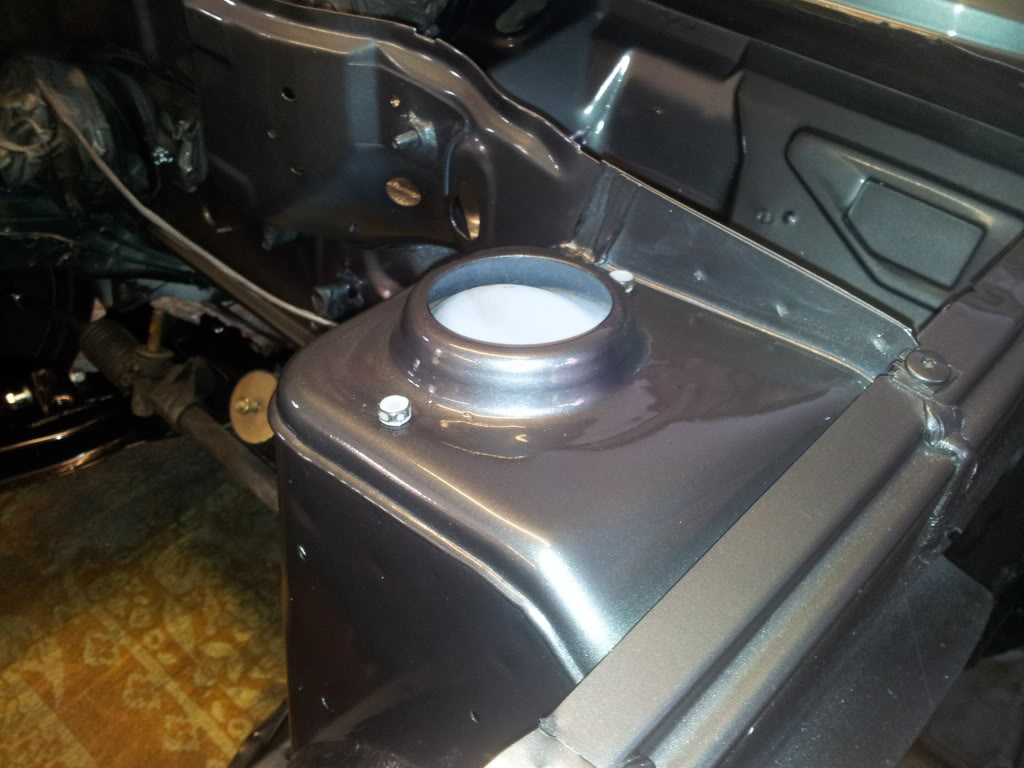
Masked etch primed & primed the bay, tonight i will flat the bay back and aim to get subframe, hubs suspension and wheels fitted so its just above movable into the gargage fro friday when it will hopefully see paint.
also got the seat frames lovingly made by dave richards back from the coaters.
Update.. Booked friday off work and andy came down to help me out as the waterbased paint scheme had me pooping a bit.
it went without any major drama.
today i began rebuilding the car, you may notice i have not done much with the brakes/hubs paint wise etc, this is because i need to draw a like somewhere
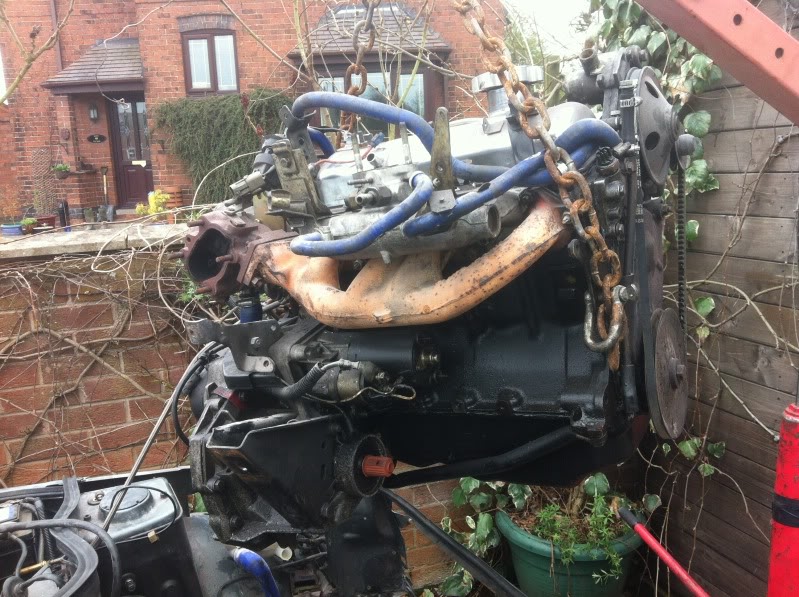
This weekend is all goes to plan ill have the lump in, took it off the stand last night, plan to get it just about ready to drop in by end of play tonight.
update
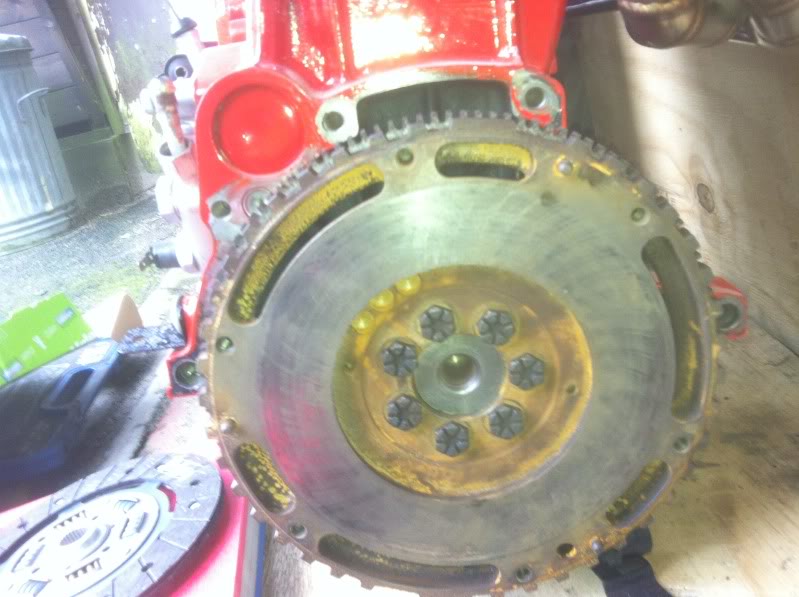
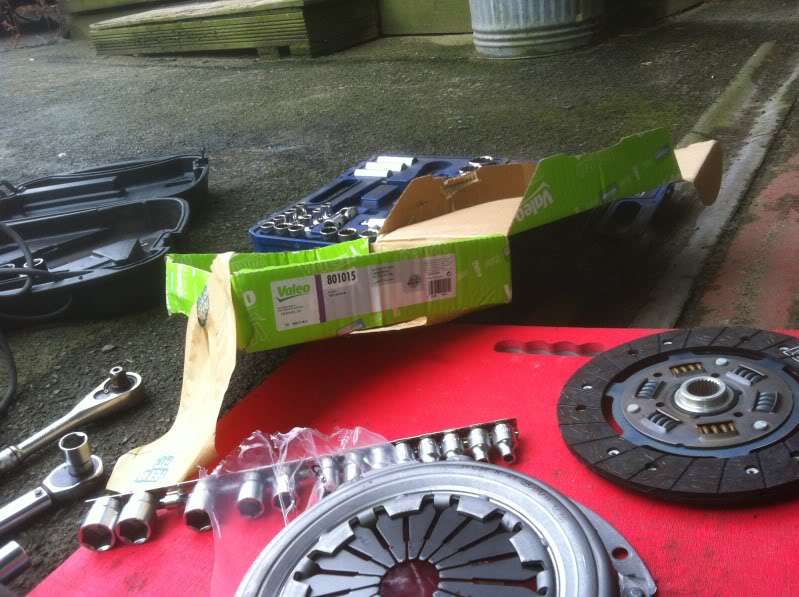
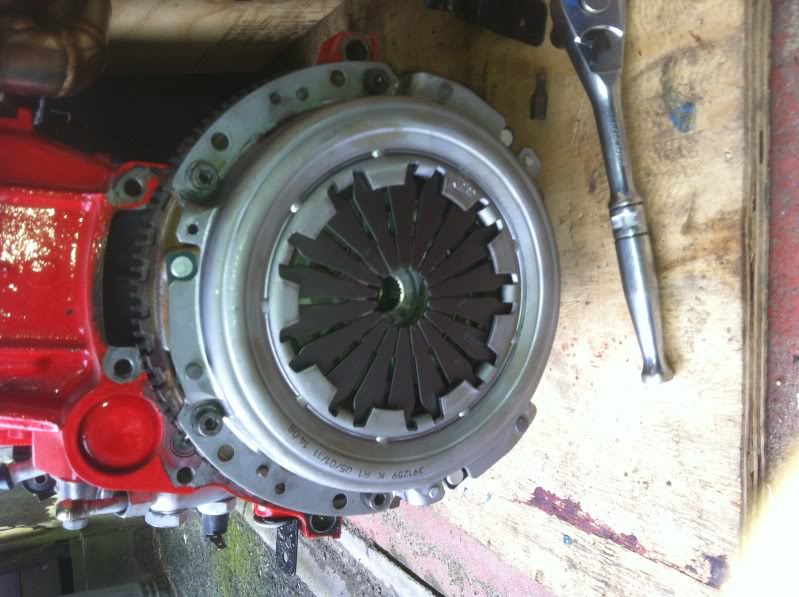
ctm lightened and balance flywheel fitted.
along with valeo green box clutch
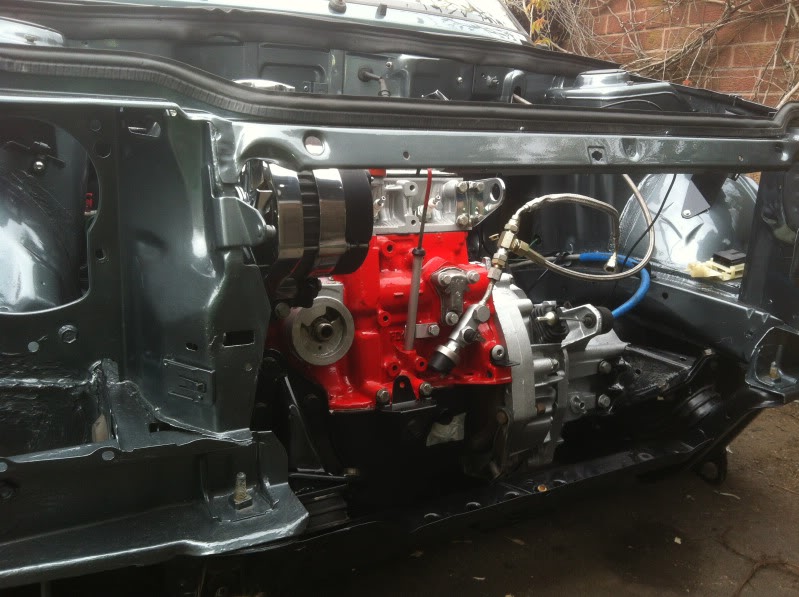
and then skid and mr hodge (not on here) , helped me lower the engine into its space.
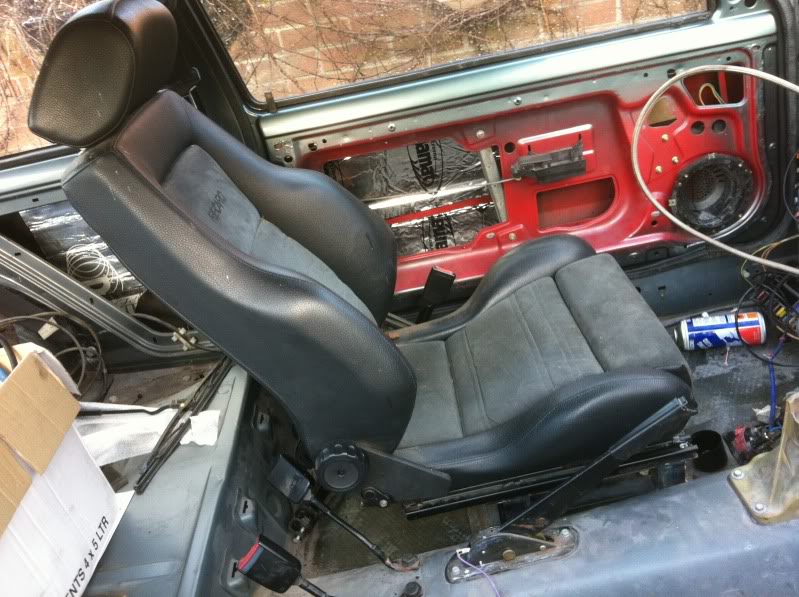
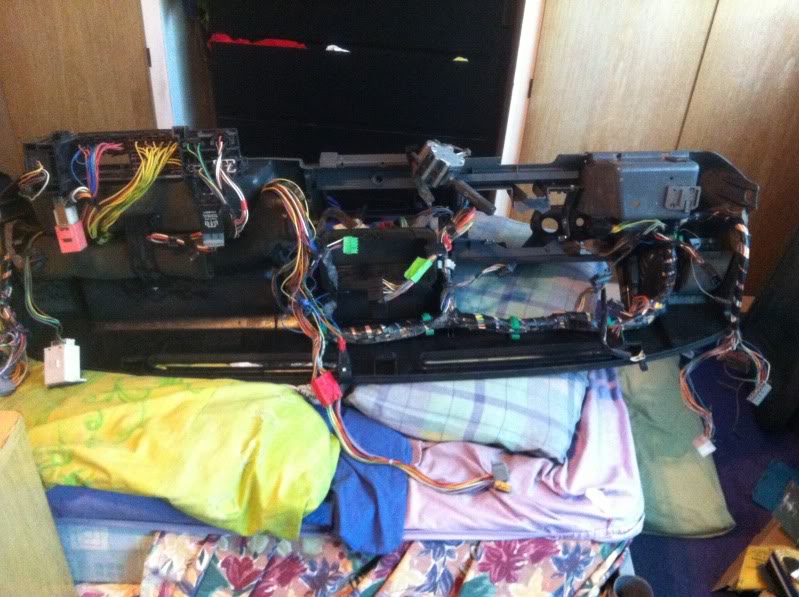
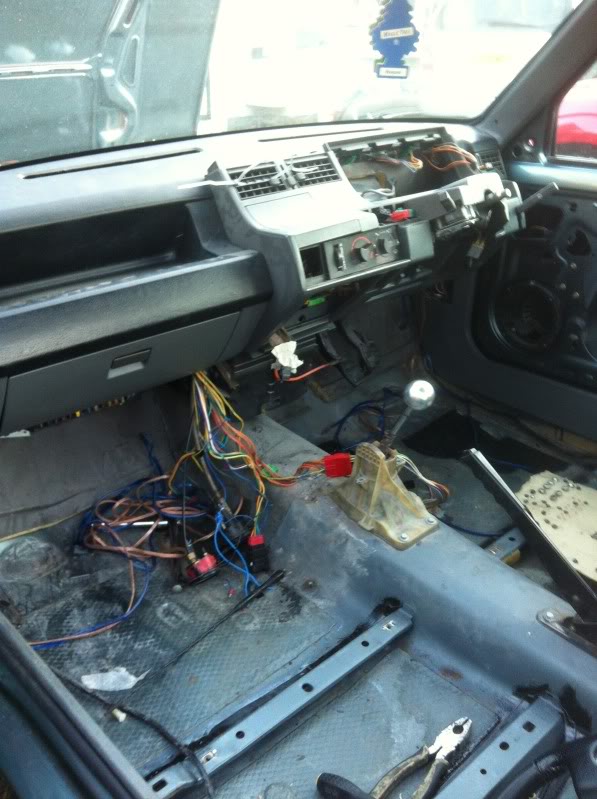
Fitted the loom to the dash..
and the dash to the car
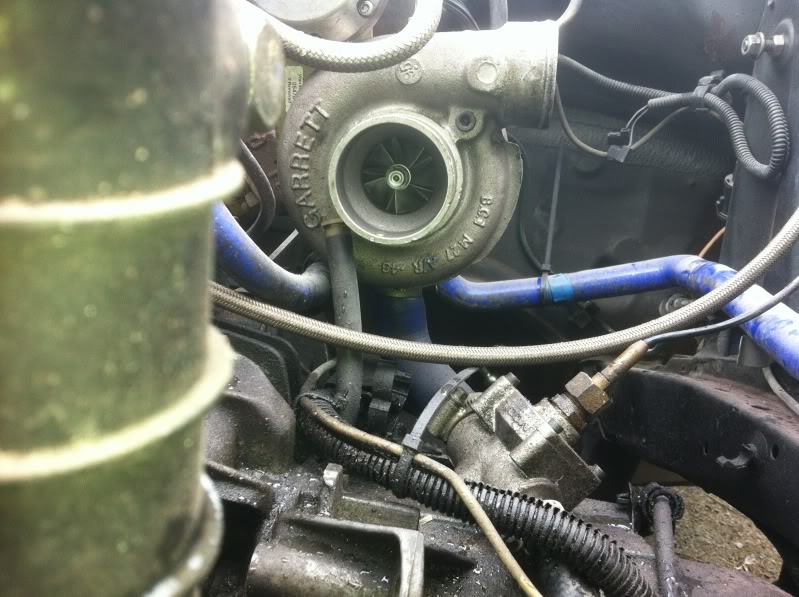
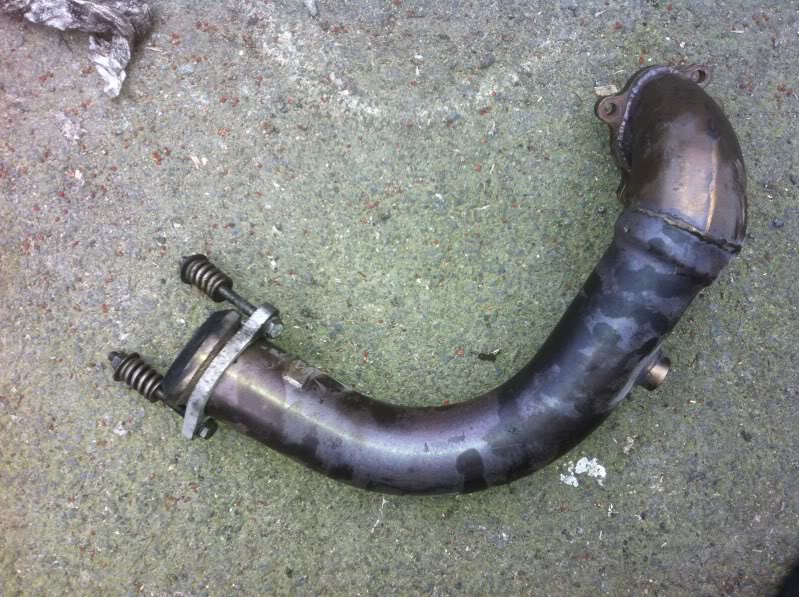
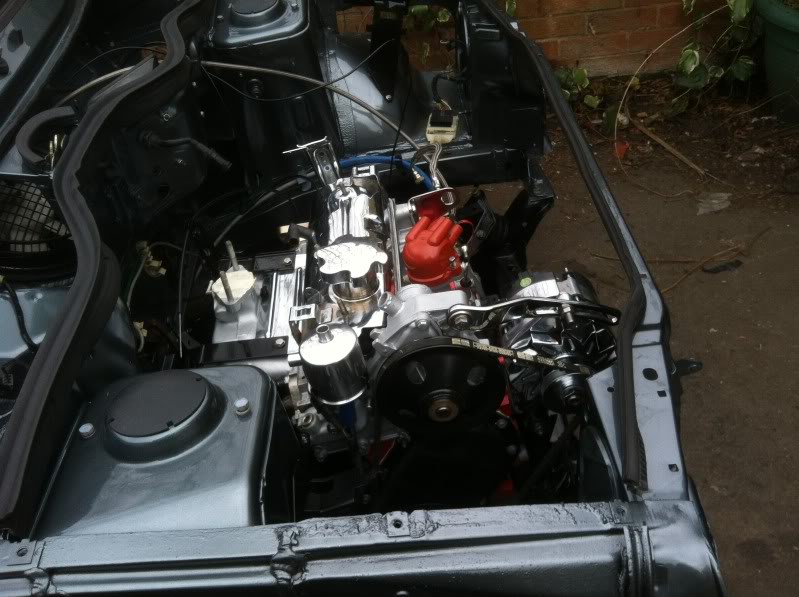
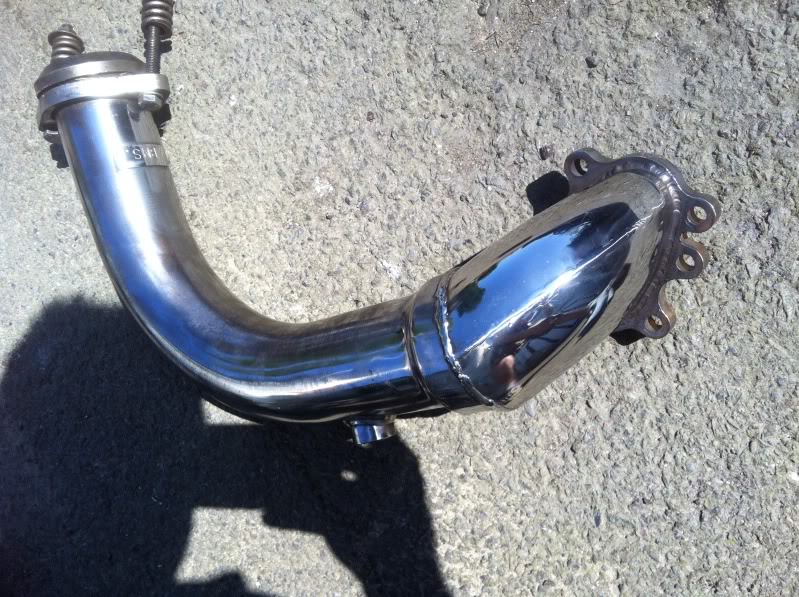
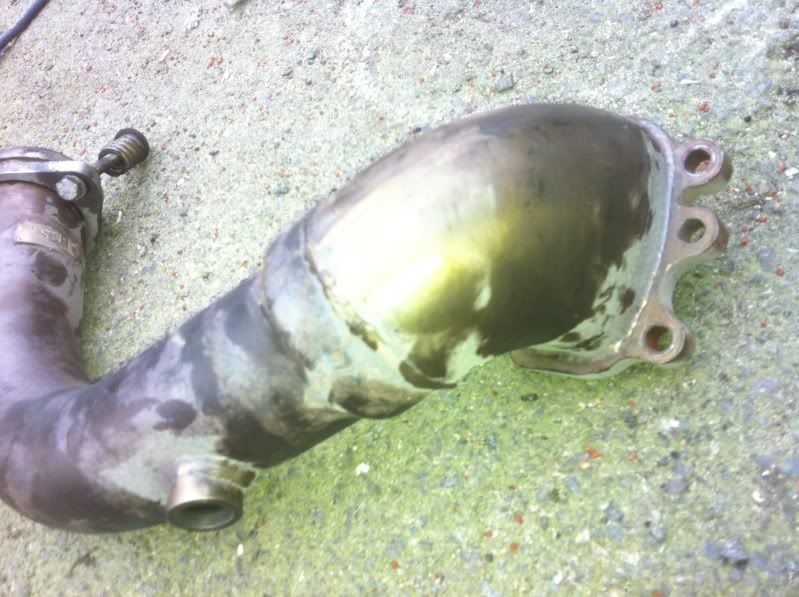
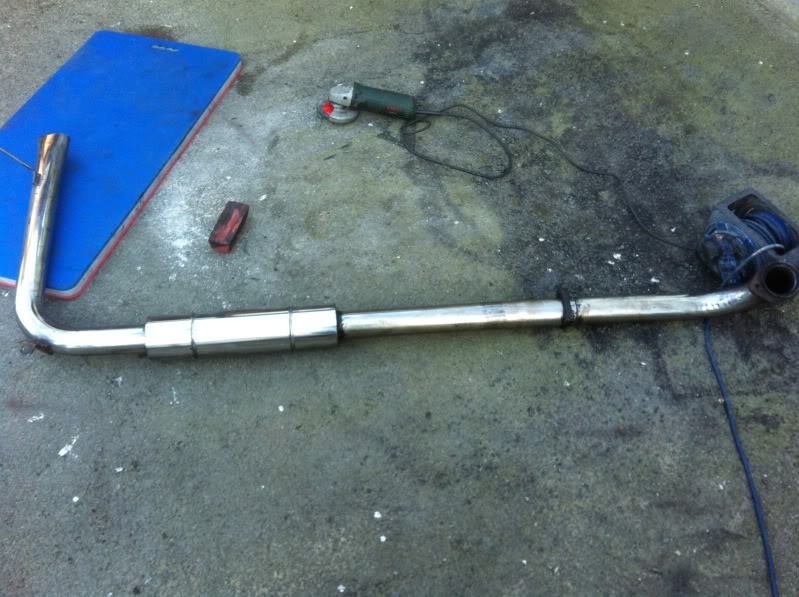
and gave my bms downpipe and sideexit a lick with the polishing love.
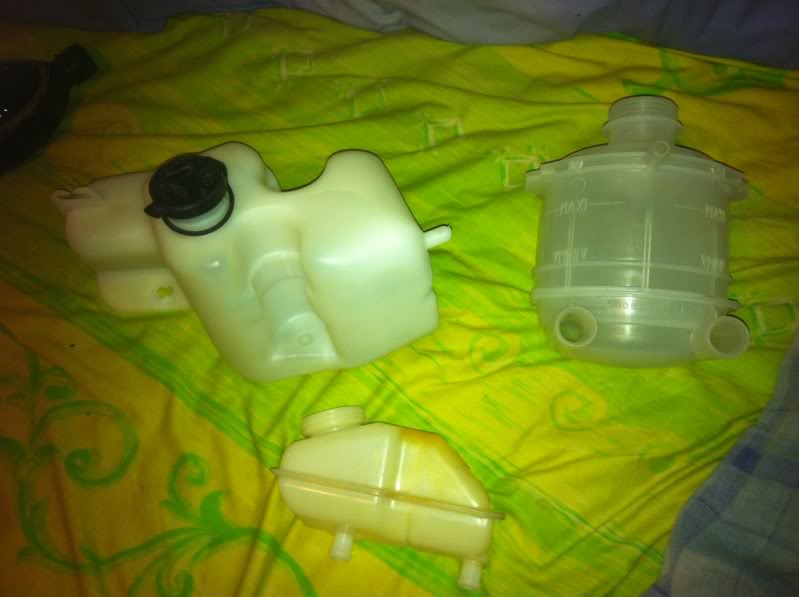
sent the mrs on a mission to clean my plastic bottles.
all but the brake res came up as new!!
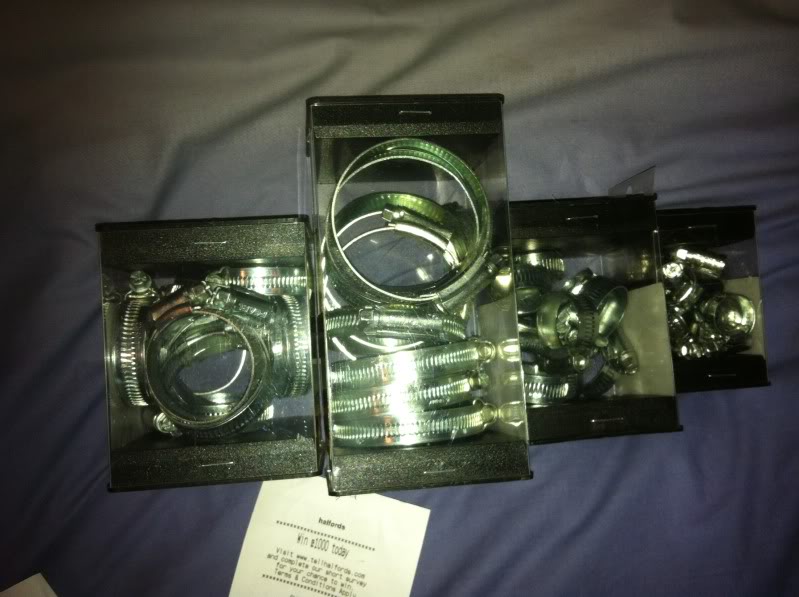
also popped halfords for fresh jubilee's
and purchased some edge trim to tidy up any cut edges where my boost pipes run, primarilyy to stop chaffing.
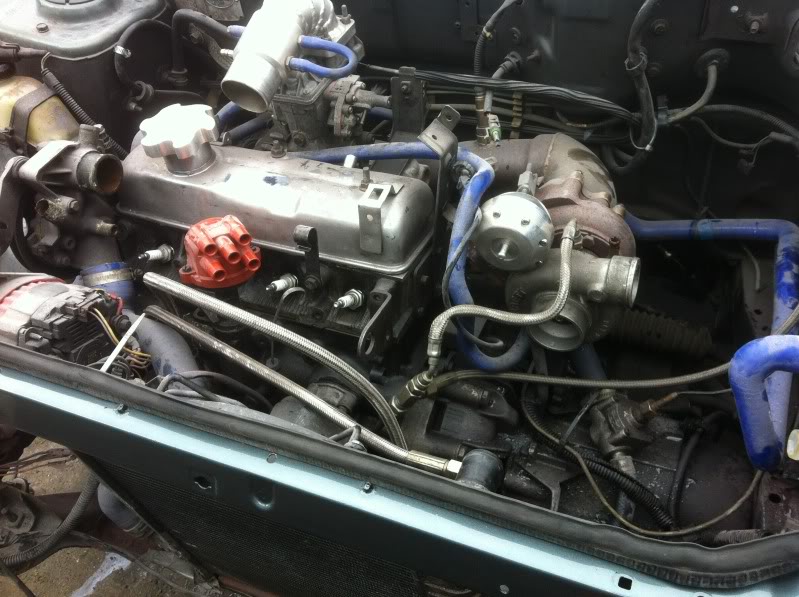
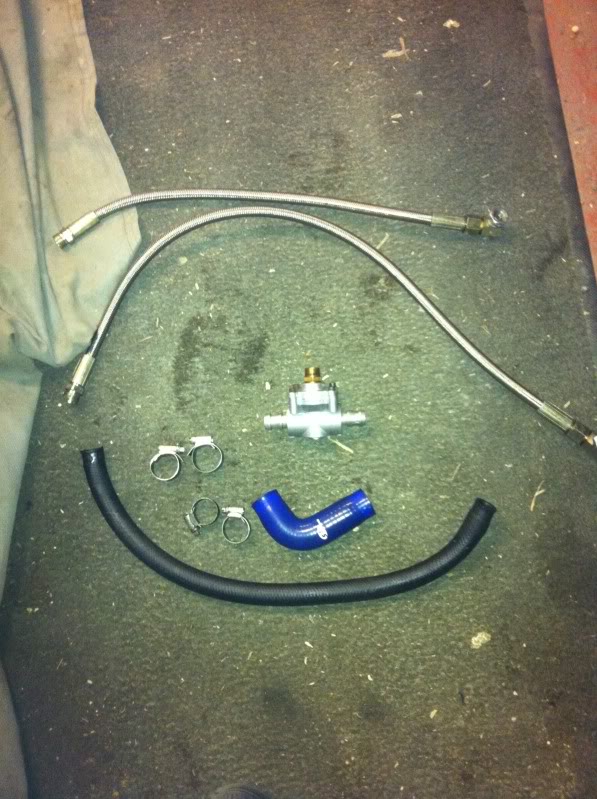
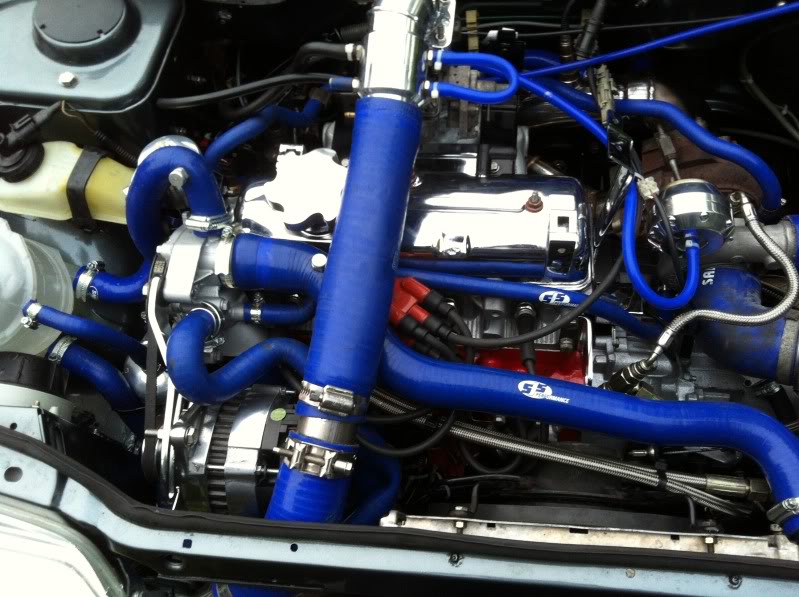
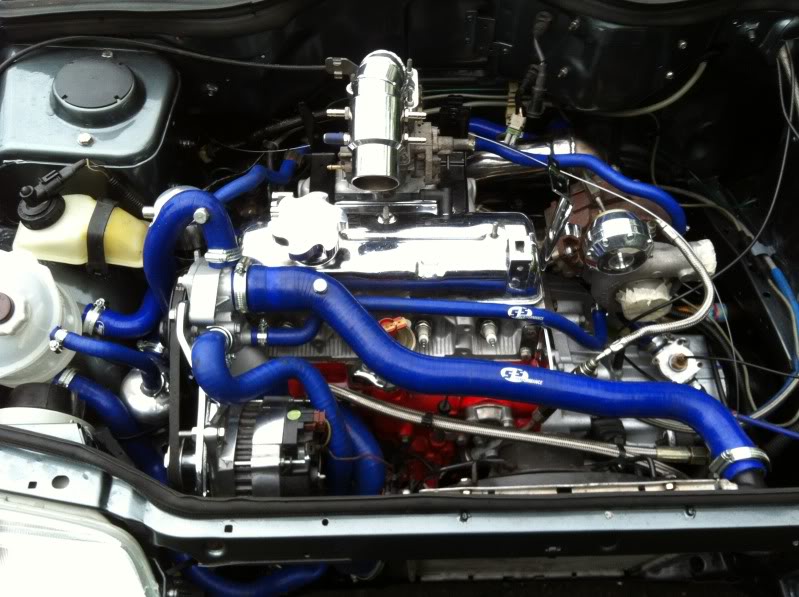
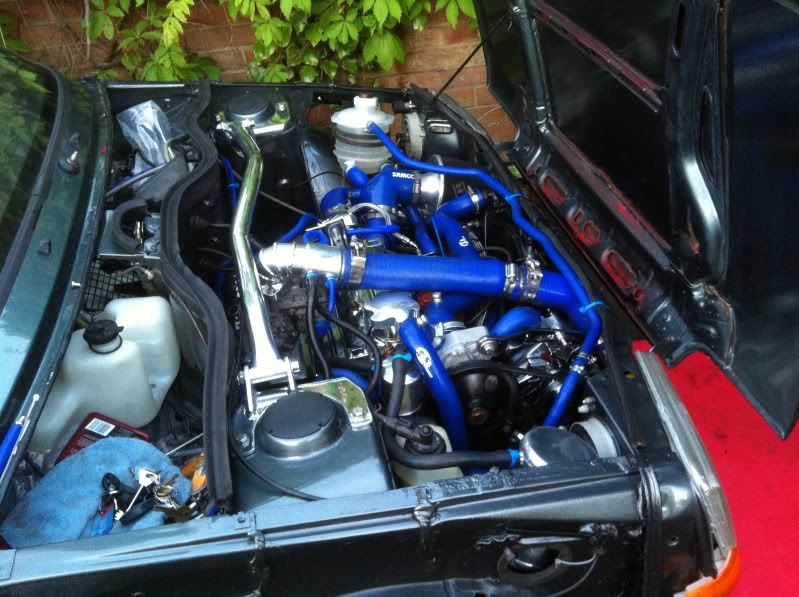
Well , i got the coolant circuit (modified) , and the carb/fuel lines and vacume lines all fitted up, I ordered lots of oil from halfords (gbox holds 3.4litres!!).. I primed the lump got it all turning over.. and then eventually fired it .. and she runs
however....
5 mins on idle as we have.
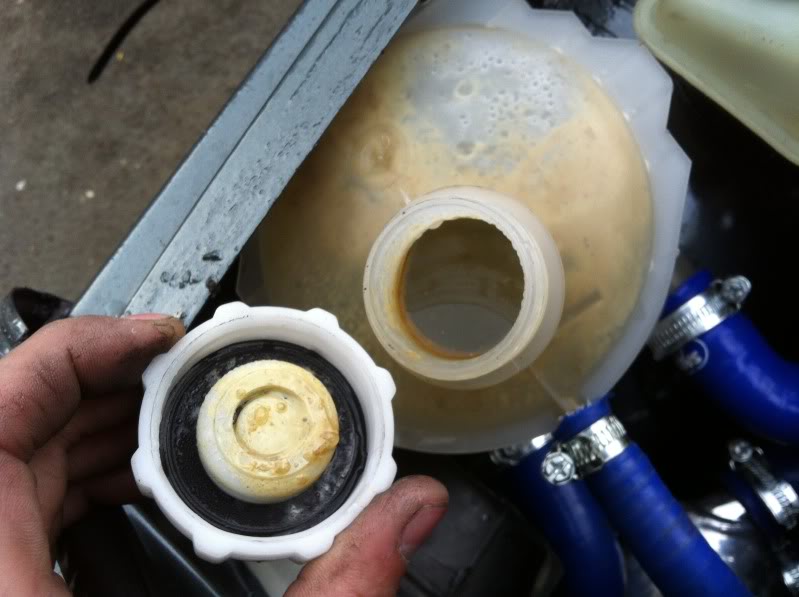
to sum up.. oil in header tank but no where else.
After brief discussion it could be residue in the lines etc.
it could be a cracked coil in the rad (as they also cool the oil),
or it could maybe be a potential cracked head ( however the head comes from a good source so id be surprised).
Ive cleaned out the header tank and will run it back up tonight to see if it happens again and if so how badly.
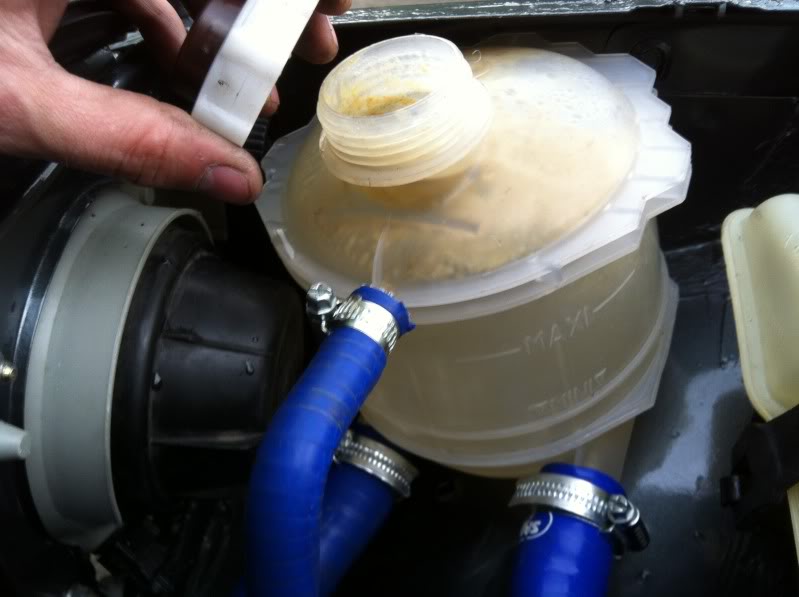
Well good news.. Swapped the rad and the oil issue seems to have gone away
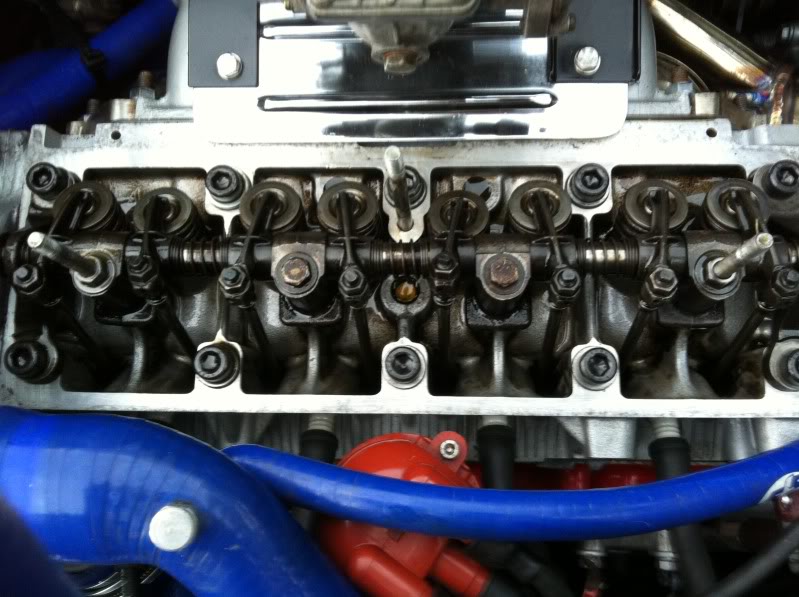
Also adjusted the tappets from 0.20 - .0.25 to 0.15 / 0.20 and the results below.
r5 c1j, tappets 0.20 and 0.25 - YouTube
0.15 and 0.20 r5 tappets - YouTube
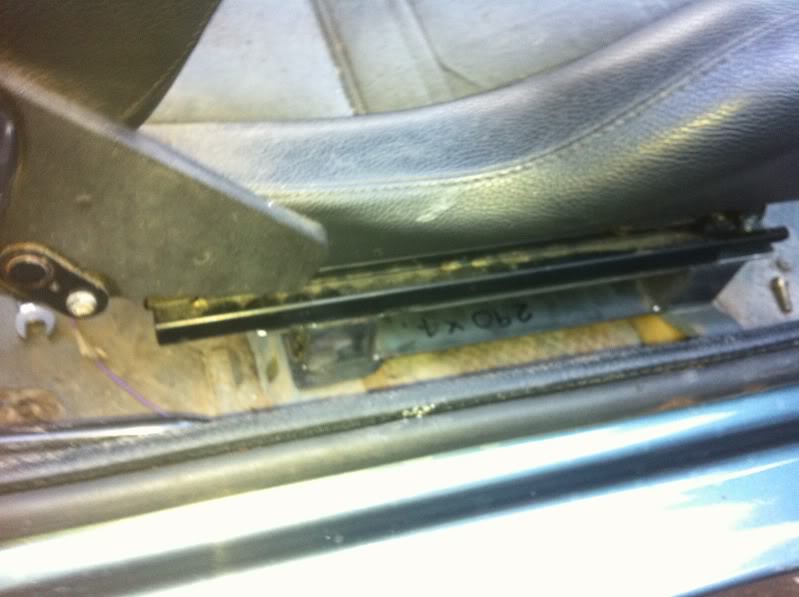
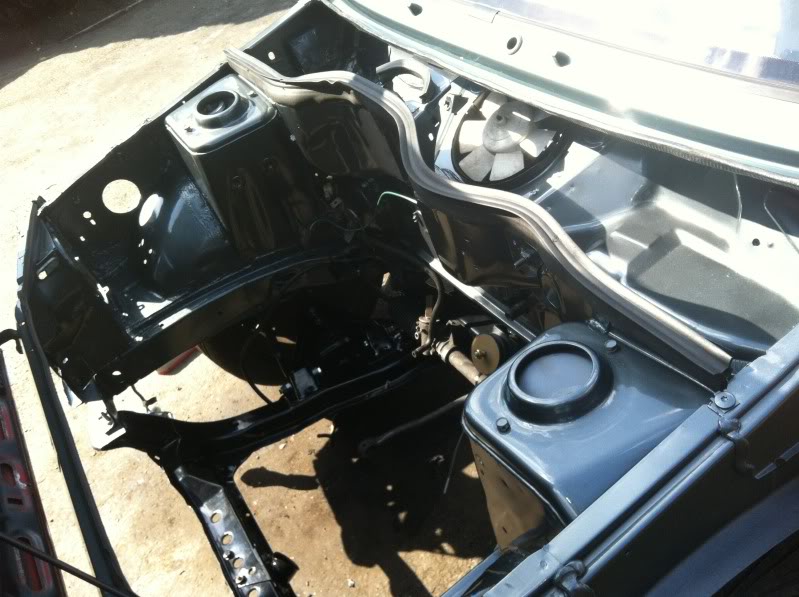
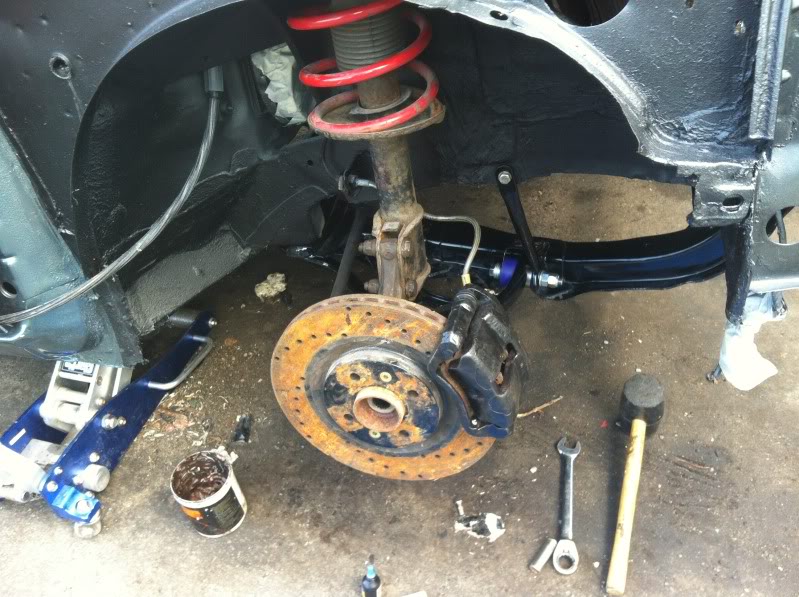
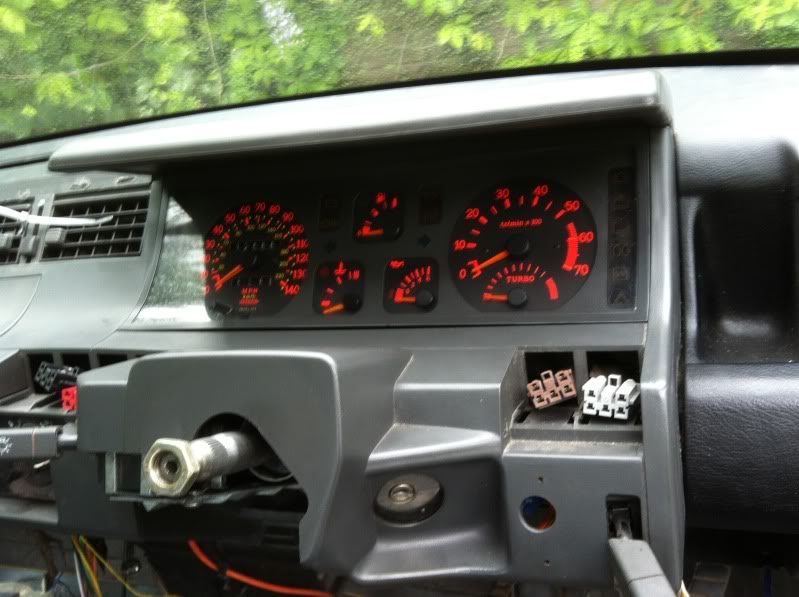
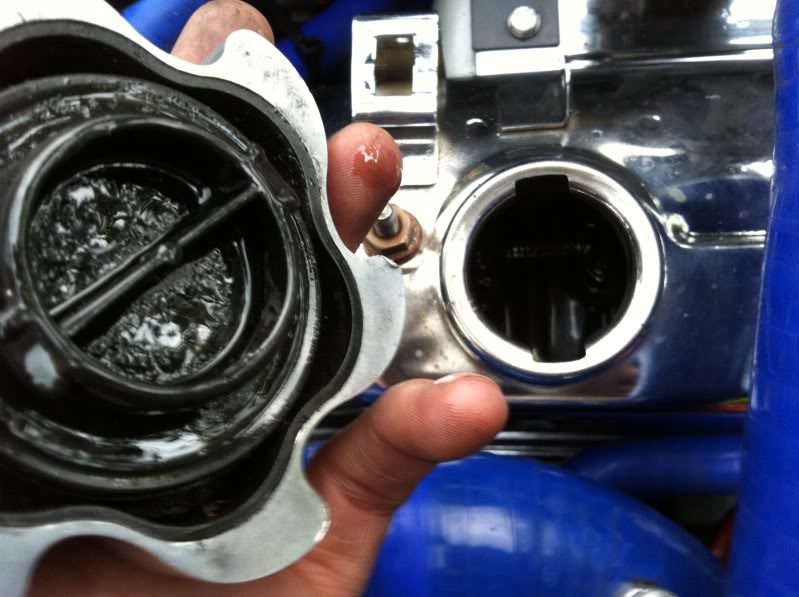
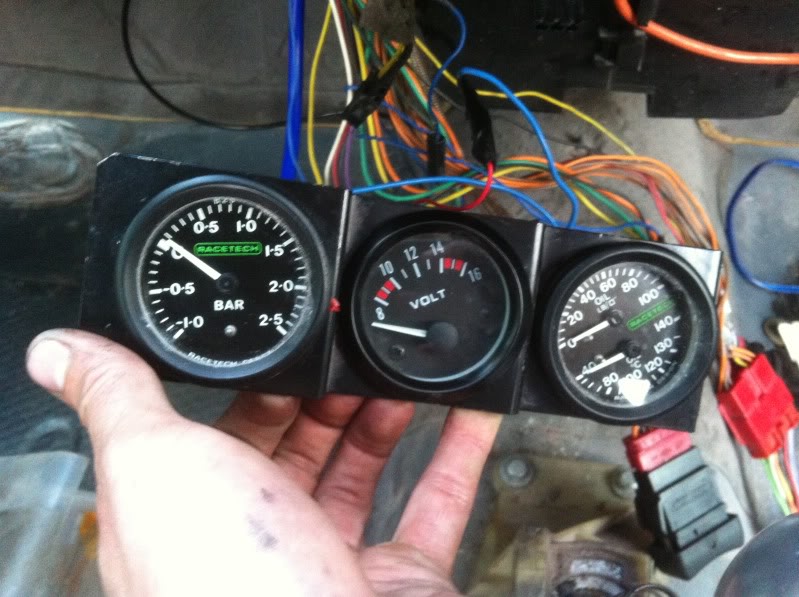
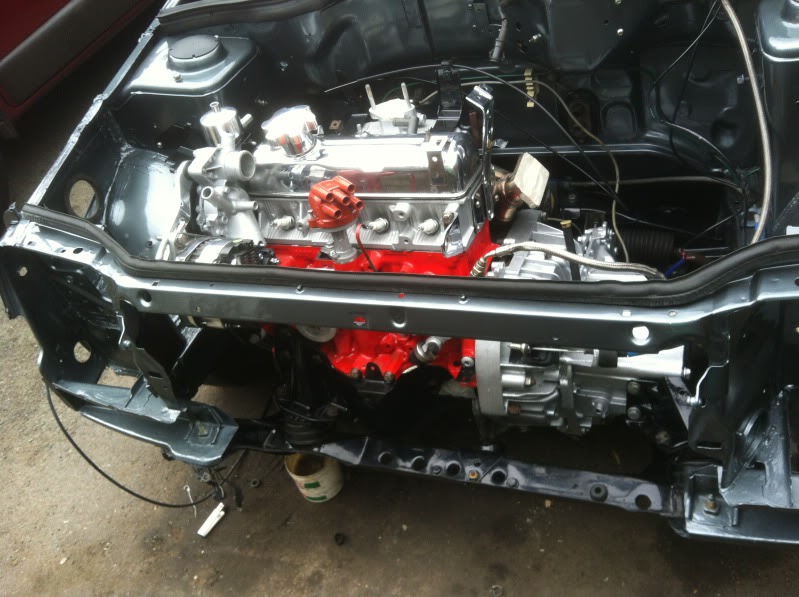
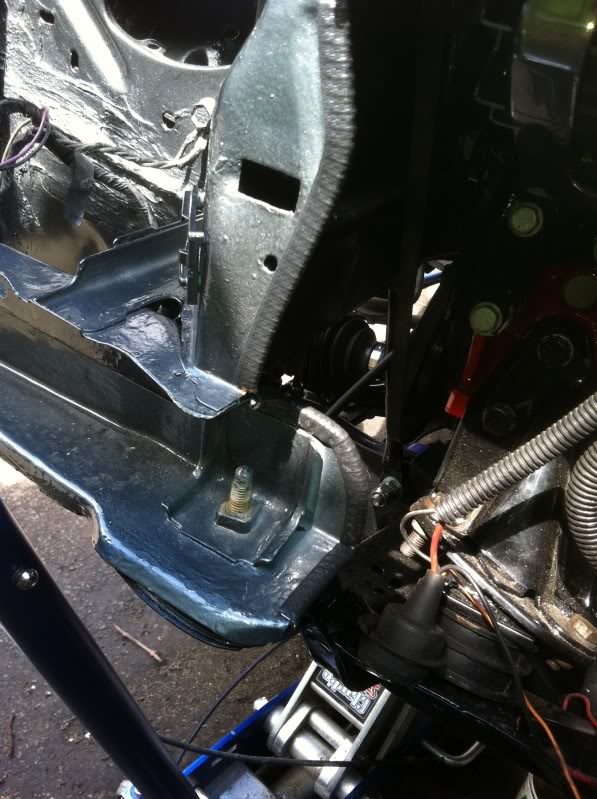
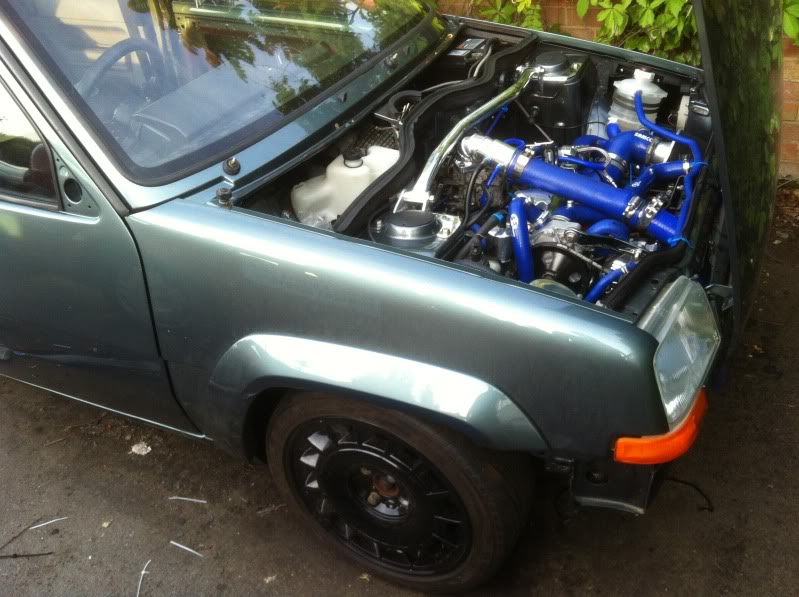
Also as we had good weather last night i got the gauges all wired up , , the breather setup finished, and even chucked the strutbrace on , courtesy of dave richard.
cheers guys, more of an update..
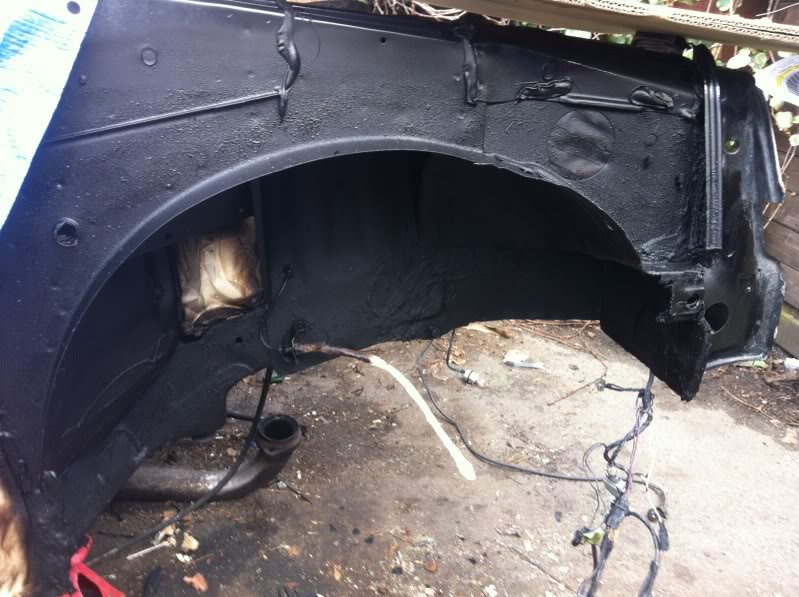
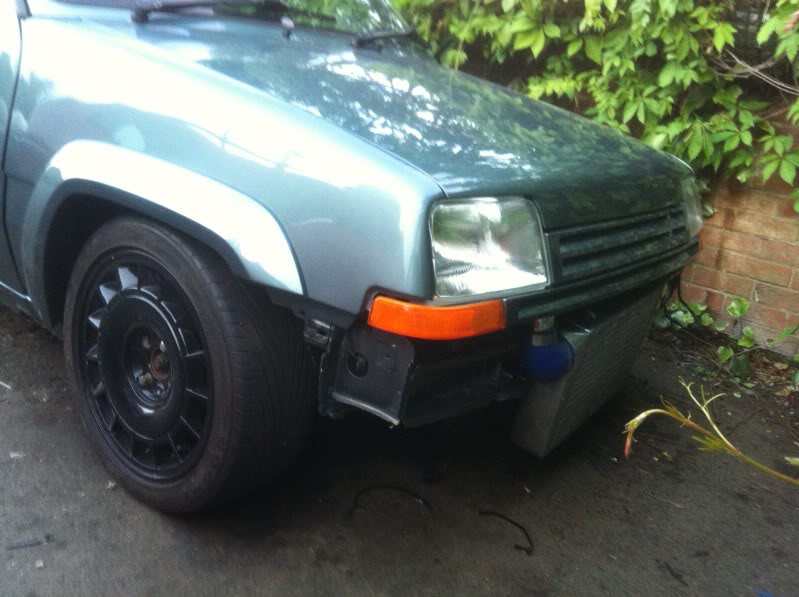
brakes bled up (cheers skid), rear bumper mounted, front wings and grill also.
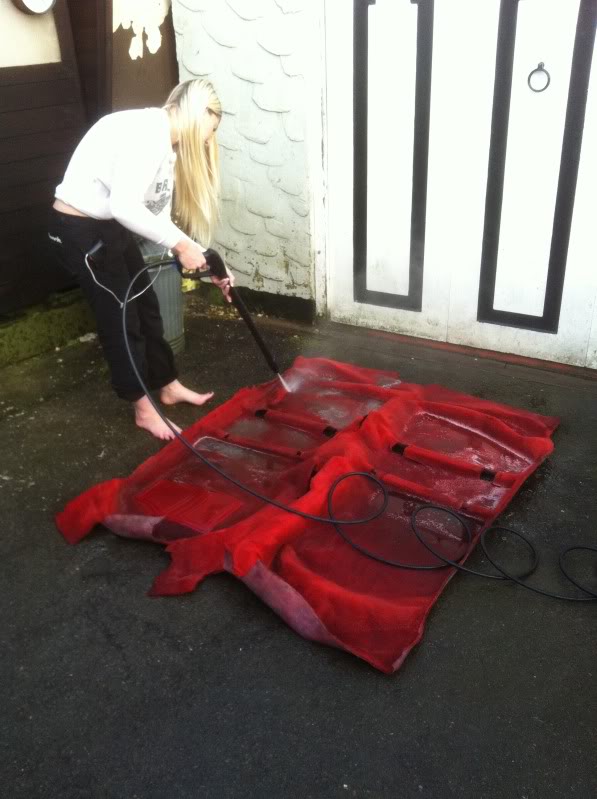
Got the mrs involved aswell in cleaning the carpet..
meant buisness when the shoes came off
Coming together nicely!
Another on who manages to get the mrs doing some graft
I'm doing something wrong

just gone threw the whole project, cracking build, nice to see someone who had a 5 as rotted out as mine was and done all the hard bit, i found making the inner arch in the back was the hardest bit for me, and after about 8 tubes of sticker flex, three rolls of welding wire, and buckets of u-pol sealent and hammerite it was finished, good job!
Posting Permissions

 Reply With Quote