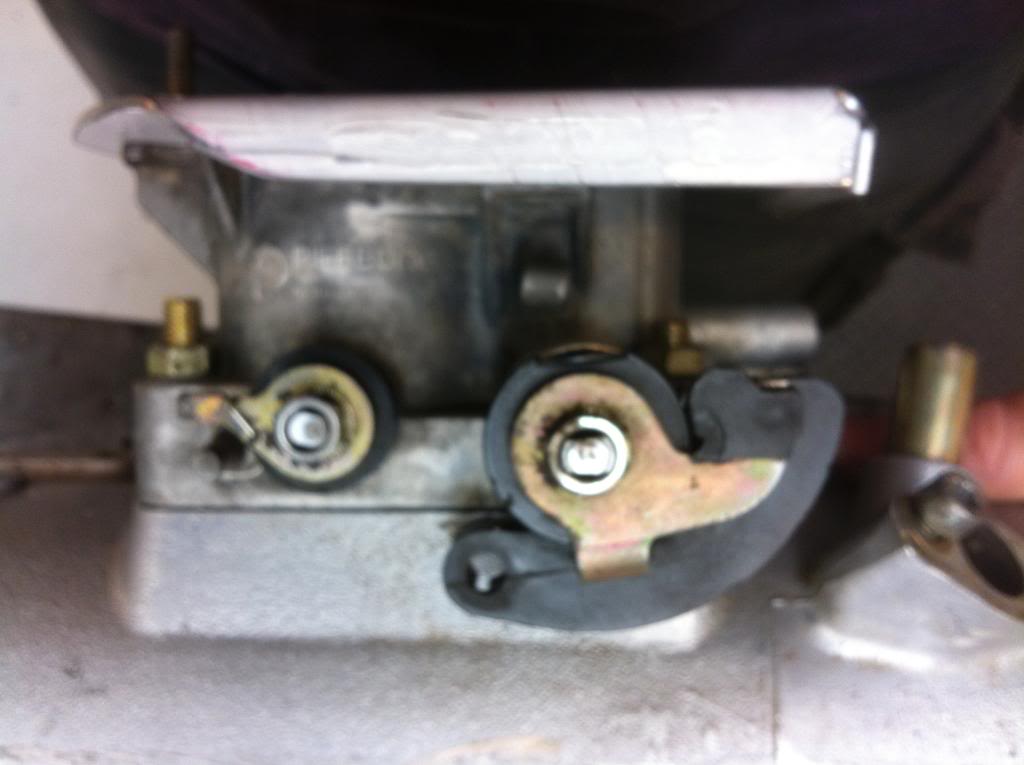
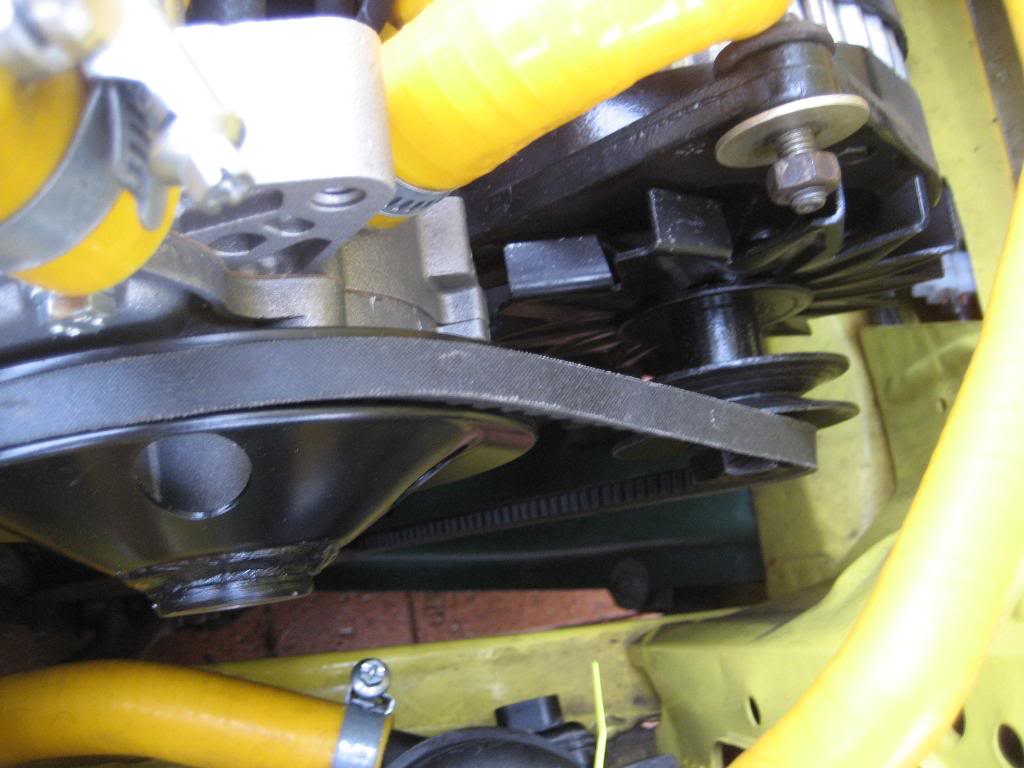
I've been having a crack at making a Throttle Cable Linkage (for the cable conduit to push against), something I had forgotten all about

I might be able to combine the boost hose adaptor but not sure? Open to suggestions.
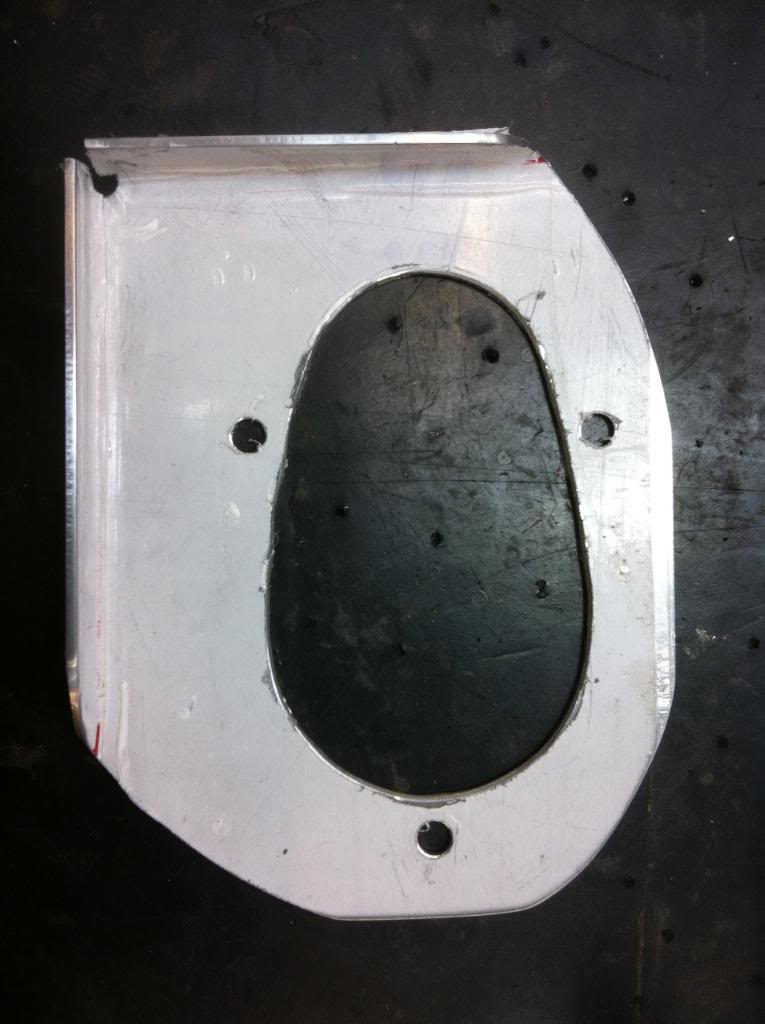
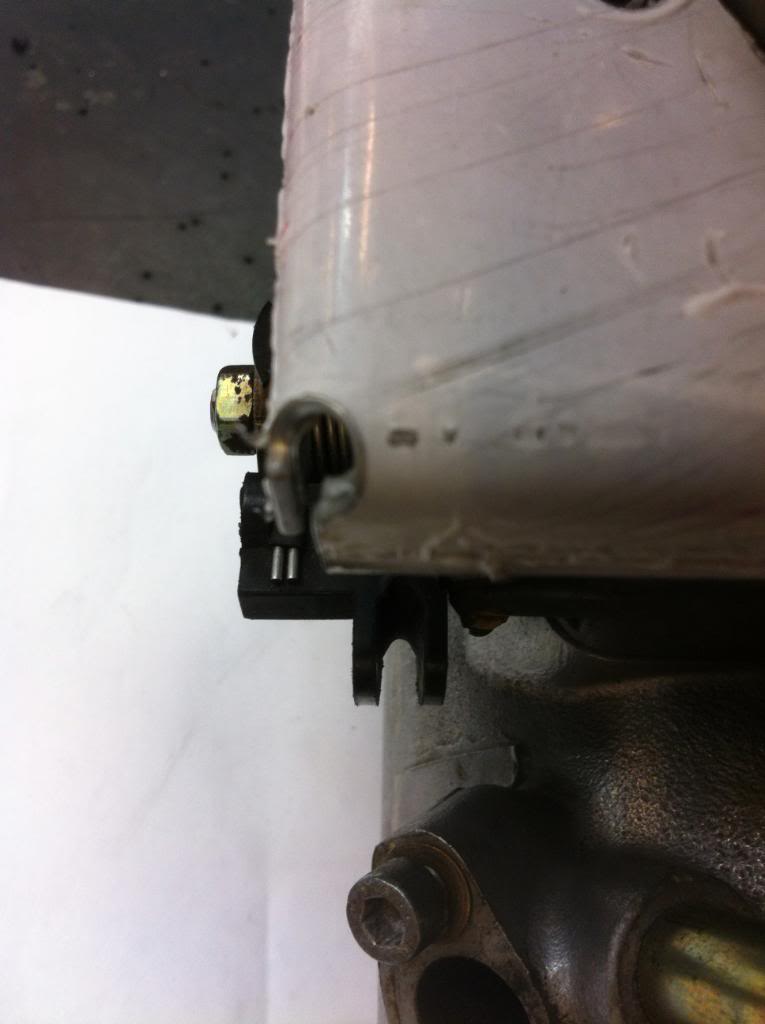
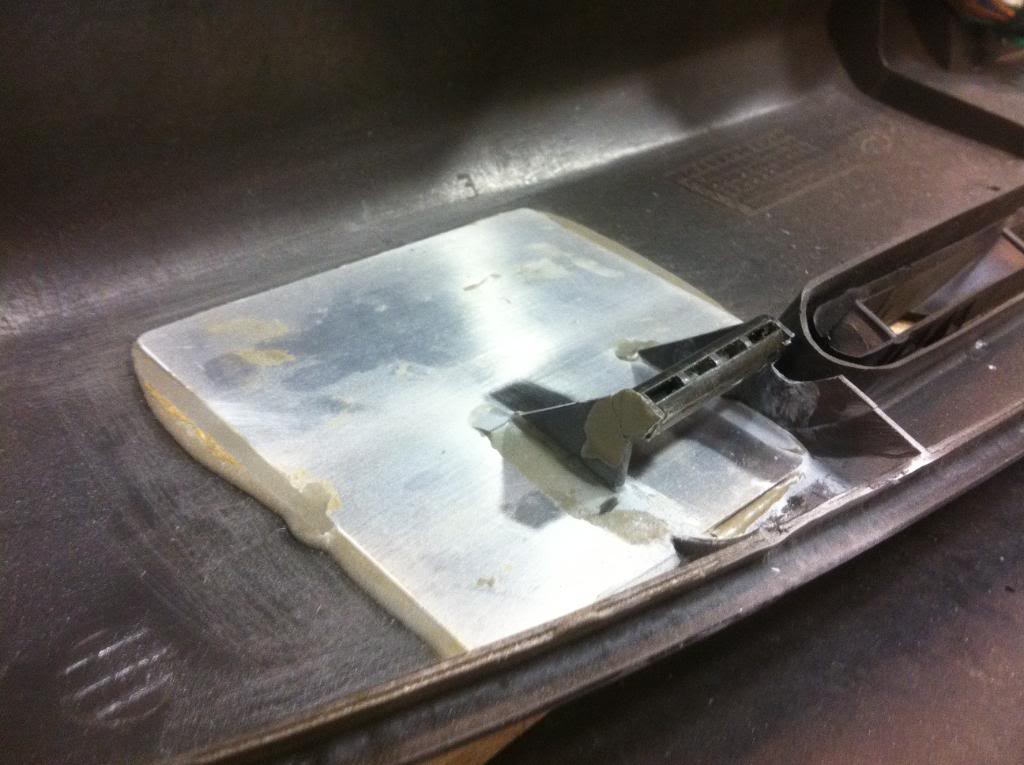
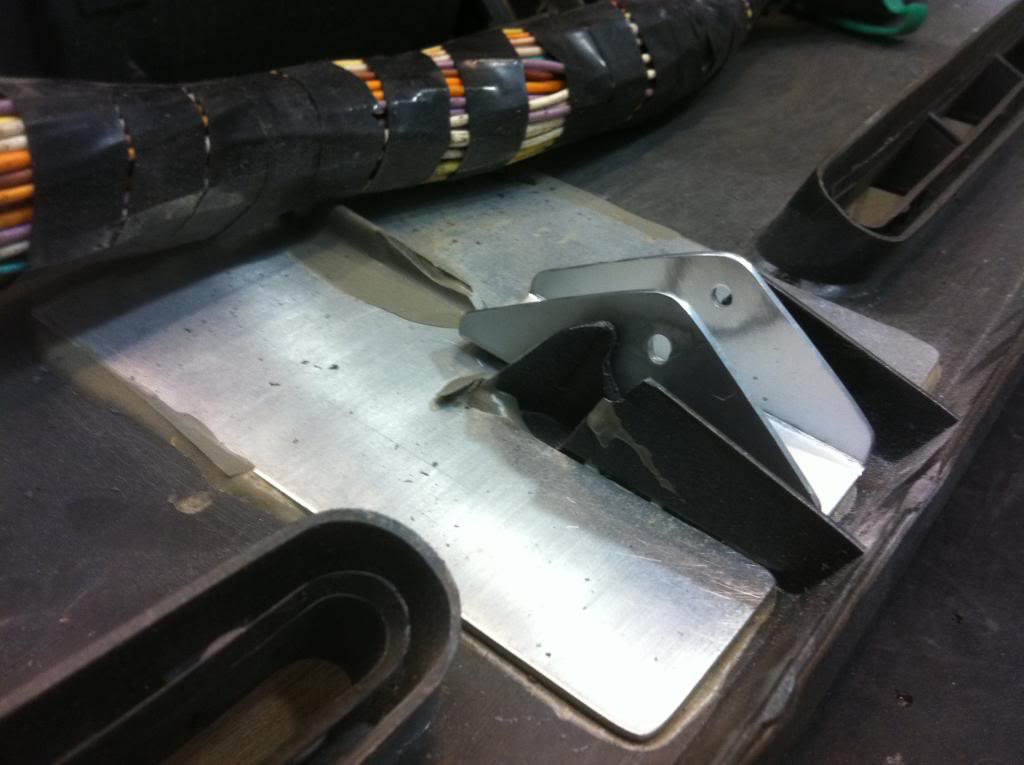
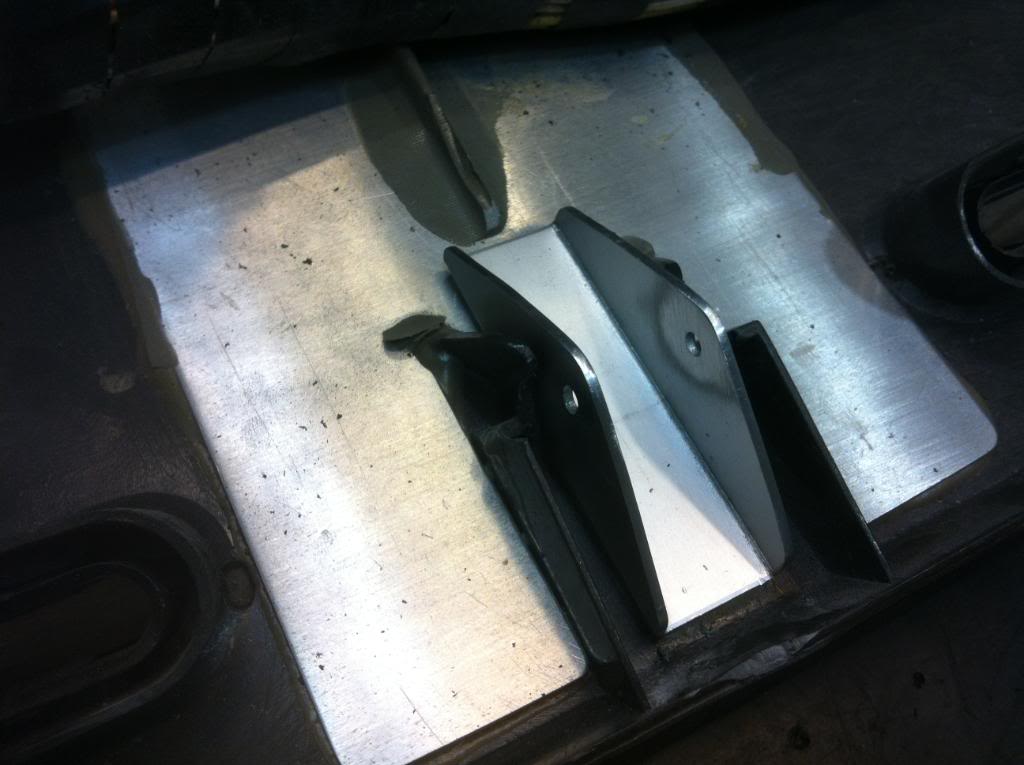
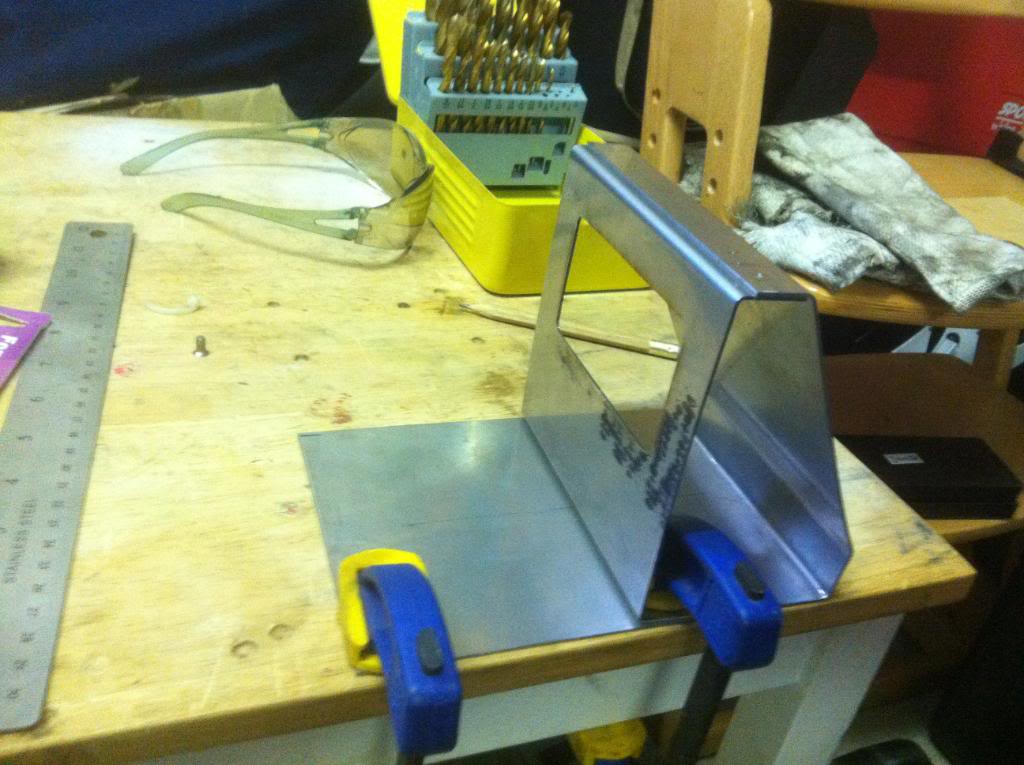
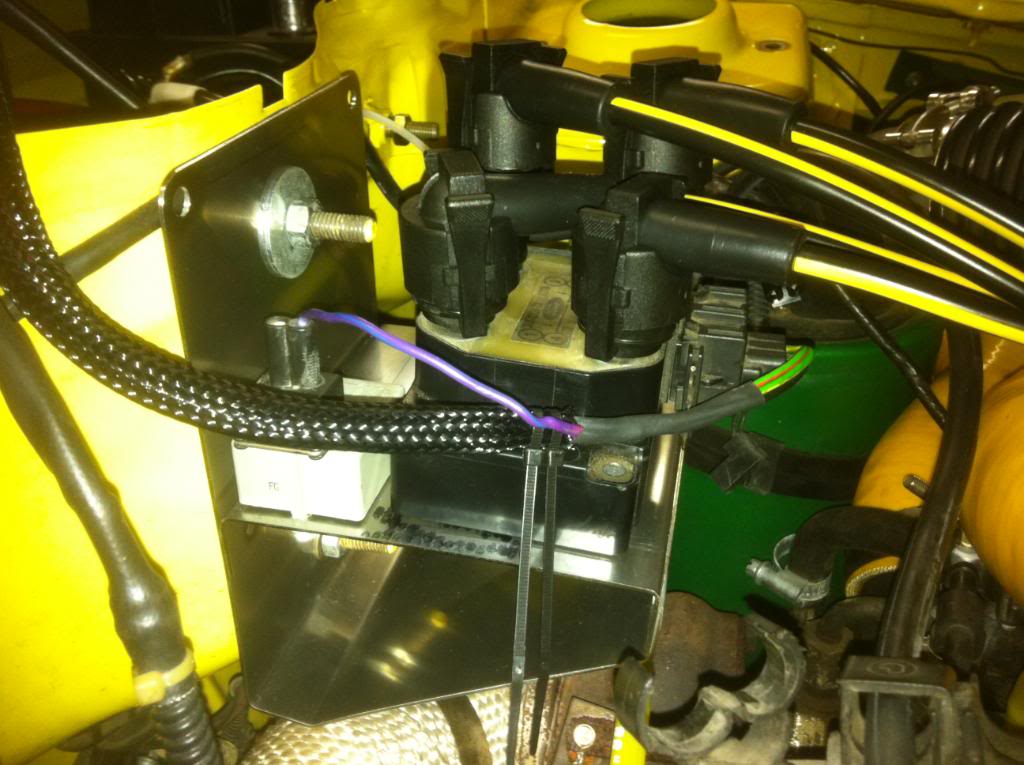
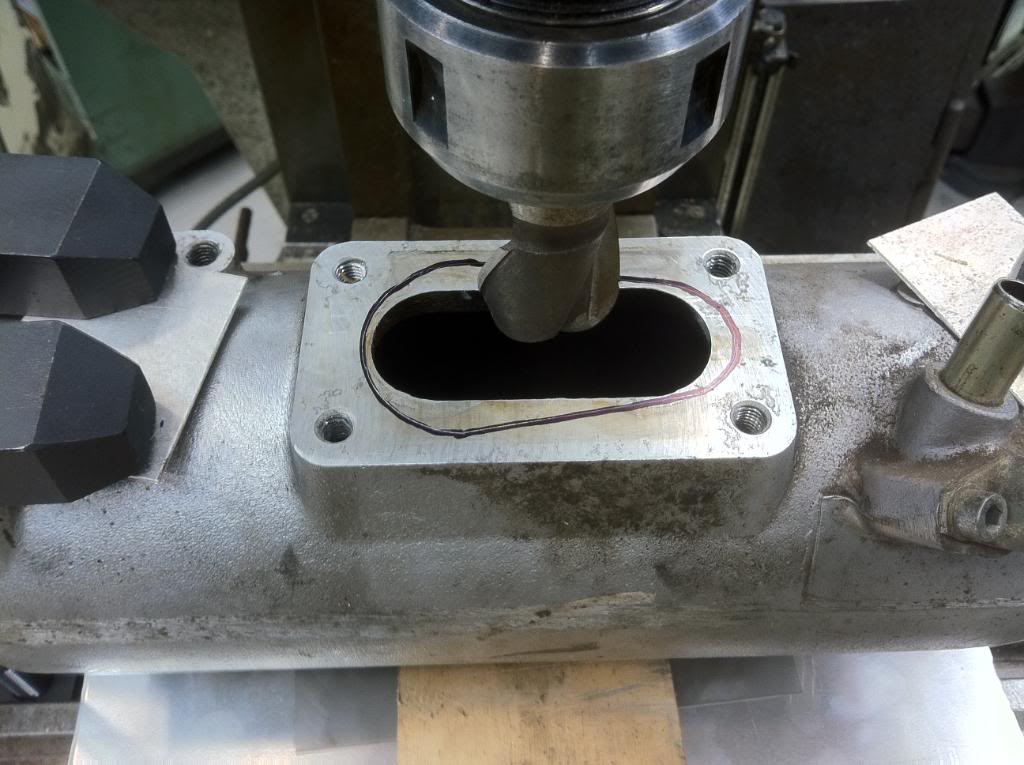
I made it out of 7075 T6 that I had some offcuts of at work. Not Finished yet but a start. This is the plate with a couple of angles out on to it for stiffness.
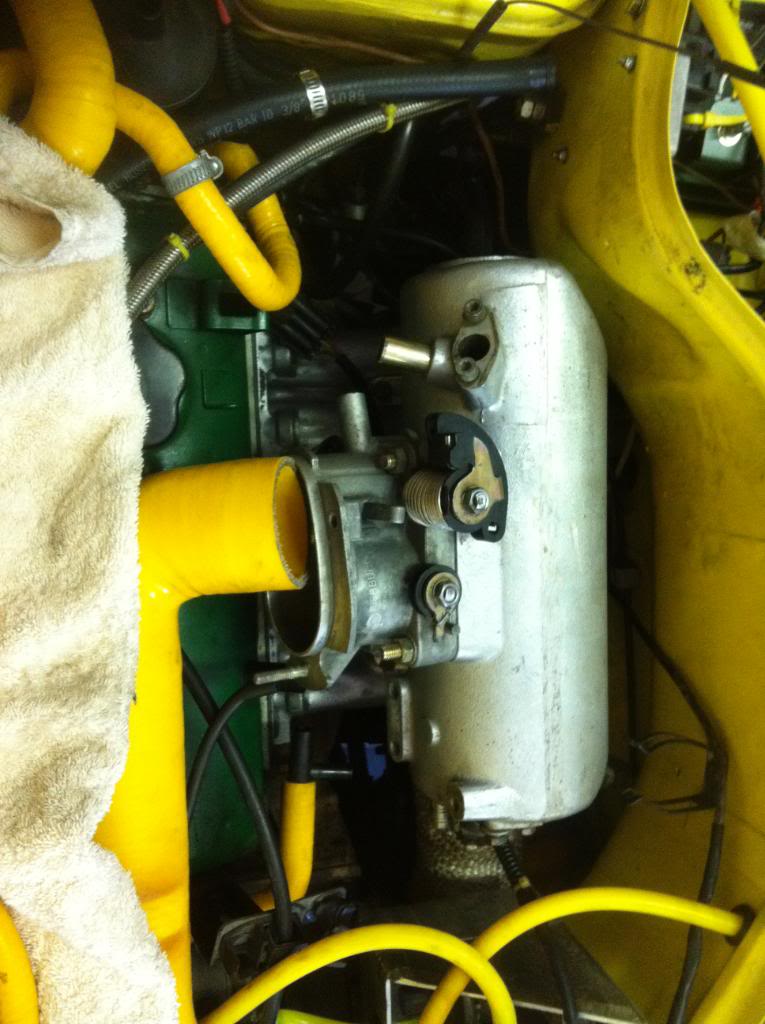
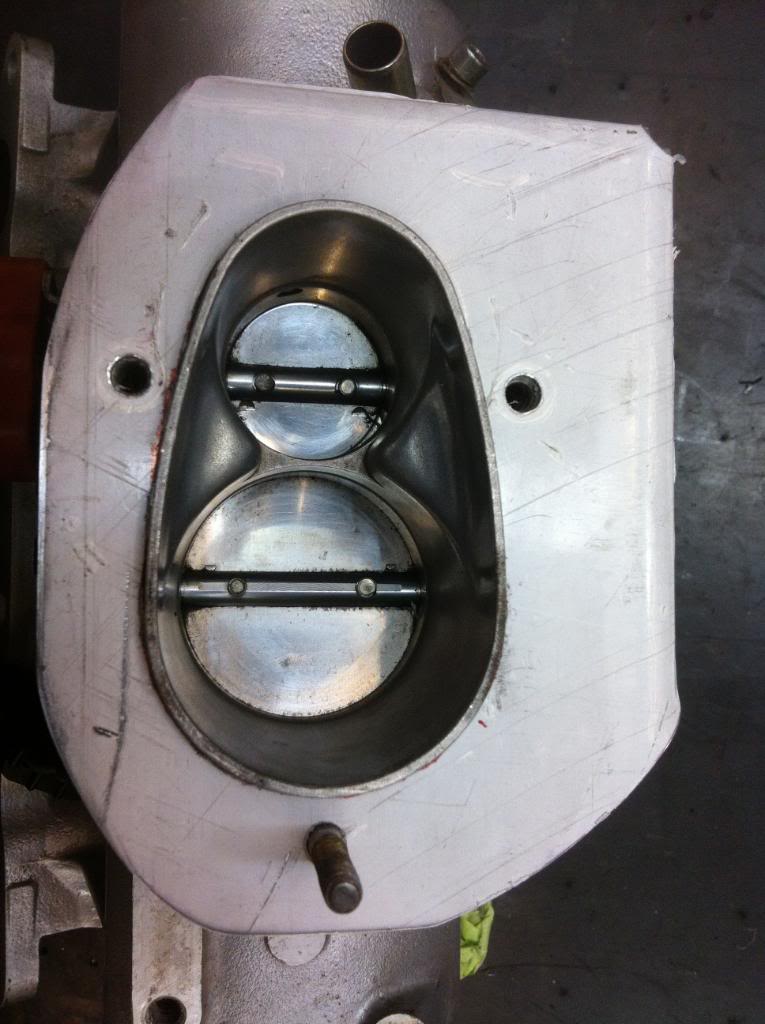
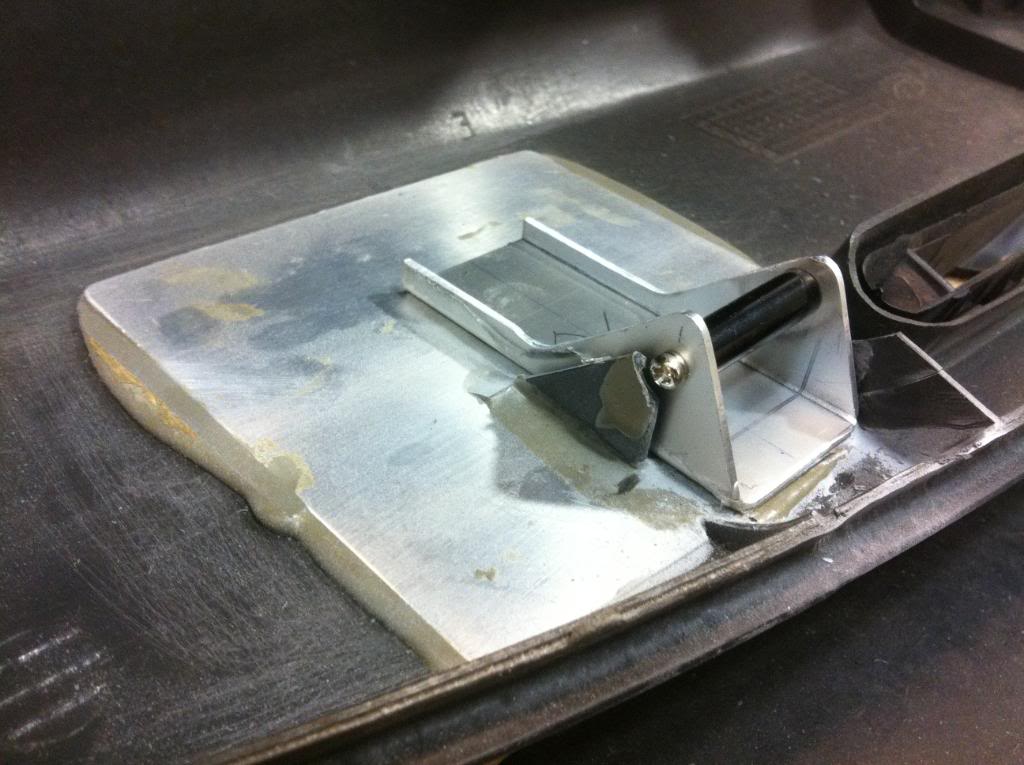
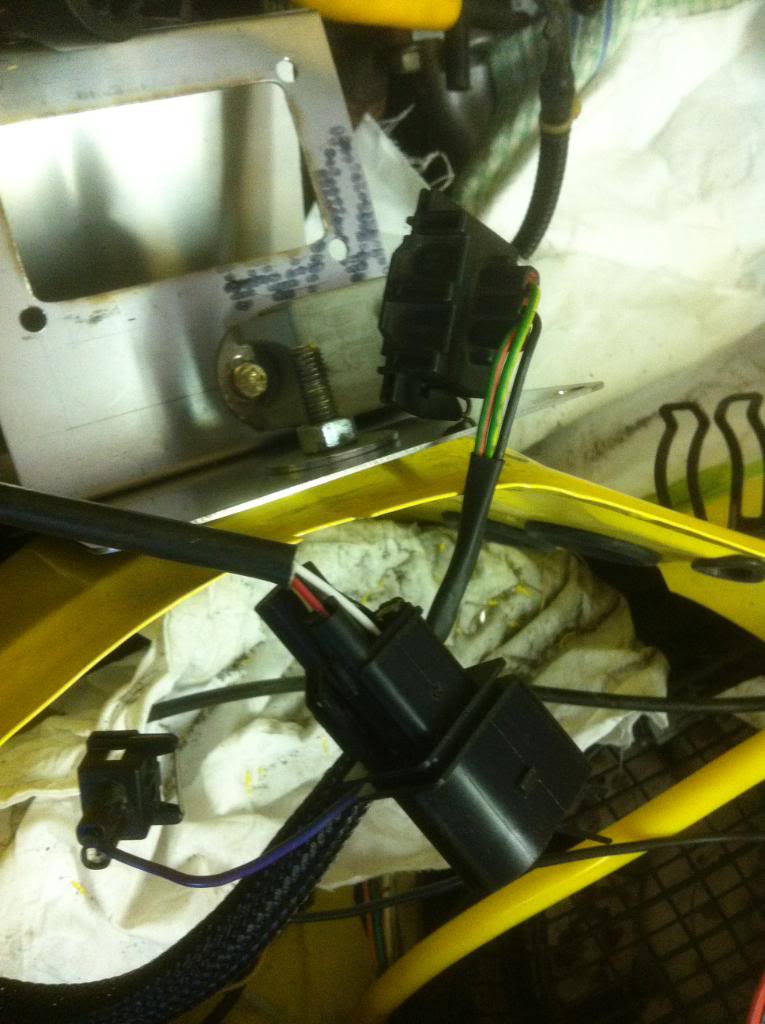
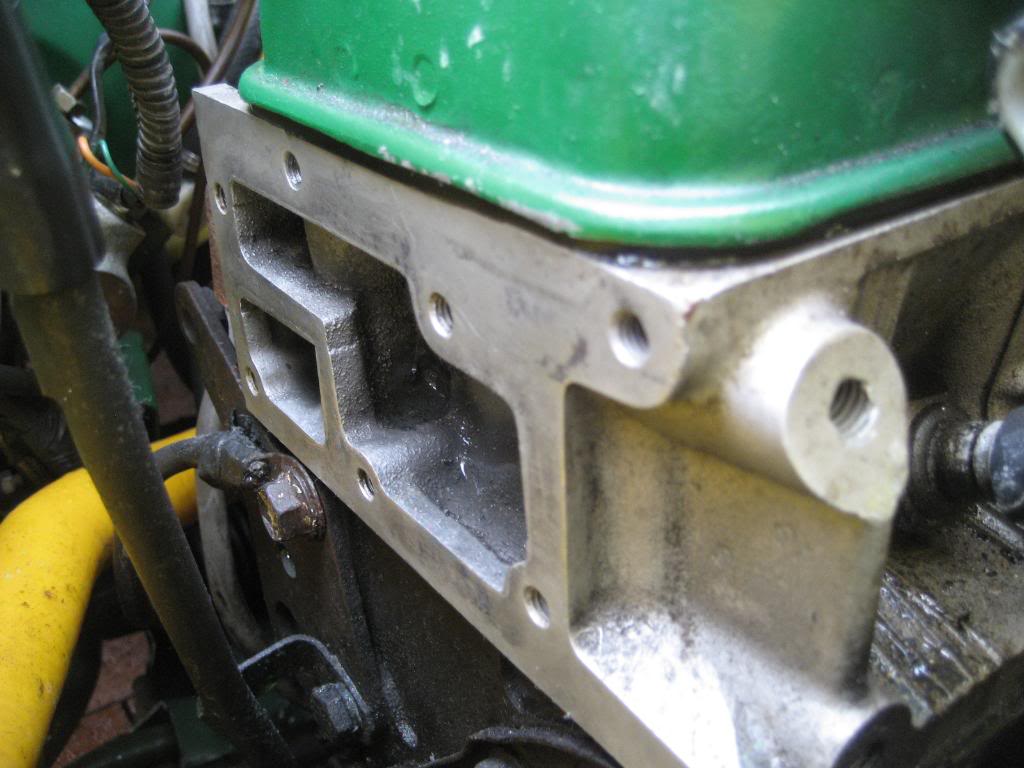
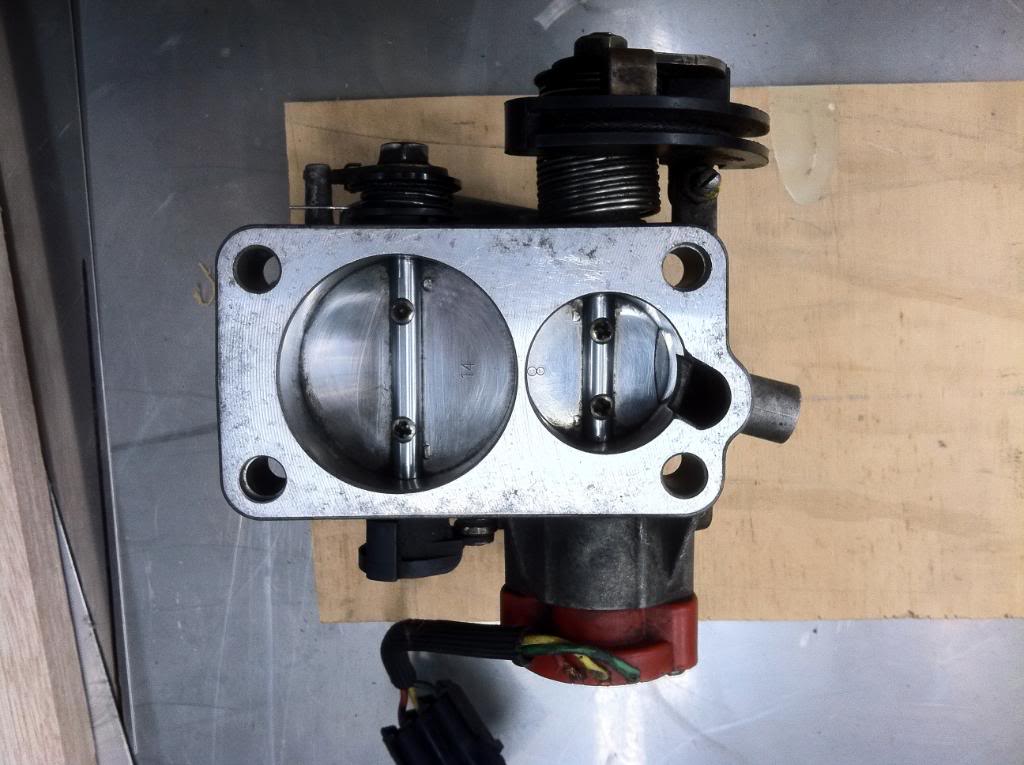
This is the plate sitting on the Throttle Body
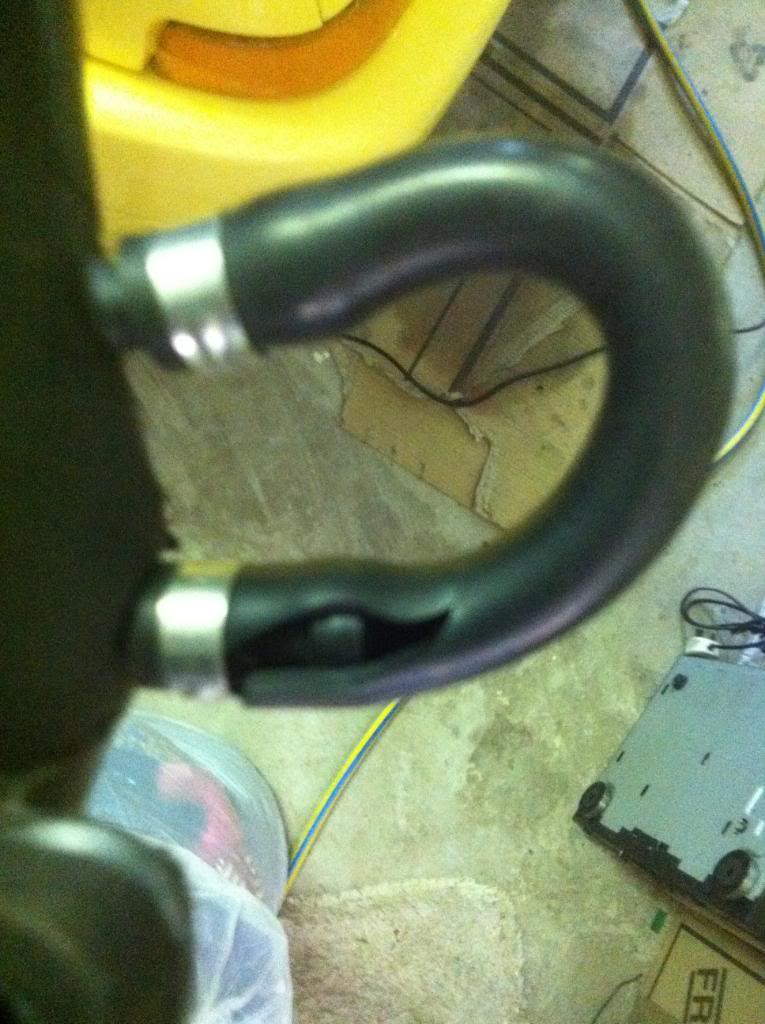
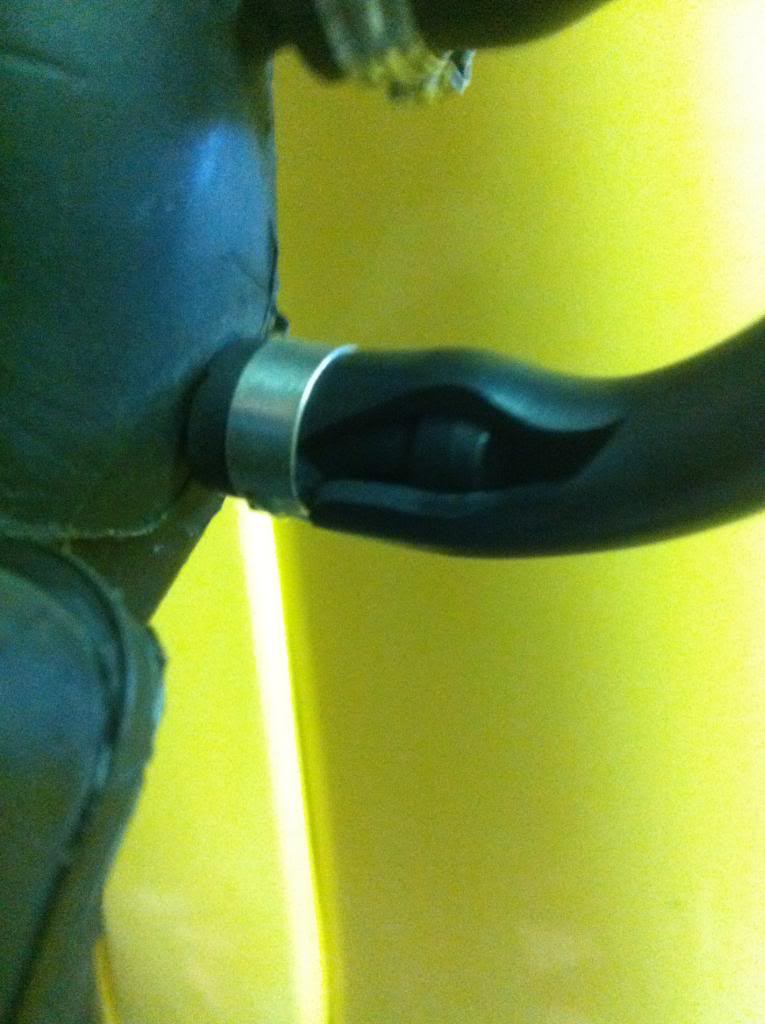
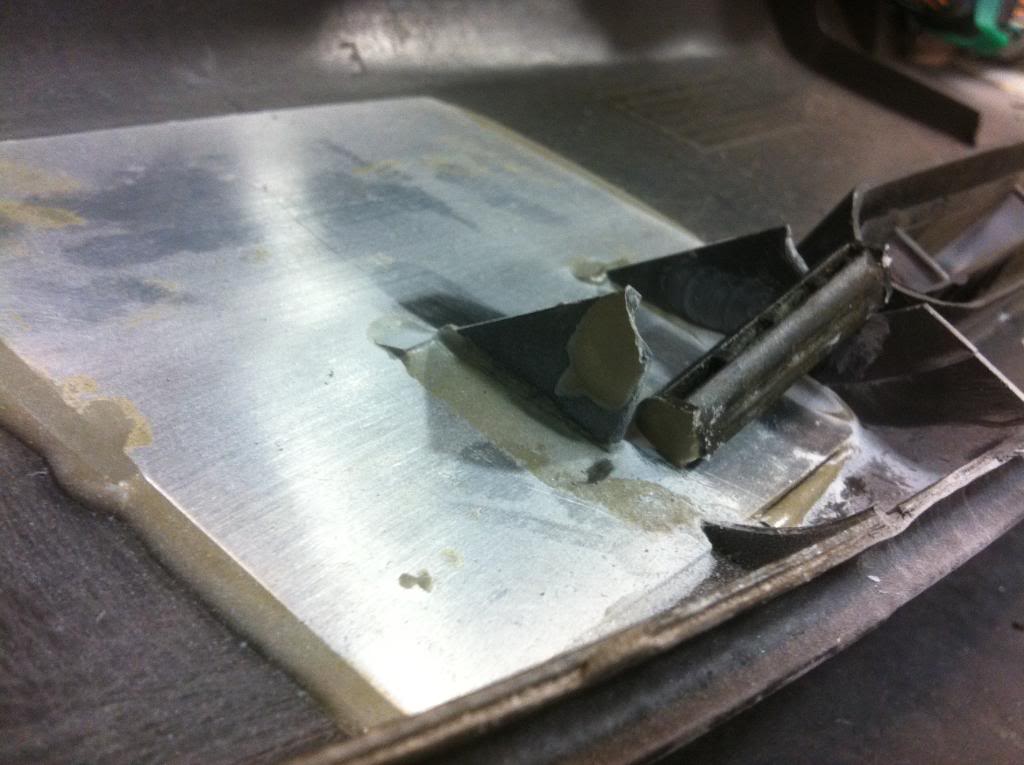
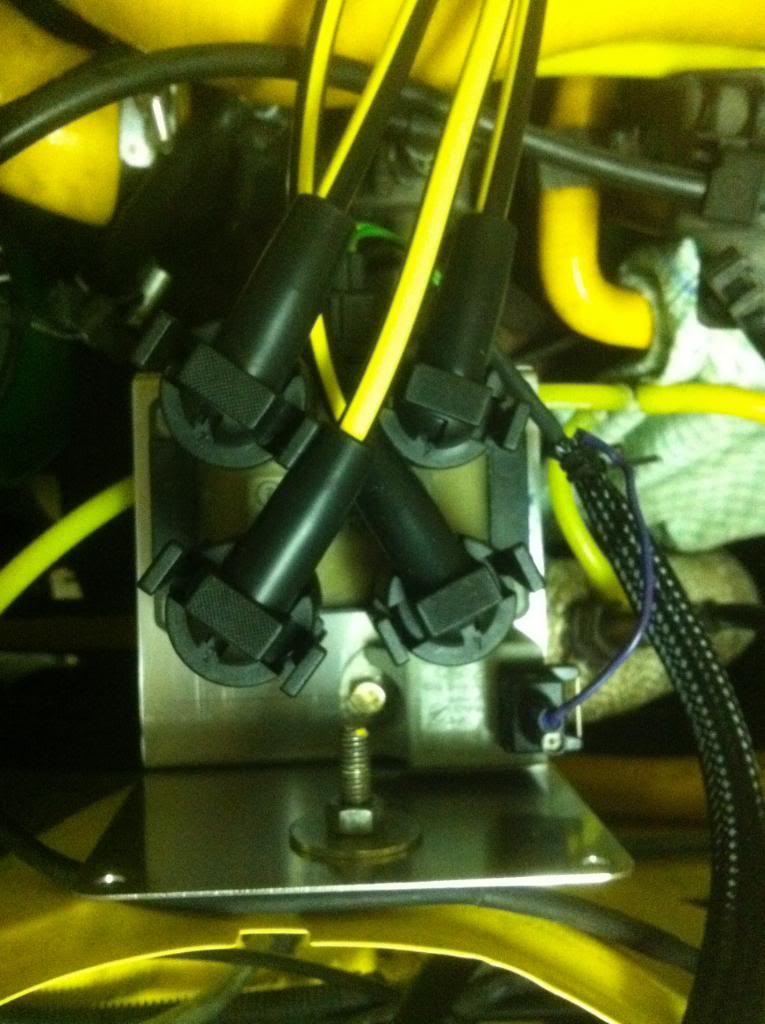
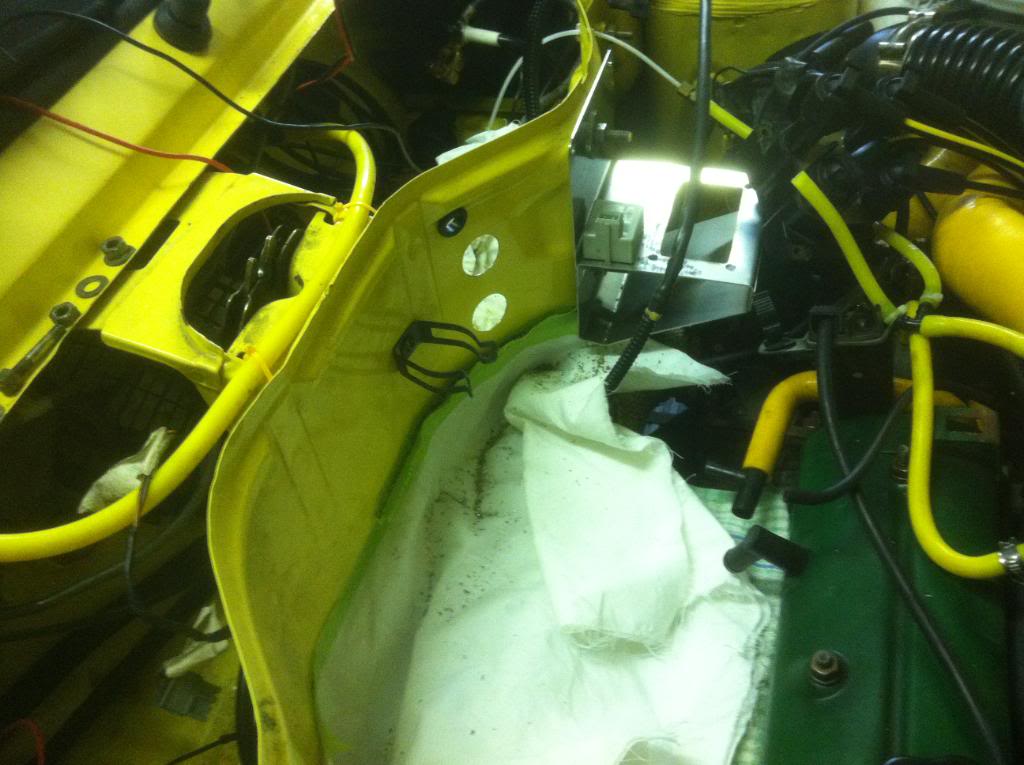
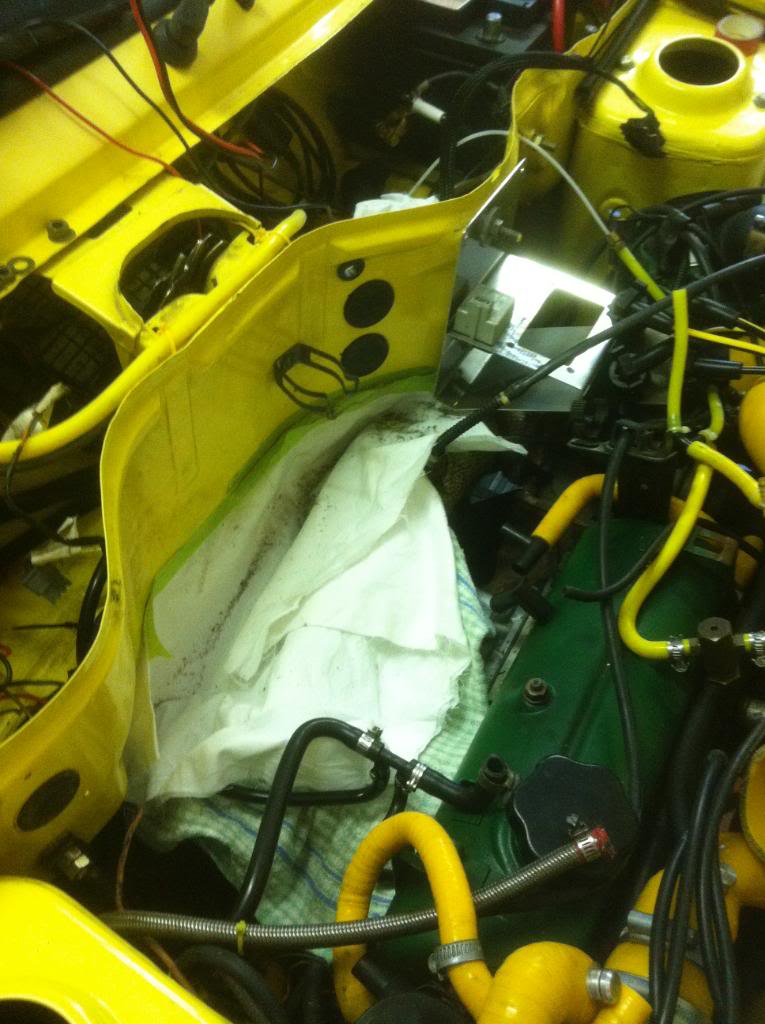
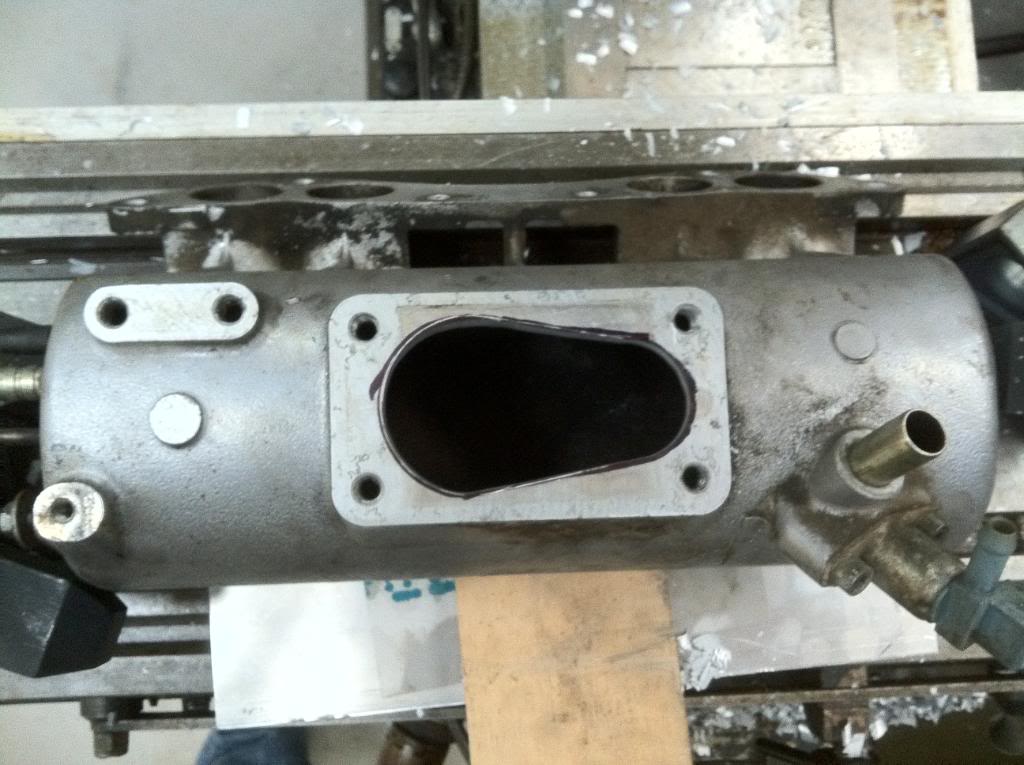
Here you can get an idea of where the cable will run
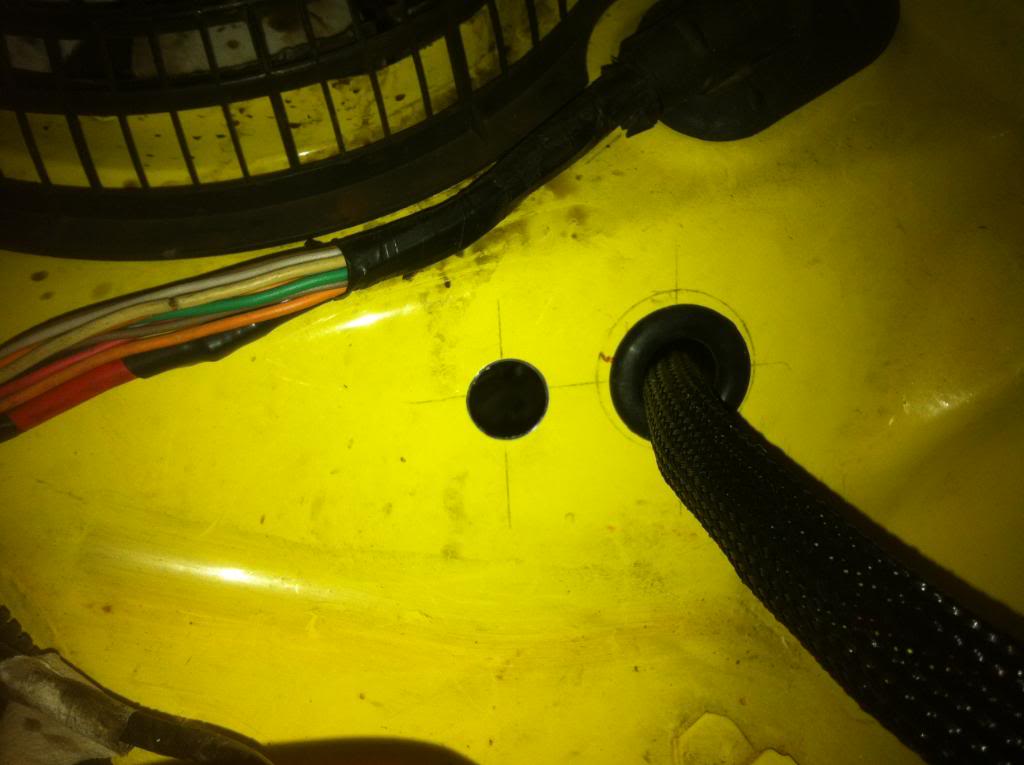
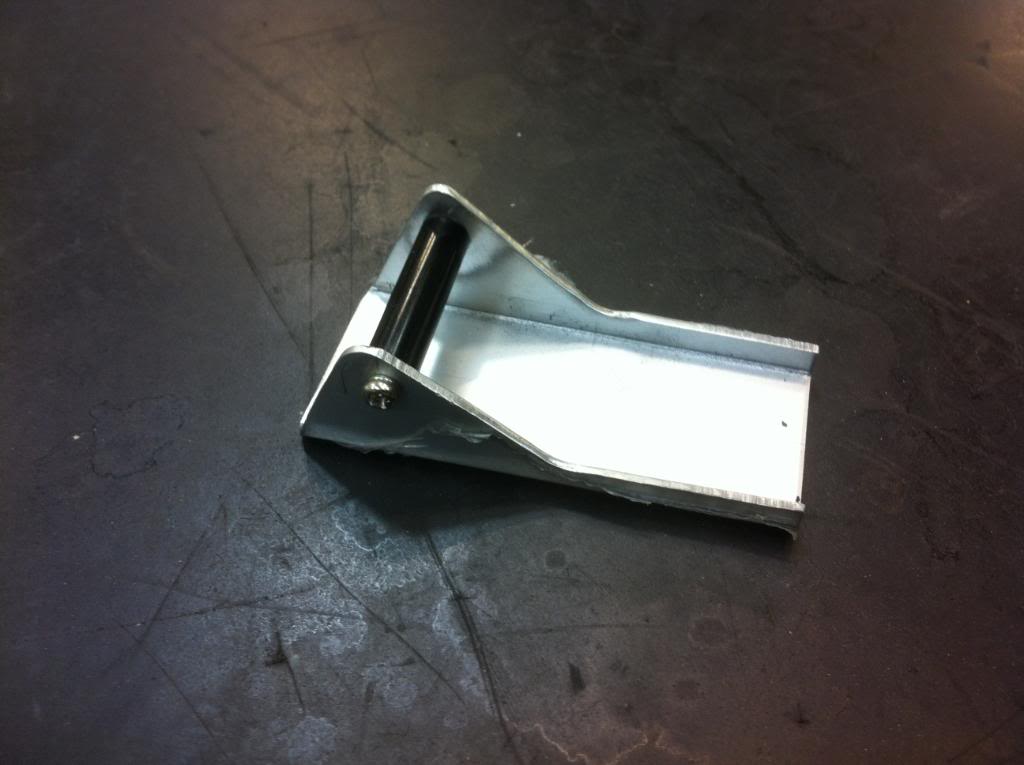
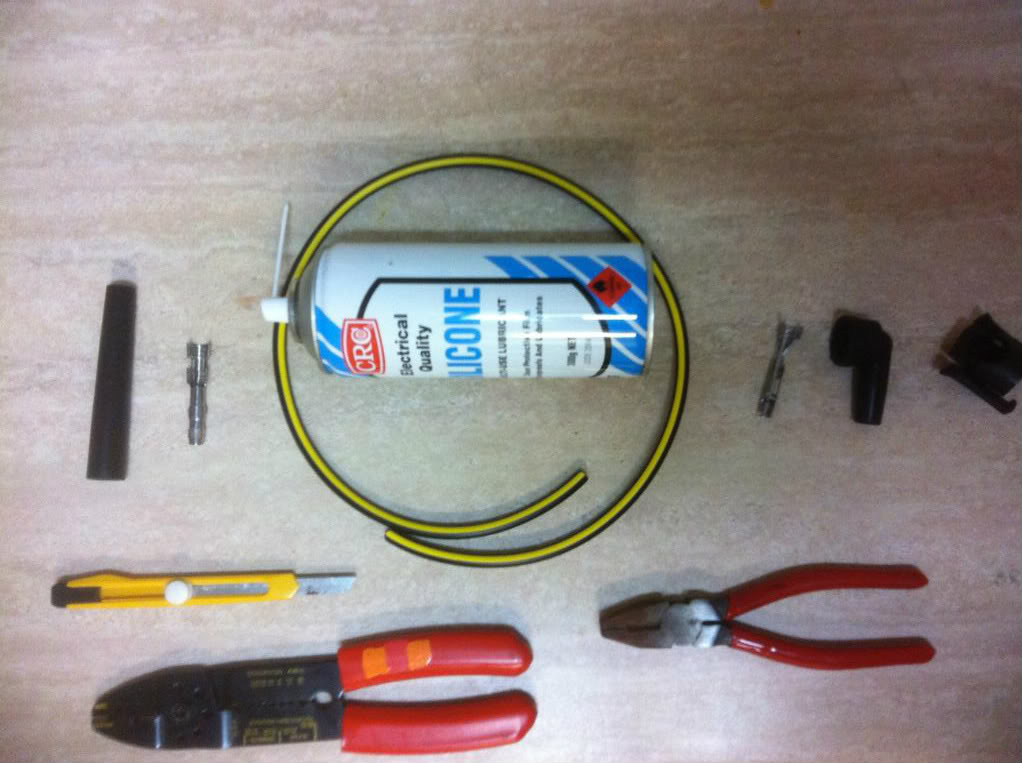
The throttle cable will run through a hole somewhere in the corner with the aid of a few bicycle brake parts
I'll get some more pics up as it progresses.


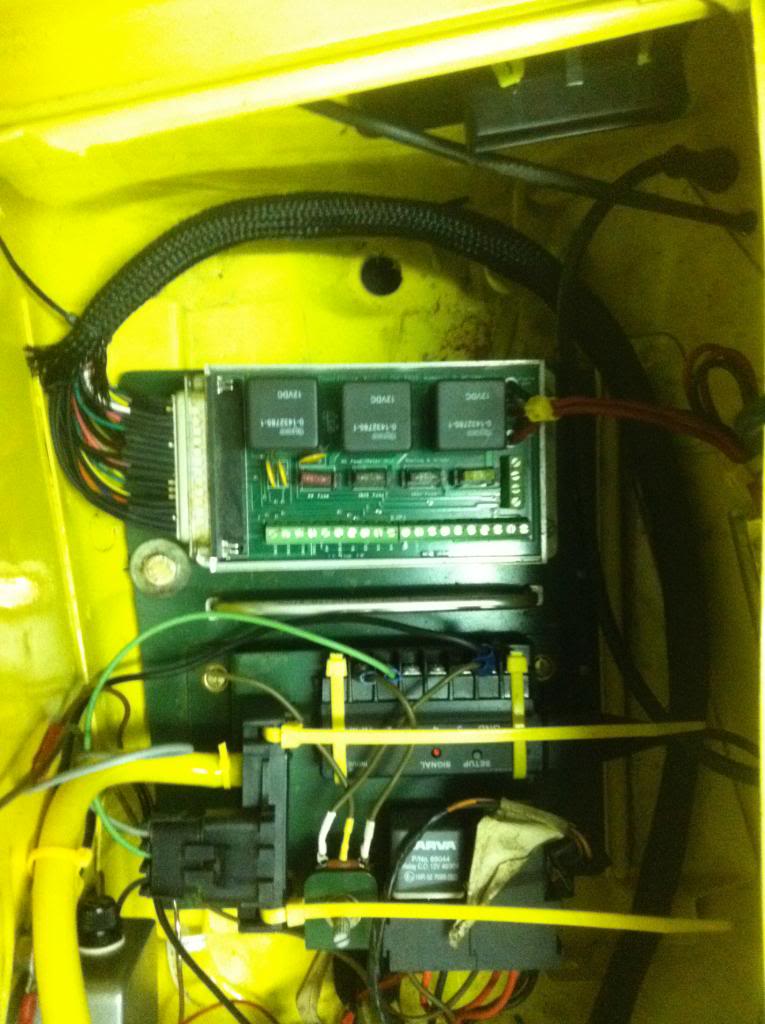
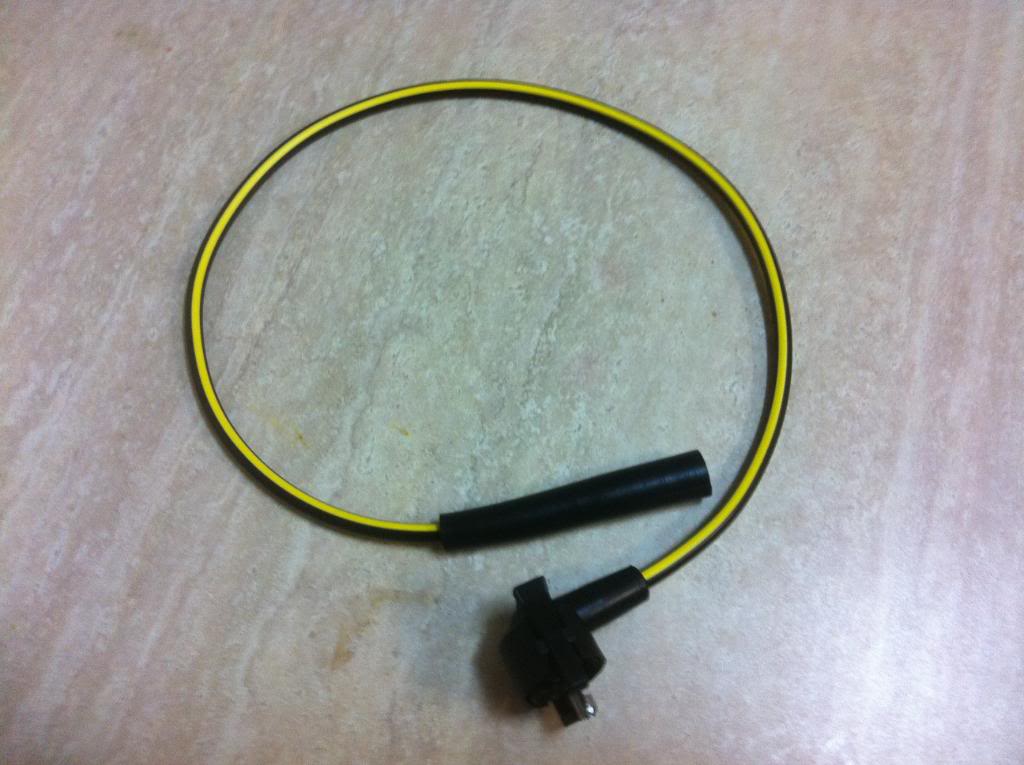
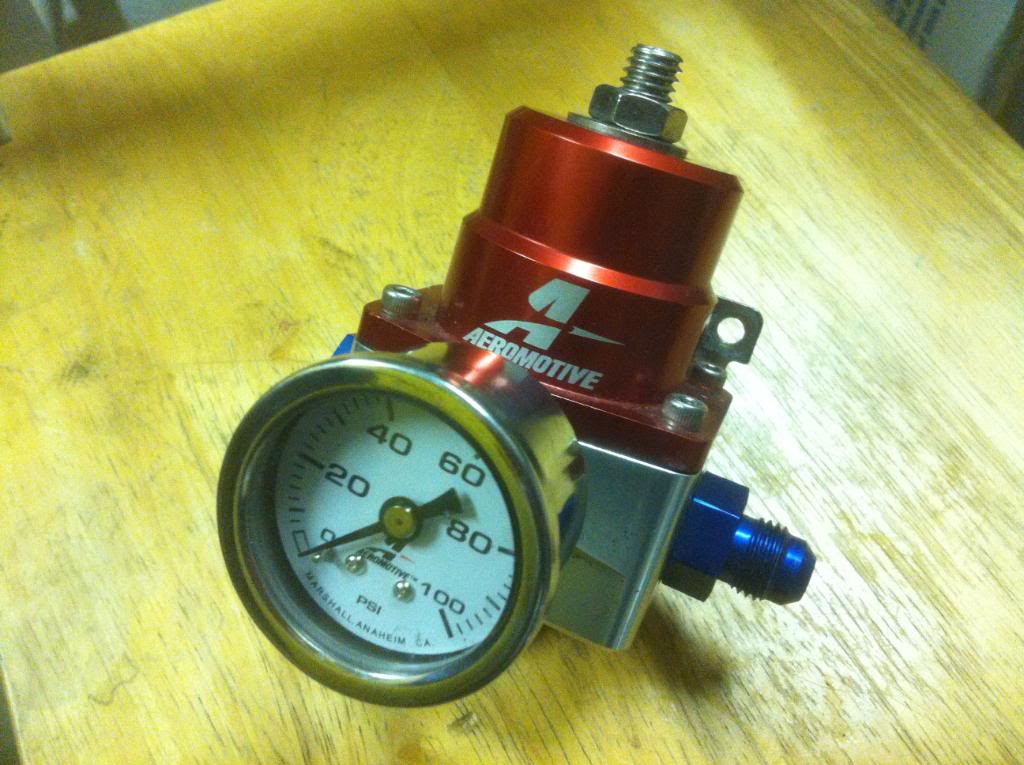
The Renaultpower sets work out at A$600 plus shipping so for me, it's about the same price.


 Reply With Quote


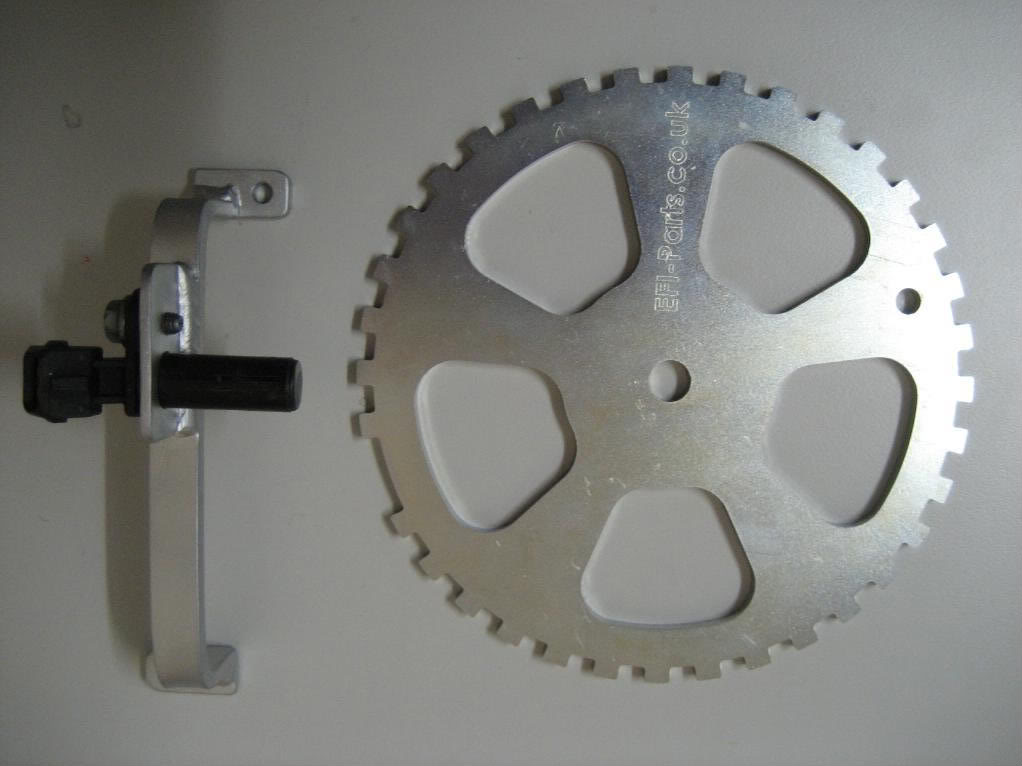


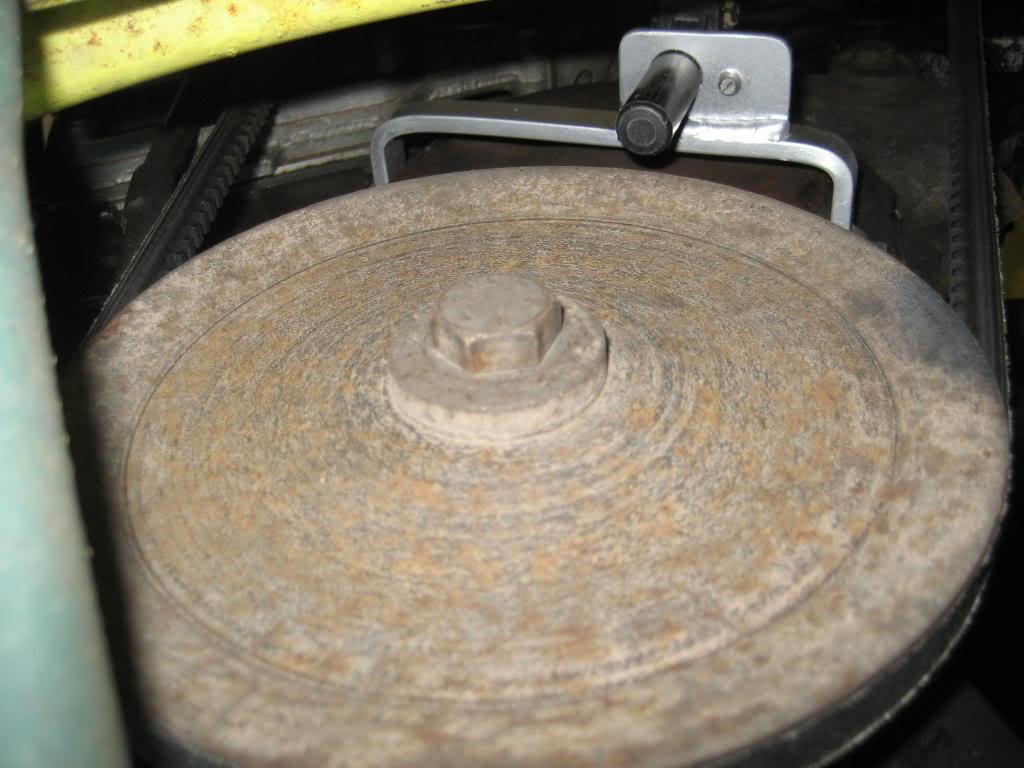


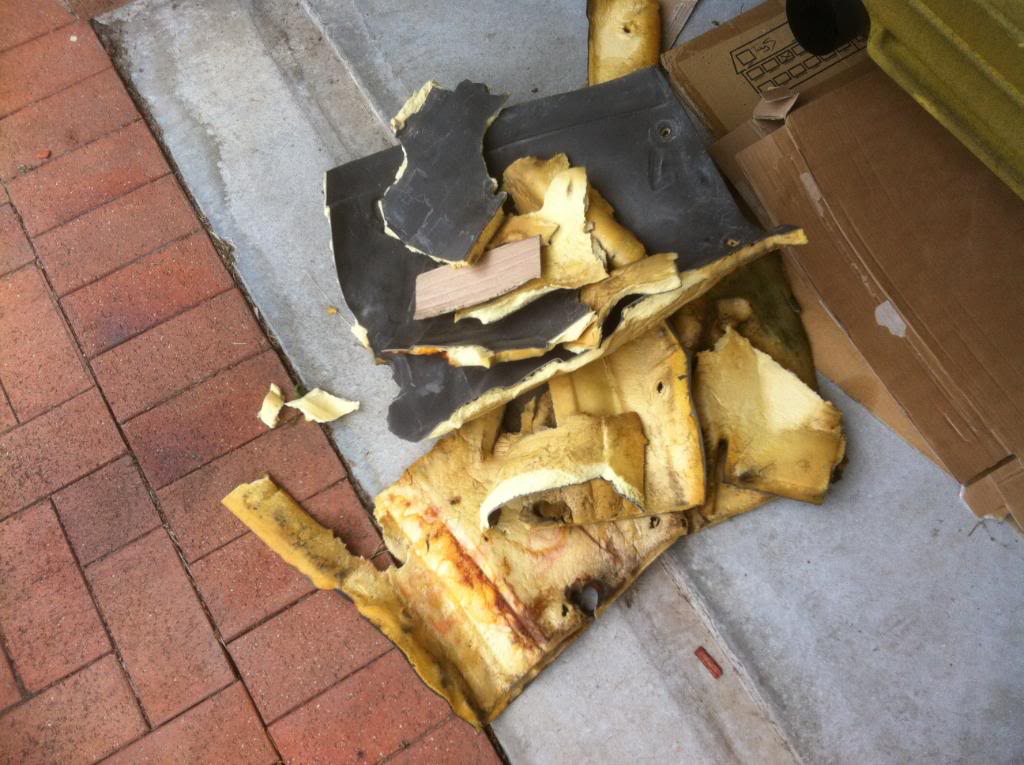
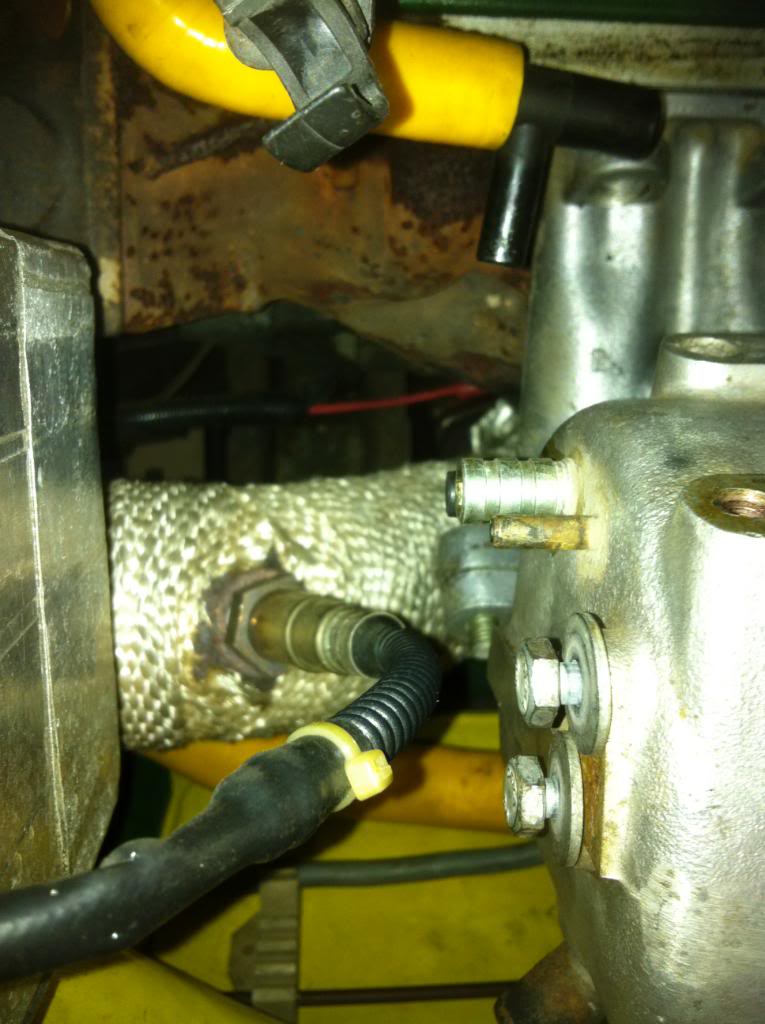
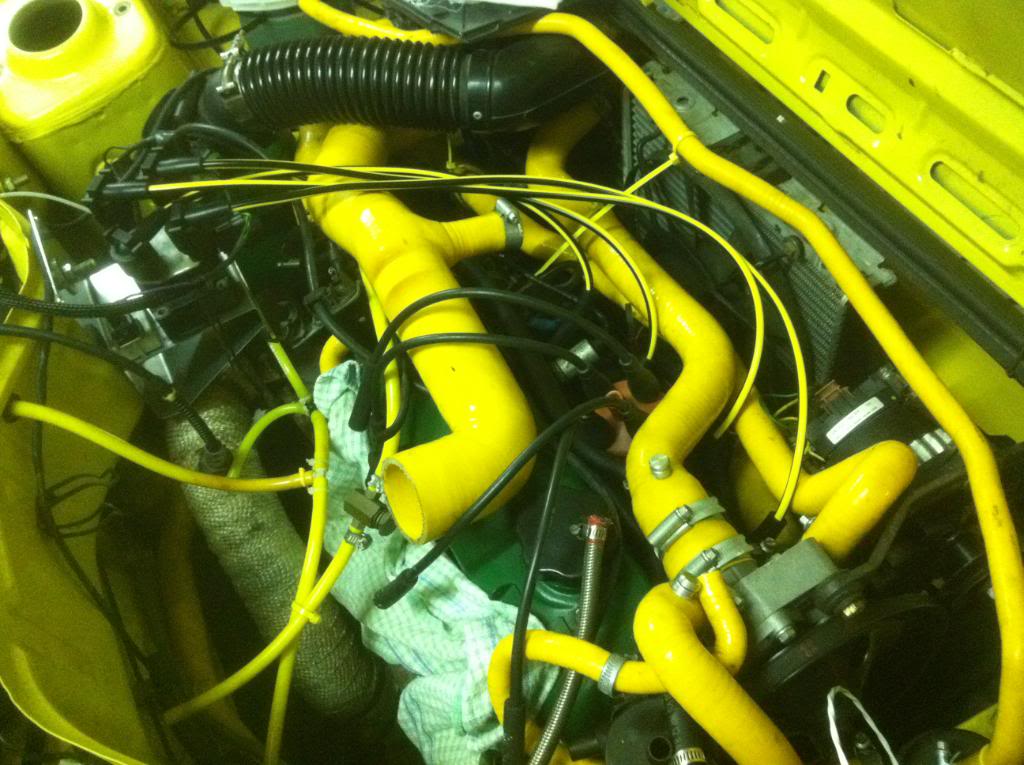
 Actually I didn't check if the black adaptor part is steel or not. You could cut some extra off and maybe weld proper sized piping there?