Changing the engine loom
contributed by Stephen McKendrick
If your car is anything like mine and the engine loom can only described as a dogs dinner then it might be time to change it. Lets face it, Renault's wiring is not the best and most 5 GT Turbos are approaching a minimum of 15 years old. Thats a long time for wires to be exposed to the under bonnet temperatures the 5 gives off. Sadly we have lost many of our favourite cars to bad or damaged wiring, including the famous Cosworth 5, which went up only 5 months after the owner had forked out 8 grand to get it done!
I decided to change mine (not because I had forked out 8k for it!!!) but because of some of problems which are stated below, and others that I would fix then they would happen again. An old loom can always be patched up but if you have got the money then I would recommend it. I got my loom brand new in sealed bag from AJ tuning. This was a one off but BB tuning still have some and Renault part number is .. 77 01 467 087
Before we start there is a word of caution. This is only a reference and in no way compares to the work of someone trained to do the job. But if youre like me and like to learn these things then its fairly simple.
Note if you intend to do away with the over boost sensor and anti-perc fan then best to remove the wiring before starting (see bottom of article)
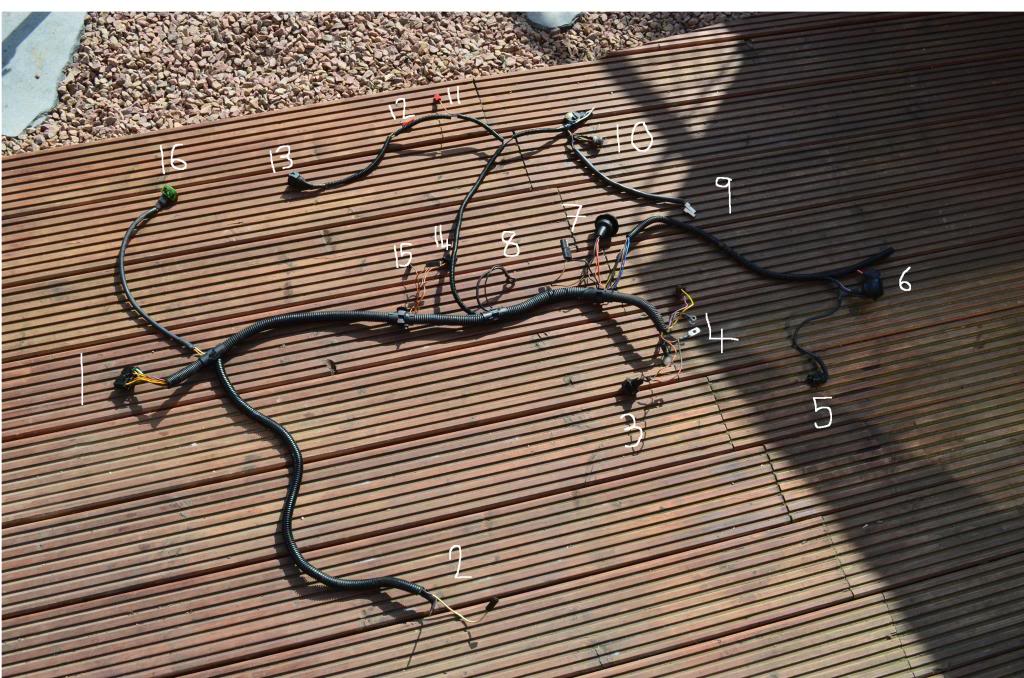
Now despite what people might say or what you might read the engine loom only covers the following. So if its something else, dont bother looking at the loom.
Starter motor
Oil level
Oil pressure
Reverse light switch
Engine earth connection
Alternator
Fan switch (and relay)
Over boost sensor
Turbo heat shield sensor
Anti perc fan (and relay)
Anti perc solenoid
Some of my loom problems were the following . This is not to say that it will cure yours
Alternator light blinking (not fully charging)
Oil pressure gauge temperamental
Fan switch connections always falling off and sparking.
Endless amounts of new connectors which never hold as well
Starter motor staying on (wires melted together)
The job
1- Remove bonnet and grille so you can get good access into the front of the engine and jack the car up at the front. .
2 - Disconnect the battery. Dont just disconnect the main connection beside the header tank as the starter motor will still have power.
3- Remove air box, turbo heat shield, and intercooler if you have them.
4- Start with the starter motor. Best way to reach it is put your arm down and round the back of the turbo and under the manifolds and you will feel it. There are three connections. 2 big ones on the same nut and one small plastic connection. Pull the small one out and unbolt the other with a small 13 mm spanner. Once off pull the two wires back to the main connection next to water tank. Make sure you pick the right connection on the new loom (thick red wire with metal L shaped bracket at the end and small white wire with a standard connection) replace with your new ones making sure you attach the third connection back in which will just be dangling and is connected direct to battery. Dont forget.
5- Next up is the gearbox reverse light switch which is accessible by moving the header tank forward and feeling down at the wheel side of gear box. Once found push down on the top and bottom of the connection and pull it out, replace with the new one. The loom will have two of these connections that look like an oval with two holes and there is plastic brace around it. (The other is for the fan switch)
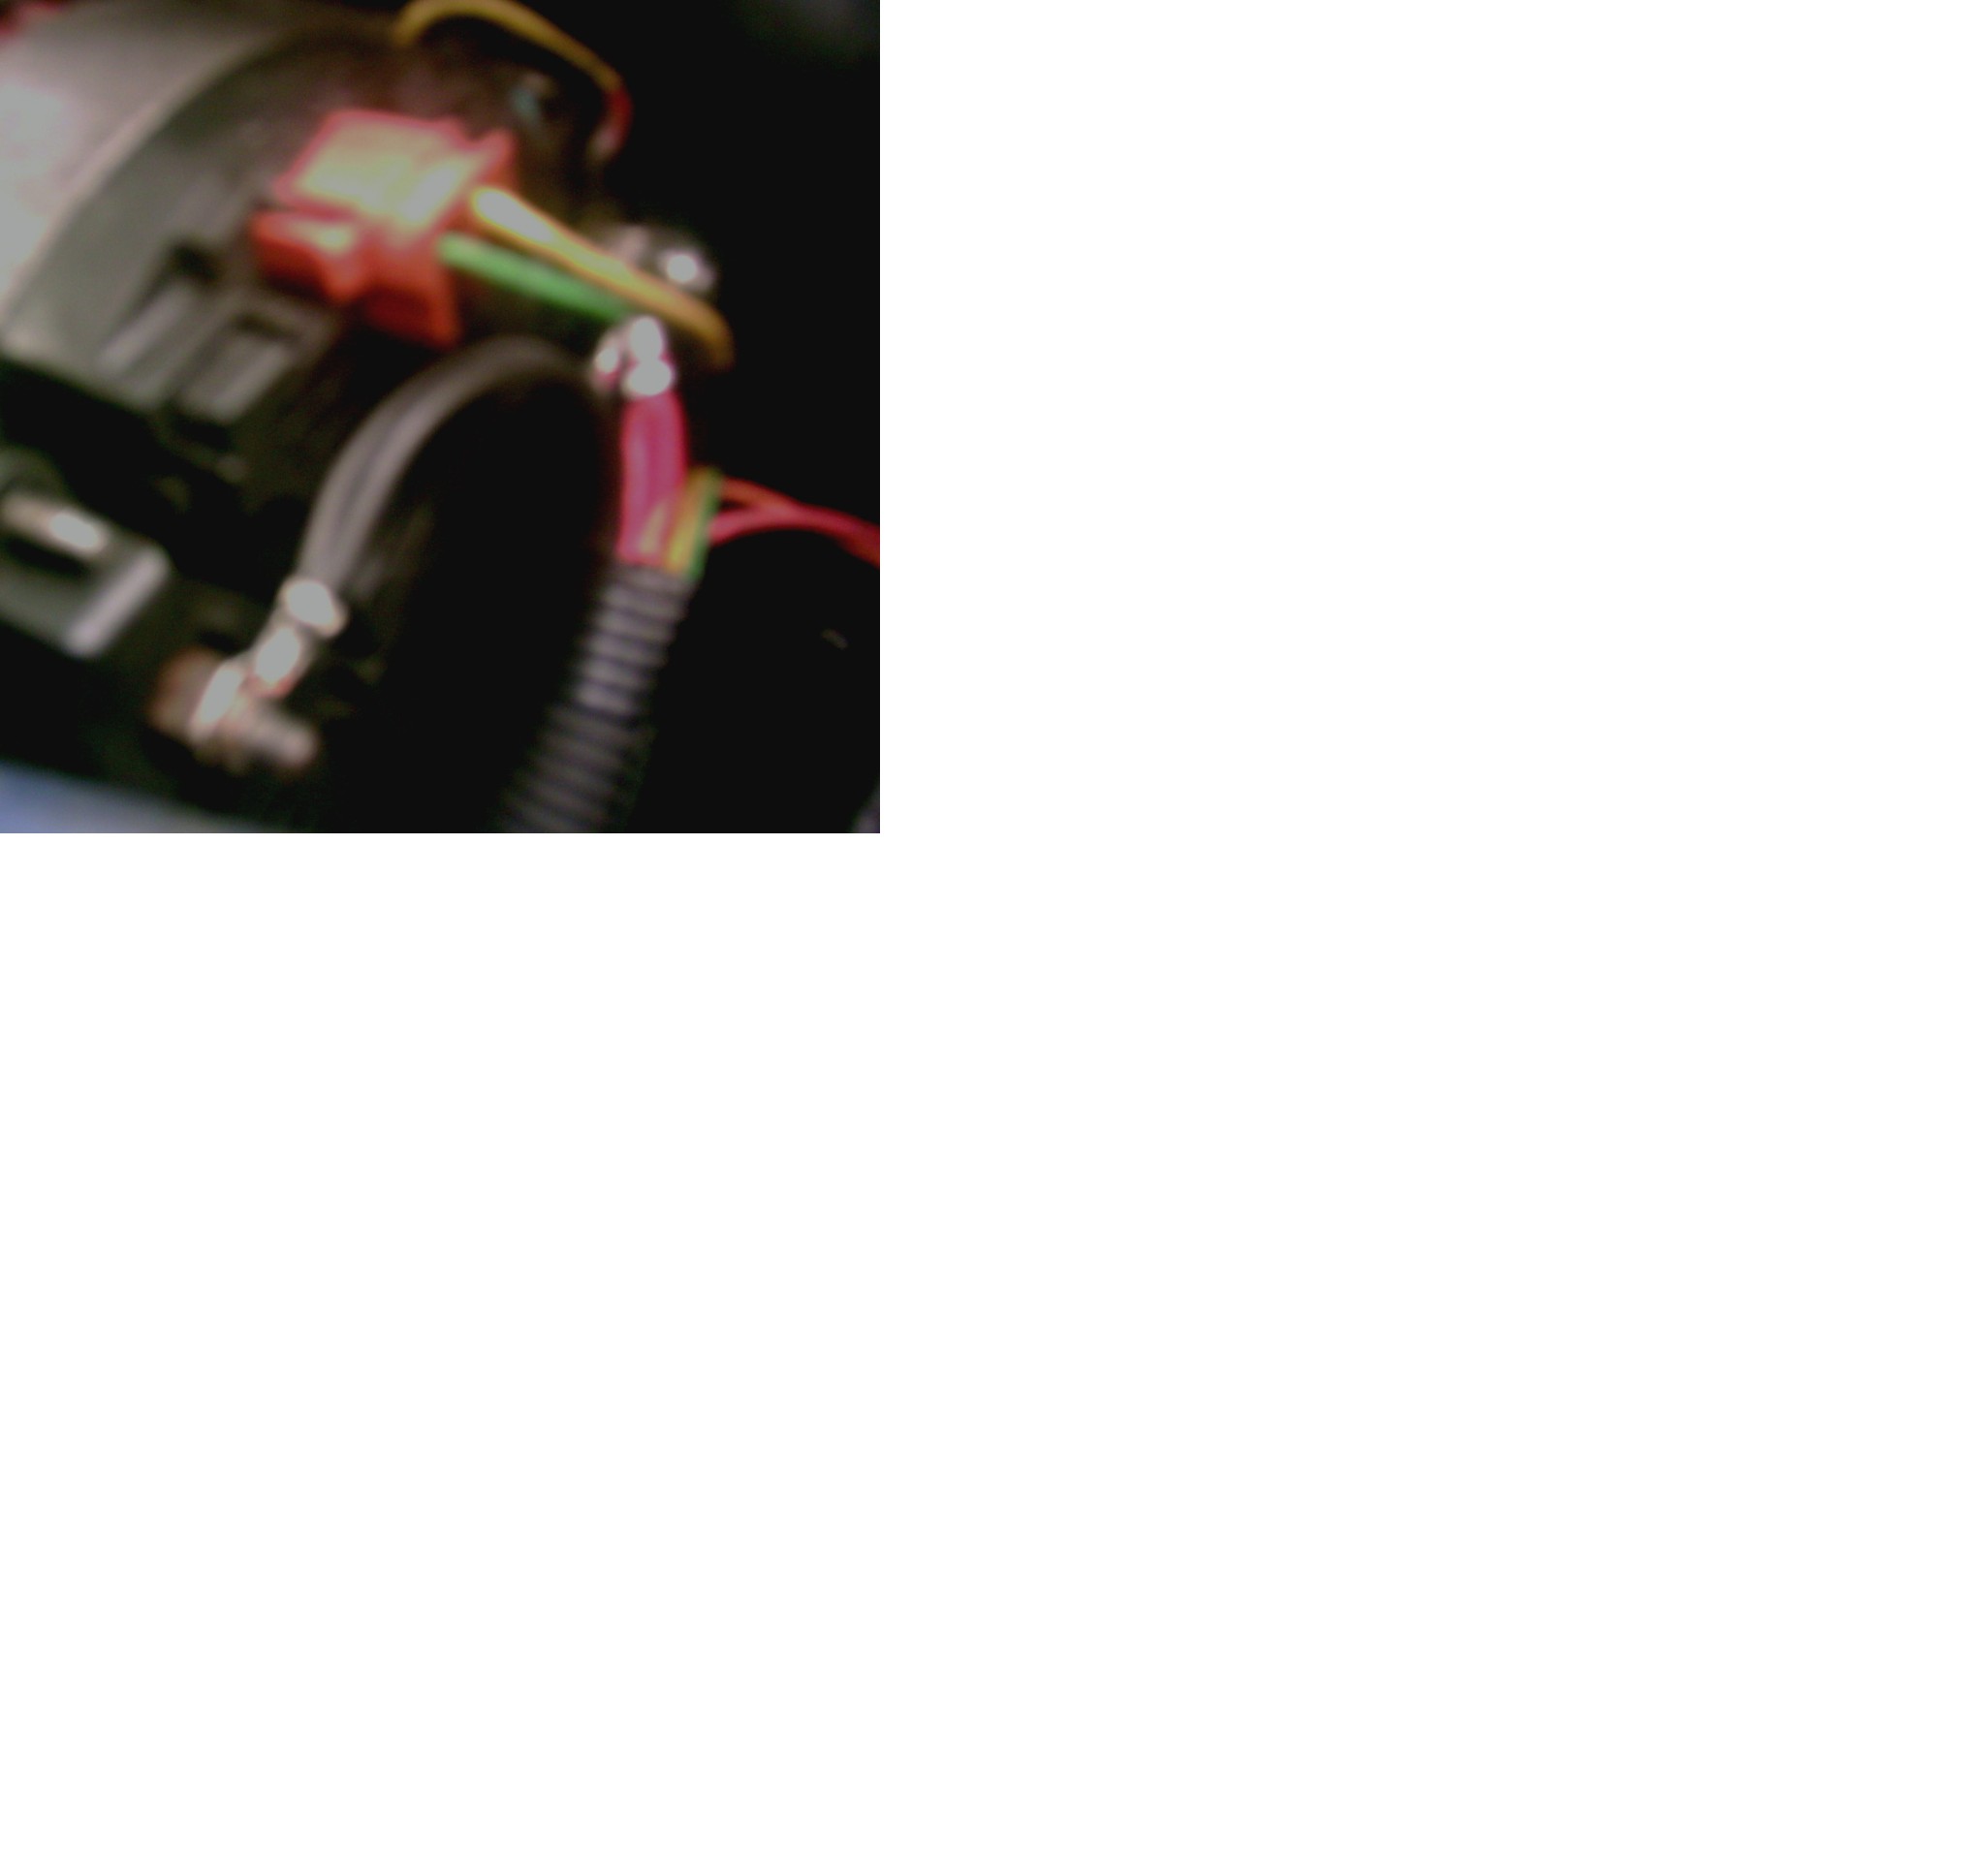
6- After the gearbox is done then attach the new main connector block and start to run the loom along the oil return pipe then up to the alternator. (I used cable wires to hold it in place) Attach the alternator connections which are two black ring connections and one red one. You also have the alternator top clip which is a simple swap, leaving you with the fan switch connection, relay and main fan connections to connect.
7- For some reason Renault have decided that just to annoy people the fan switch connector comes with small pin holes instead of the larger pins that some peeps have on there sensor. Rather than cut your new loom you can get the smaller pin version from bb tuning (low temp) but its up to you. Otherwise cut the wires and crimp two larger female spade connections on) I will not even waste my time telling you how to change a relay but the main connections for the fan come with far to much rubber on them so need to be trimmed and even then its a tight squeeze to get them together.
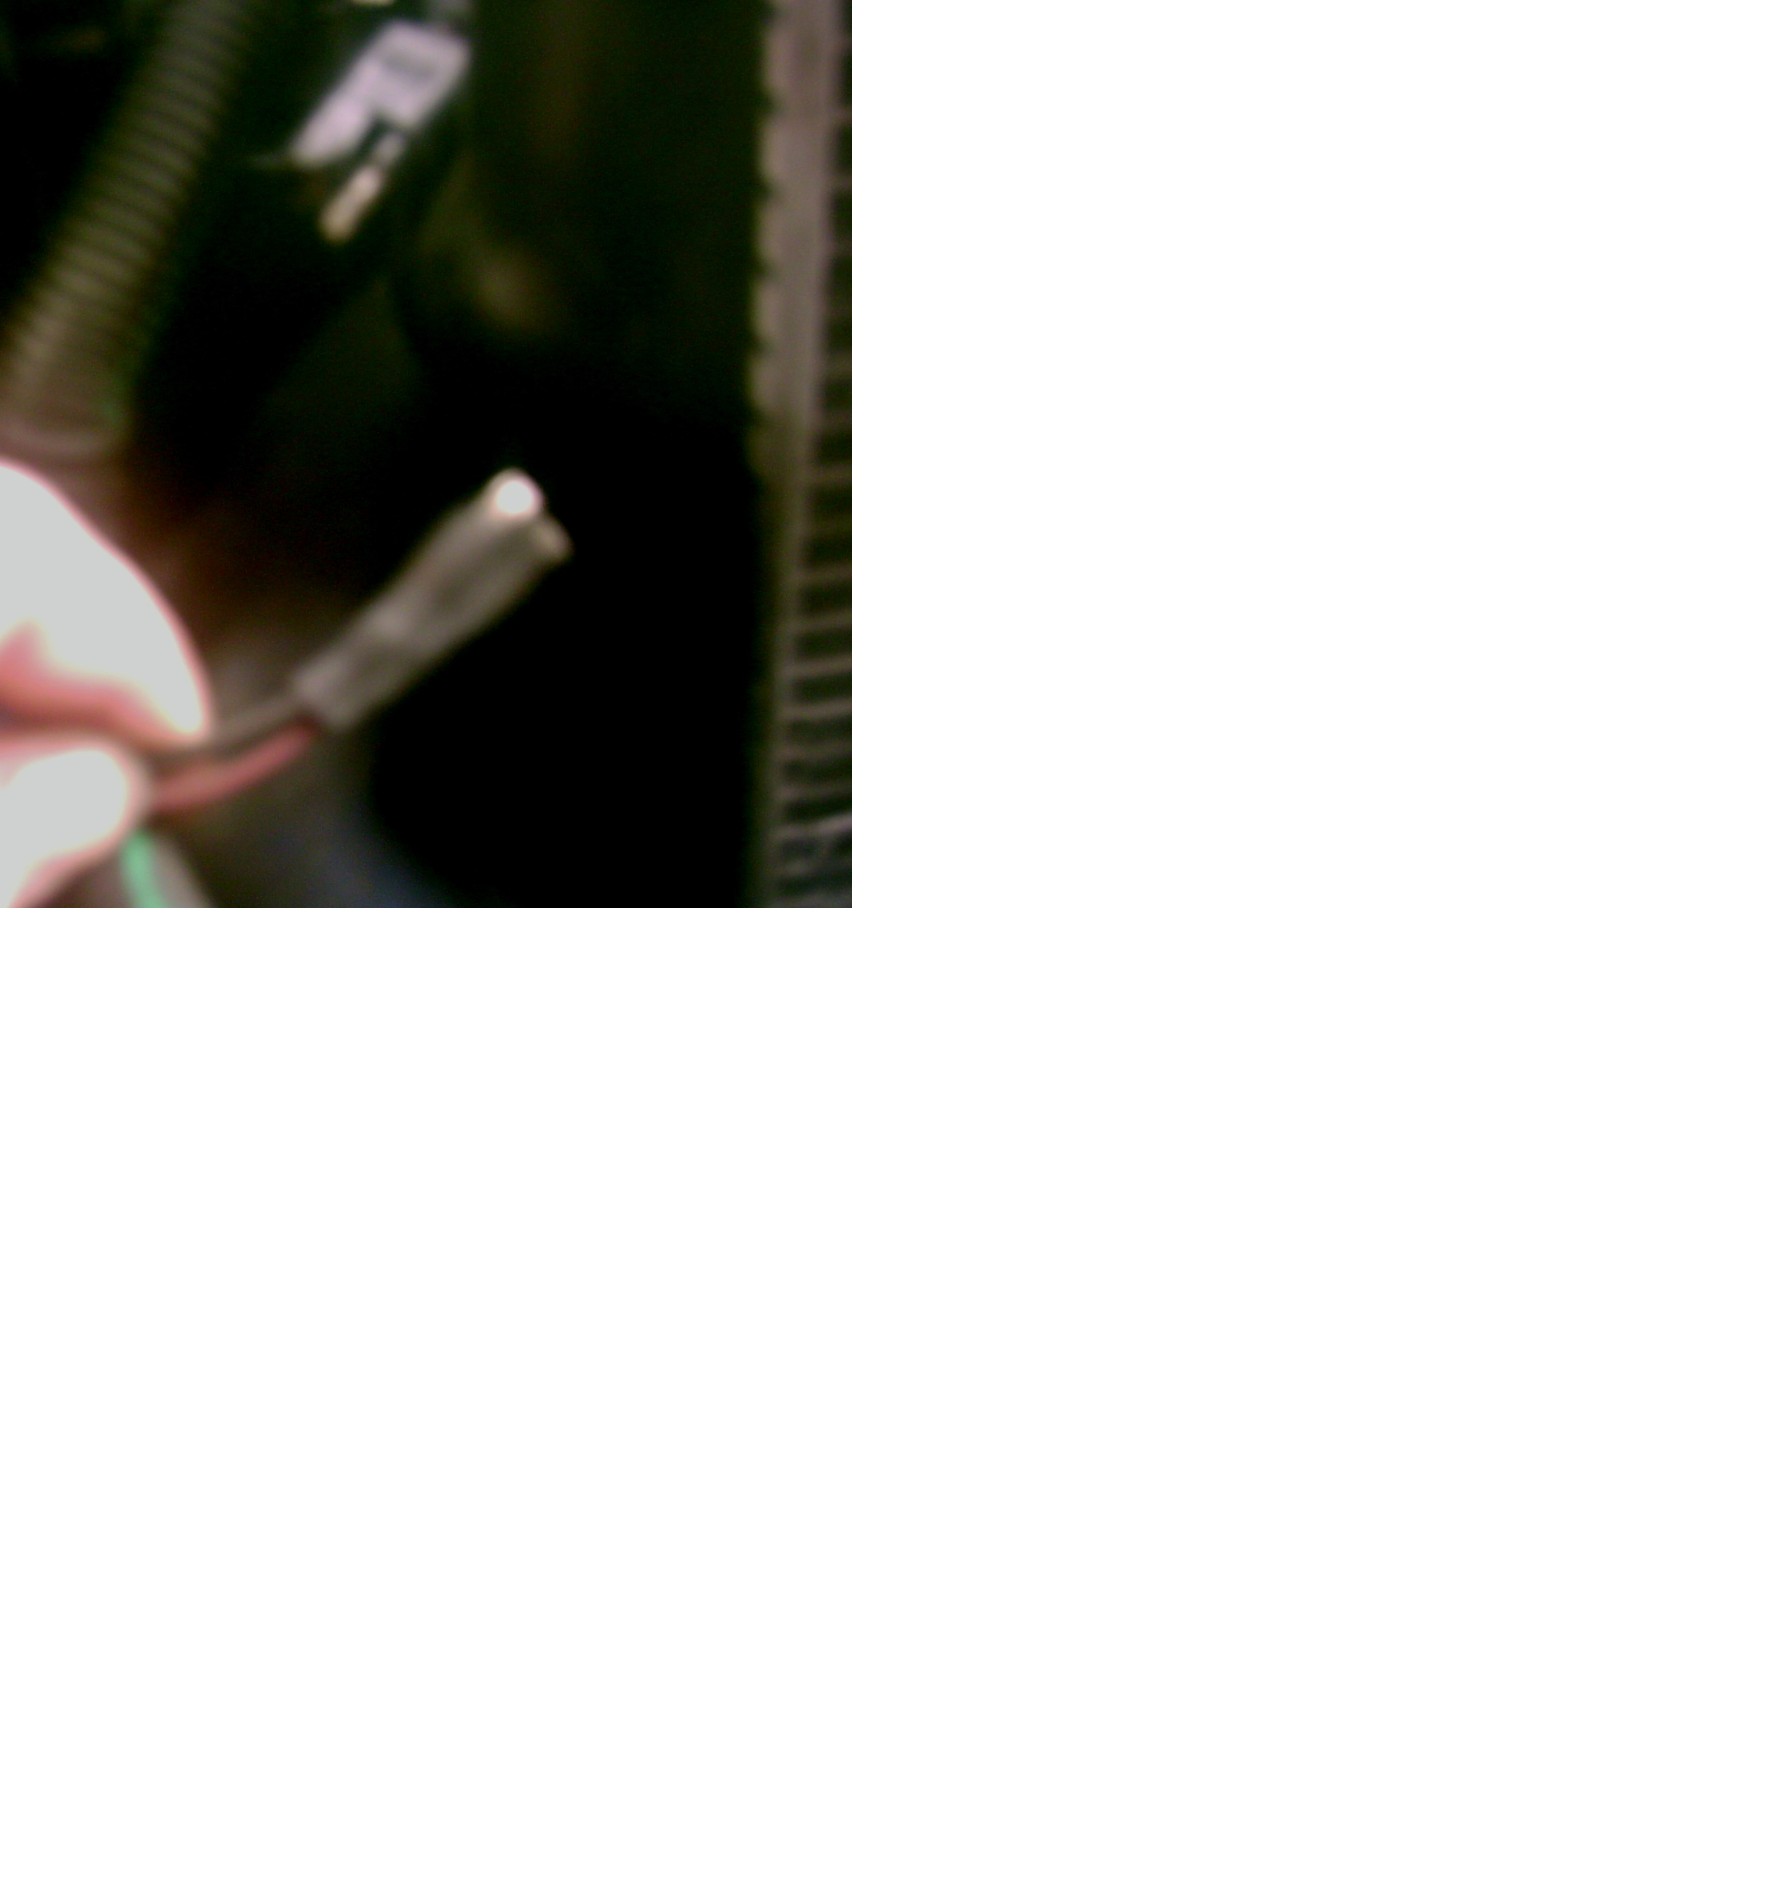
8- Once you have done all the fan and alternator wires its time to connect the oil level sensor, oil pressure sender and the earth wire. Simple stuff, best to get the oil level sensor from under the car as it on the bottom of the stump. If you get mixed up the oil pressure wires have separate connectors and the oil level wires is a block connection. The earth wire is a simple swap is should be on a bolt on the front of the block. Just swap it over making sure its clean and free from any paint or rust. If in doubt sand it down or if you cant get the bolt off use another.
9- If you have done the job correctly you should be left with the solenoid connector, the anti perc fan connector plus relay and a set of connections for the over boost sensor and heat shield sensor. The its easy to work out what goes were. The solenoid and the anti perc fan have similar connections, but the solenoid is bigger so plug that in. (for those who dont know the solenoid is a oval metal contraption on the bulk head which has two hoses coming out of it) as for the other connections the one which is longer stretches to the smaller boost hose (turbo to intercooler) and the other goes into your heat shield. After that plug in your anti percolation fan switch and relay and its sorted.
Or
If you have done away with the over boost system (like every true 5 owner should) and the anti perc fan then these wires just get in the way and will have power in them. So chop chop!
The anti perc fan which is the plastic black thing that points at your carb and runs down. Its meant to come on after you switch off the engine to cool the fuel in the carb to stop starting problems. The sensor for this sits on your turbo heat shield.
Again you might not have any of these. Therefore you can remove the wiring. As I said above best do it before you put the new loom in. Its very easy as the only power source is the yellow wire that runs from the anti perc fan relay connection into the main block. On the main block there are two yellow wires going into the same hole. Snip the thinner of the two. Bingo no power. From there go back to the relay and trace all the wires from there to the 4 connections. (heat shield, anti perc fan and solenoid) Most wires run into the relay but there is a few that link up.
If all the wiring for these systems is removed you can also take away the anti perc fan itself, the hoses that connect into it, the solenoid and all the sensors.
If anyone needs further help please pm me and I'll do my best. Or ask one of the longer serving members cause they have prob changed a few in their days.
Steve
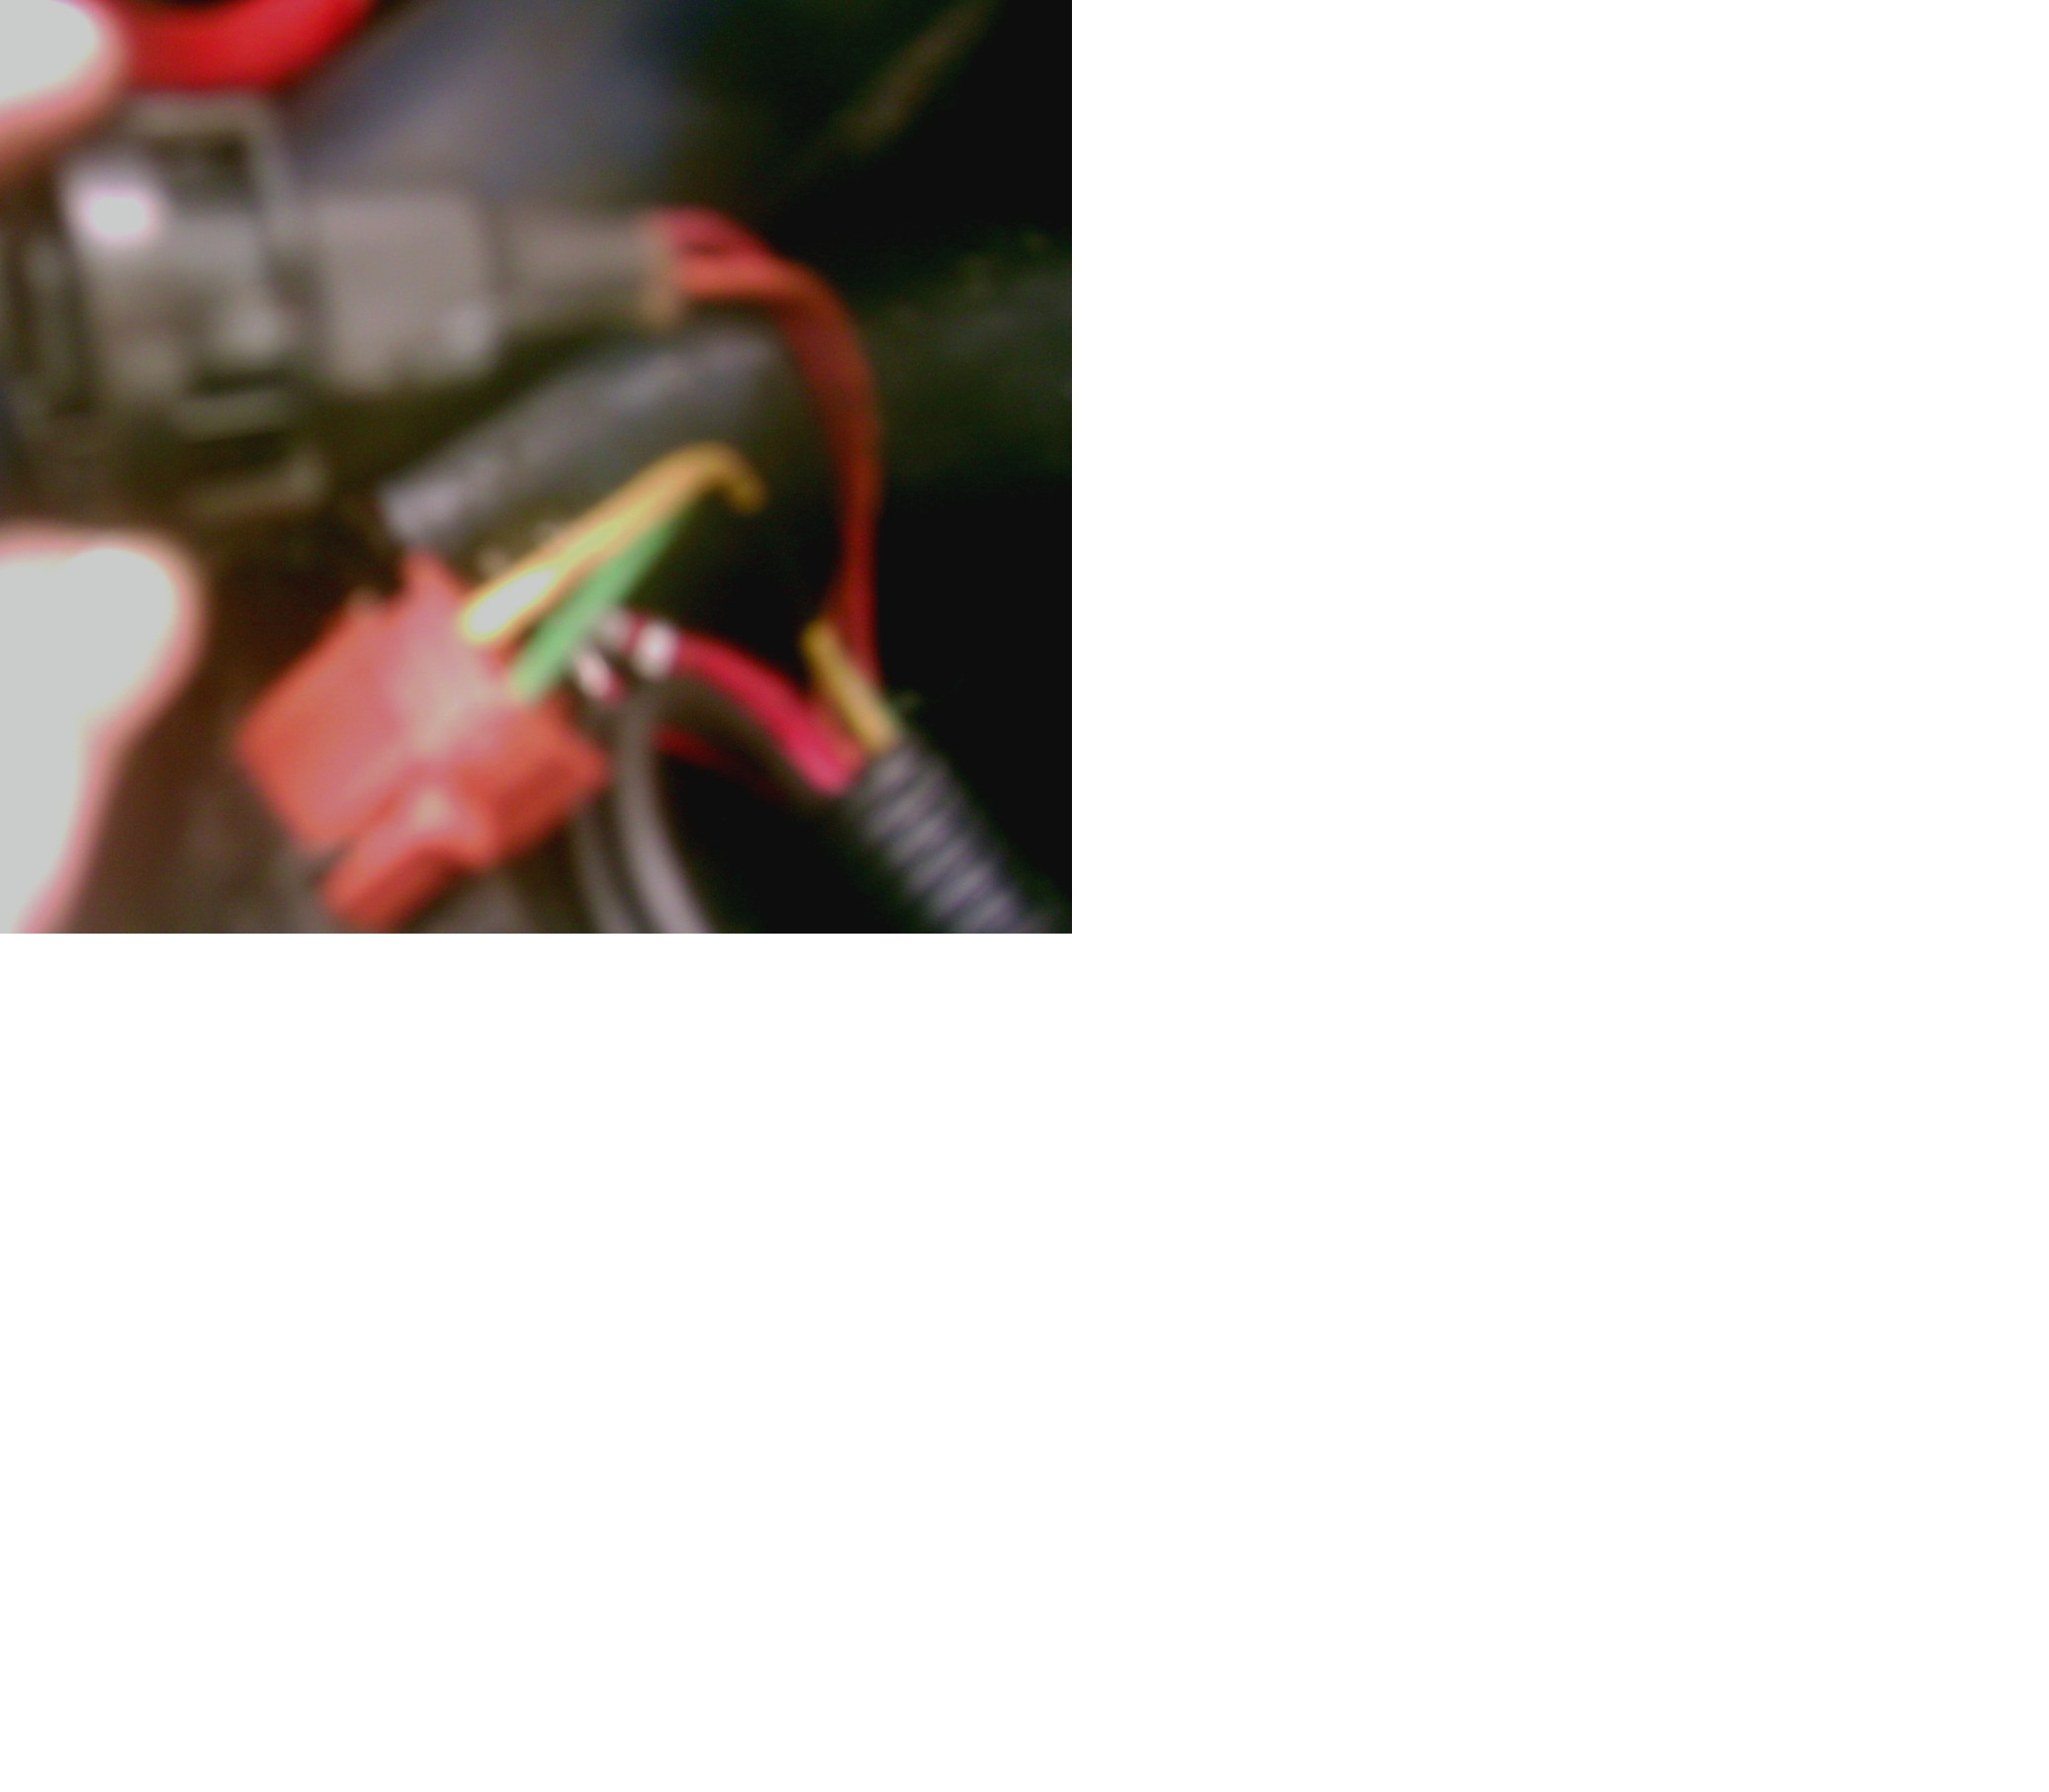
Alternator Connections
Anti perc fan and solenoid connectors
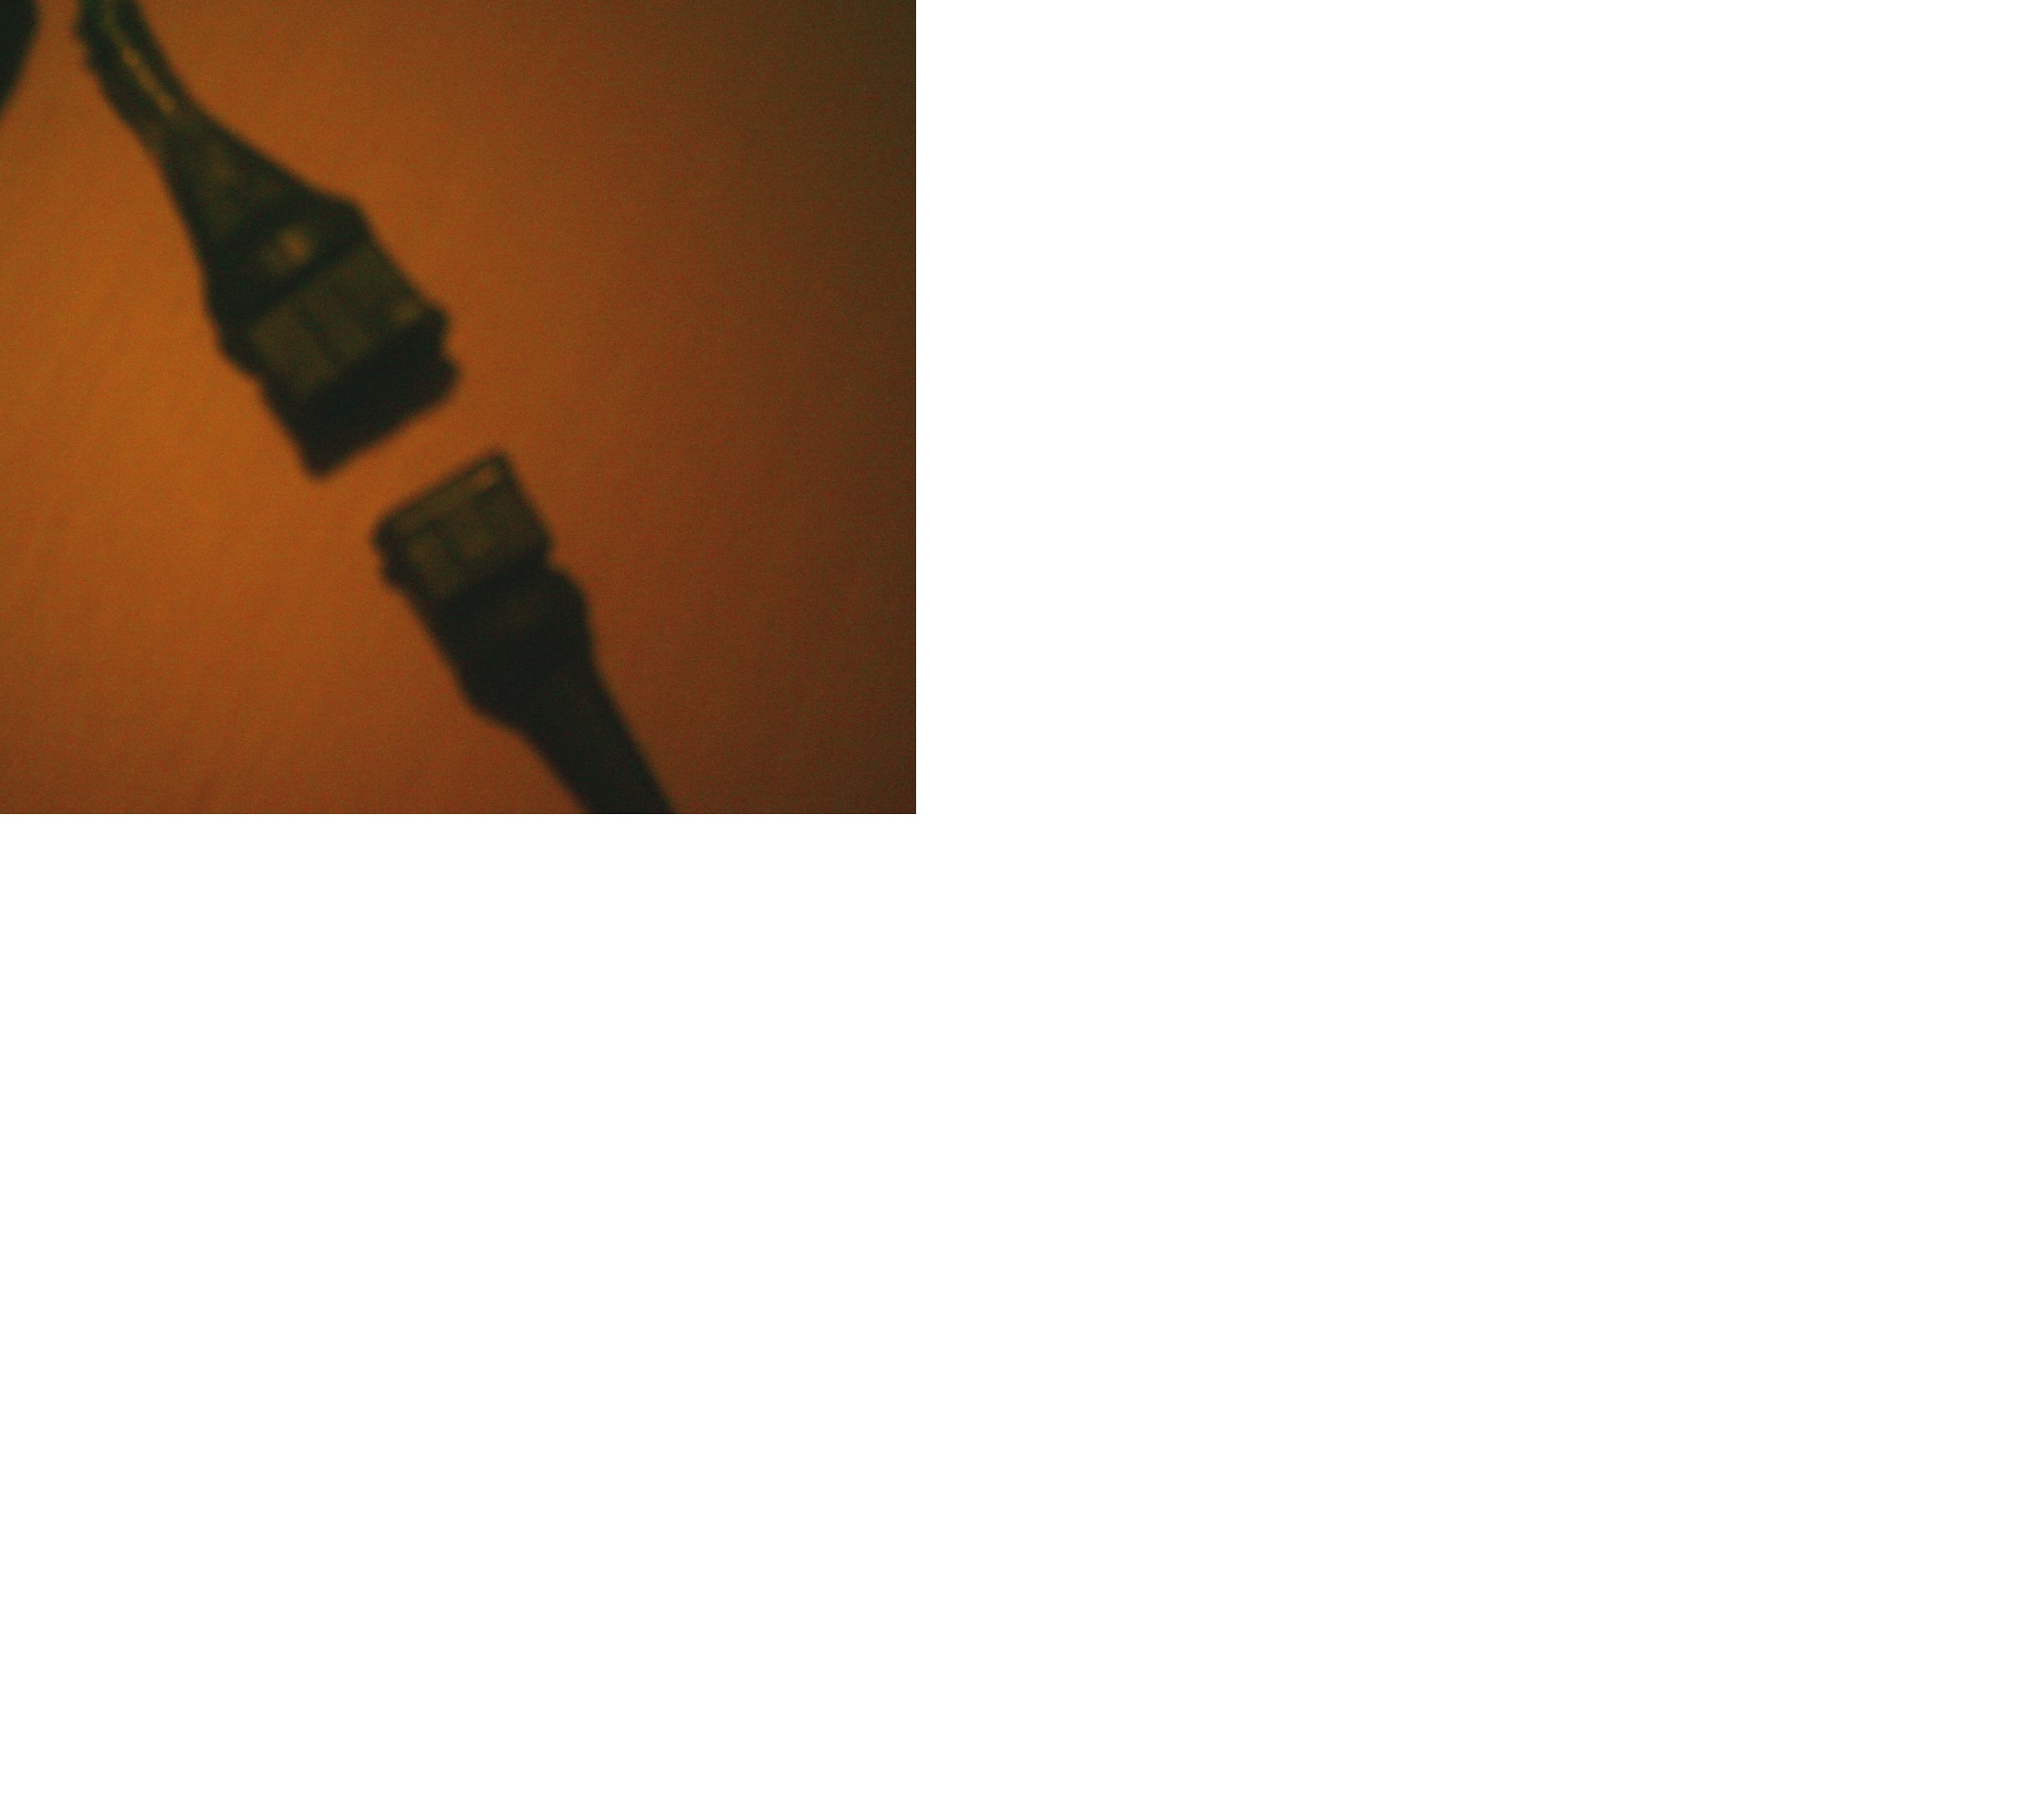
Fan connections
Fan switch
Overboost and heat sensors


 Reply With Quote