-
Detailing Mod

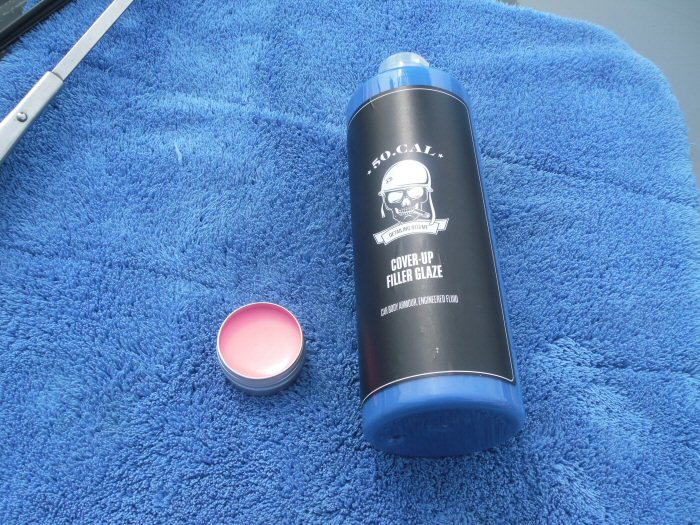
50.Cal Detailing Cover Up Filler Glaze
Hello Folks,
What Is It?
50 Cal Detailing Cover Up Filler Glaze
What Does It Bring to the Table?
A brand new easy to use Filler Glaze that allows amateurs to paint correct!
What Do I Think Of It?
When I first heard of this product and did my initial research I was at once
pleased, but not a little skeptical. It's my belief that presently, after all the
hype that surrounded another similar product that's no longer available, there
is a bit of a gap in the market. The very short, but very complete, by-line to
describe the product shown above does set the bar quite high. So, with that
kind of initial build-up, does the product match its billing?
In a word, yes! Though the initial start with this was not uneventful. Despite
it seeming to need some effort to buff off, I was determined to give it a fair
crack of the whip. I'm jolly glad I did, because the results can be very good
indeed!
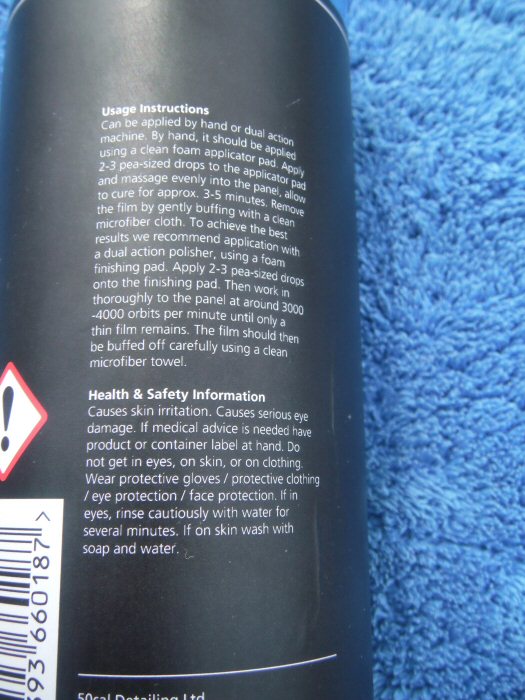
However, before I get on to describing this glaze in use, I need to say a few
words about what's printed on the side of the bottle. In print of very tiny
proportions there are some pretty vital instructions, particularly with regard
to protecting your hands. This is not a product to go fast and loose with and
not take any notice of the precautions you should take beforehand. Just how
many people will take the time to read that tiny font is open to question...
Personal Safety Note
Having now completed a car over several days, I do want to point out a
safety issue. The words "causes skin irritation" on the label are clear and
unequivocal. I would strongly suggest that you thoroughly wash your hands
after removing your protective gloves. The irritation isn't serious, but it isn't
comfortable either. The effect is that your skin feels exceptionally dry. As a
guy with gammy hands anyway, I can only implore you to look after yours.
The Glaze in Use
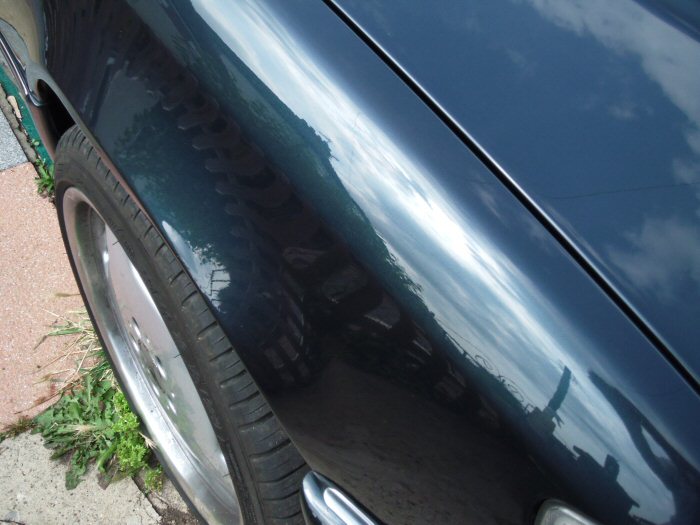
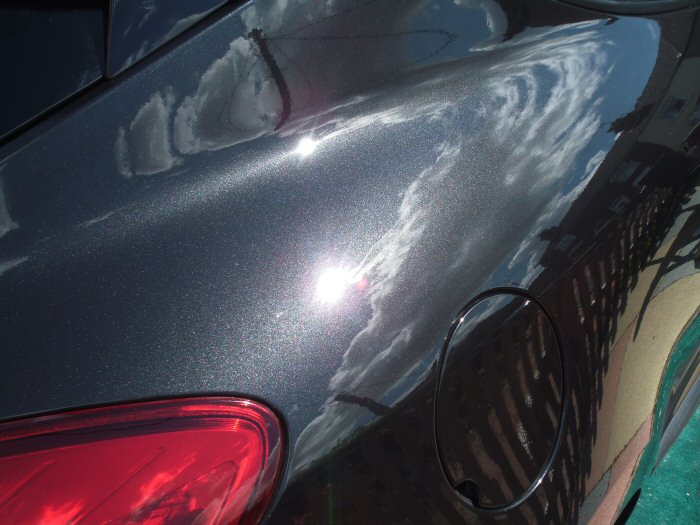
The second car to get treated was a rather nice Merc coupé. The owner of
this car usually has it dealt with professionally, but I think I may have made
it look far too easy at shows we've taken our cars to. We were at a big show
in Helmingham and I got a cry for help with water-spotting.
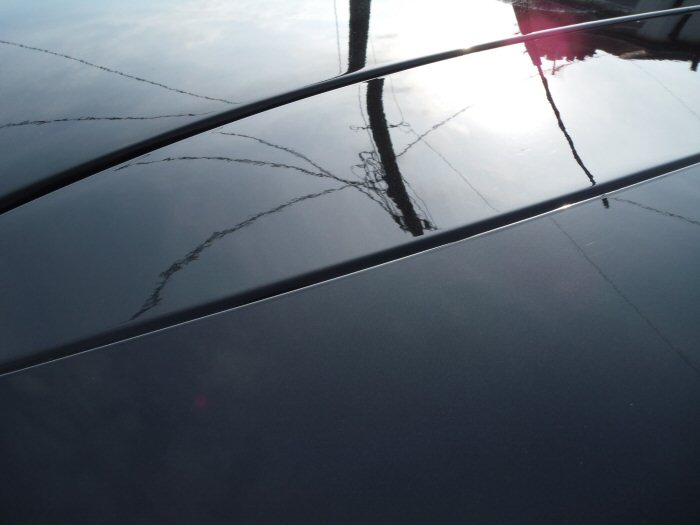
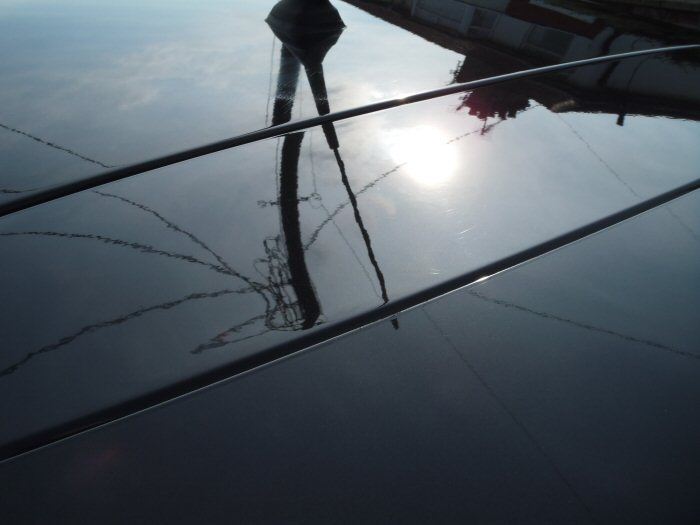
This wasn't intended as a test mule today, but I couldn't resist asking if it
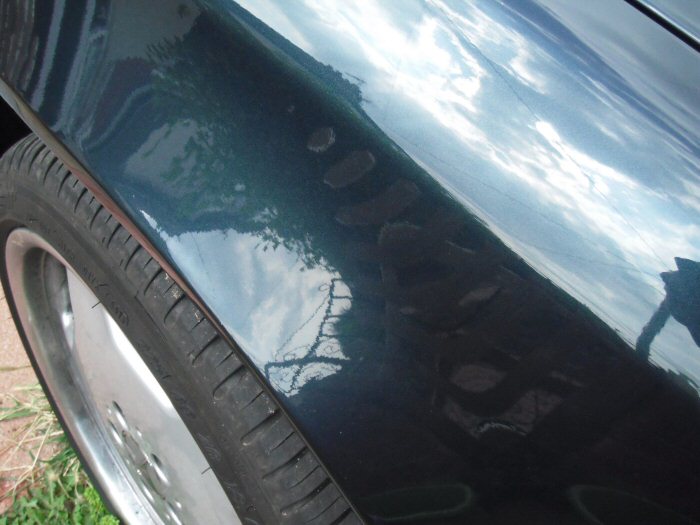
was OK to have a go. There isn't much swirling on this car, but the green
tinge to this paint made it far too tempting to ignore. In the event, just the
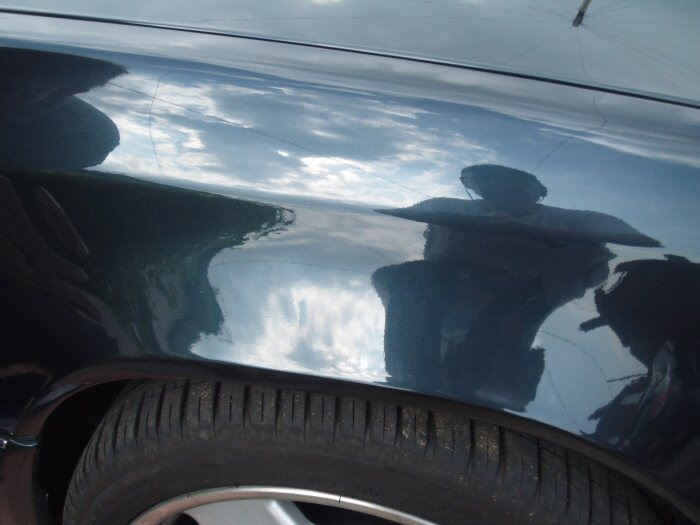
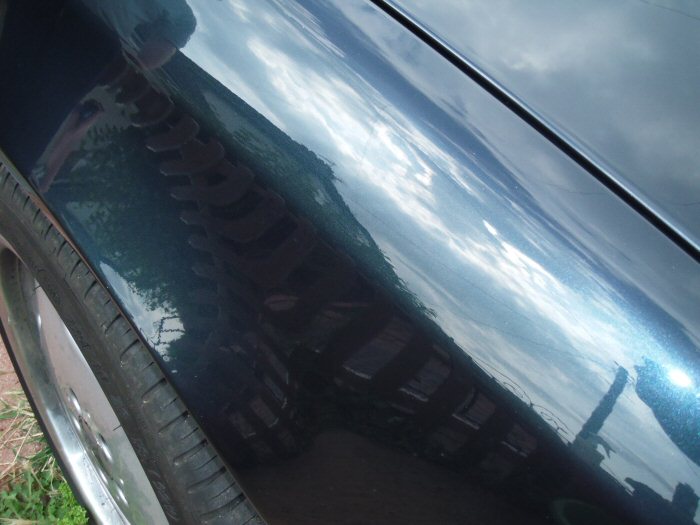
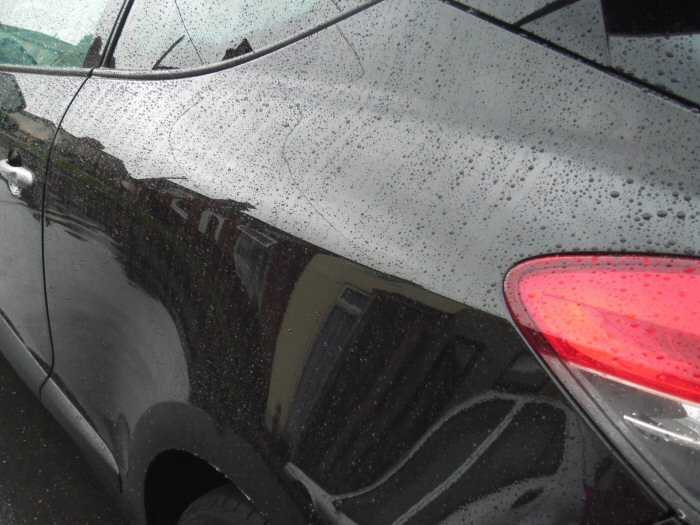
front wing was treated. These first 3 pictures are befores...
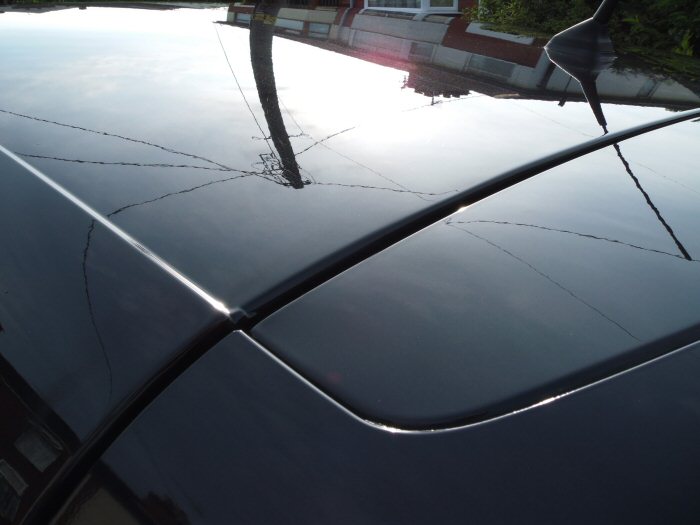
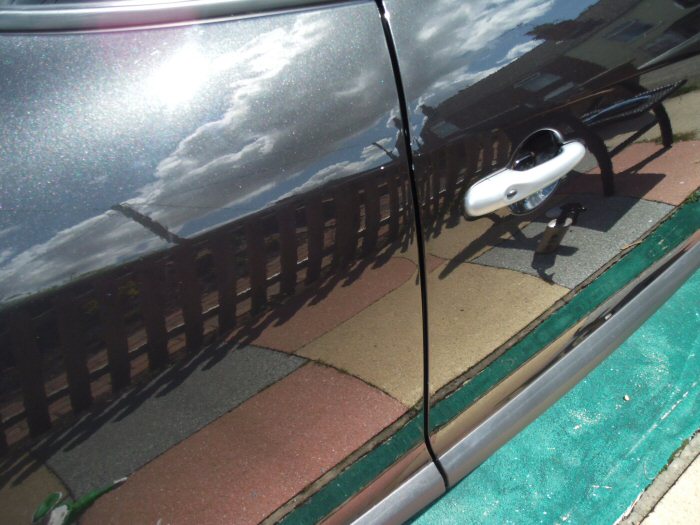
Application of this glaze can be a little tricky if the surface is anything other
than fairly cool. One way around that was to lightly prime a foam pad with
some QD. Fairly predictably, I used some ONR Wash & Shine @ 32:1. About
4 tiny drops of product were well massaged into the pad first.
As for massaging into the paint, per the instructions, well, the working time
didn't seem to be that long, even with the lubricant. Most modern products
tend to work best when working on the less is more principle, so I resisted
the urge to just keep topping-up the pad without nearly exhausting it first.
Although the paint surface was by no means too warm, I was keeping a fairly
good check on that, the product took no time at all to dry. So, I was able to
do the buffing-off fairly soon after application. Unlike my first car with this,
which still remains a mystery to me, there was very little effort needed. I'll
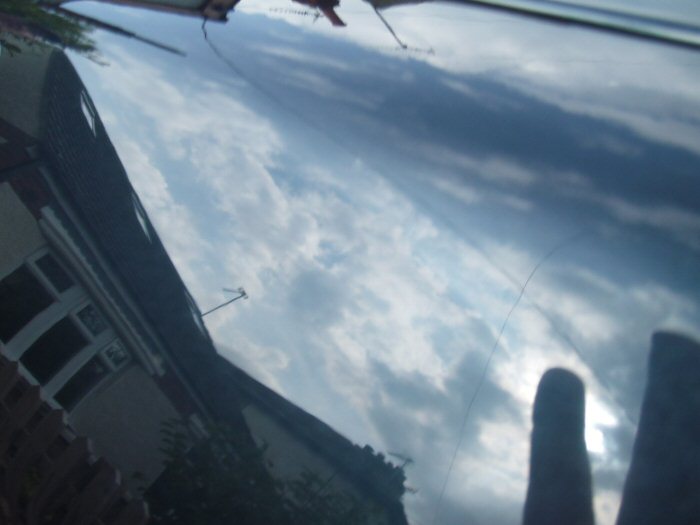
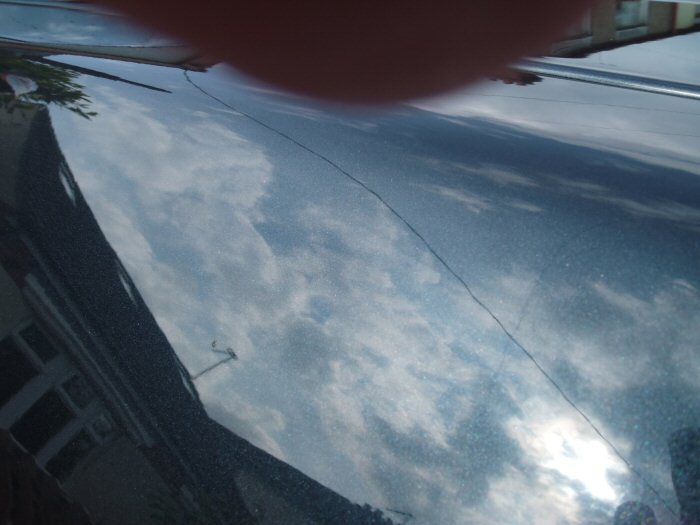
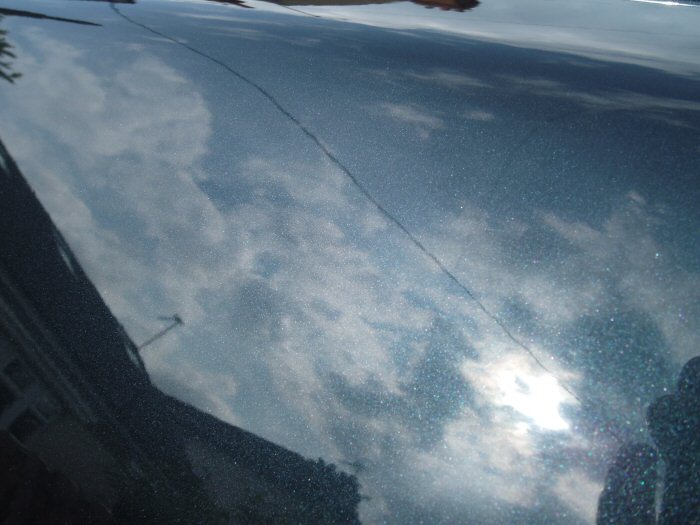
let these next 4 pictures tell their own story...
The white "marks" are actually flake-pop, not his water spotting 
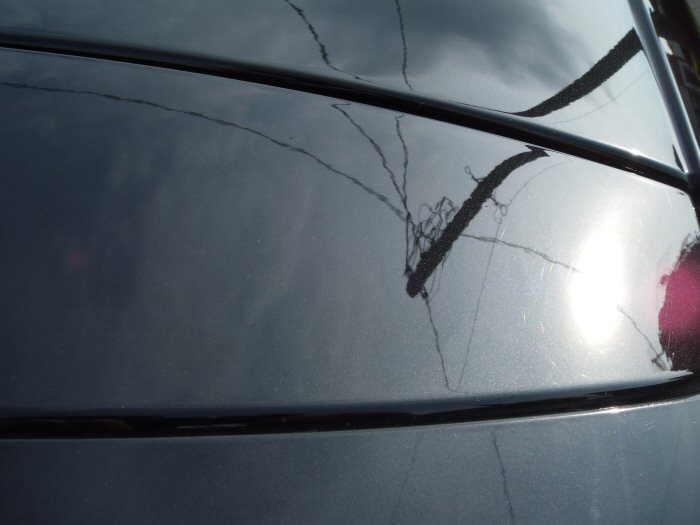
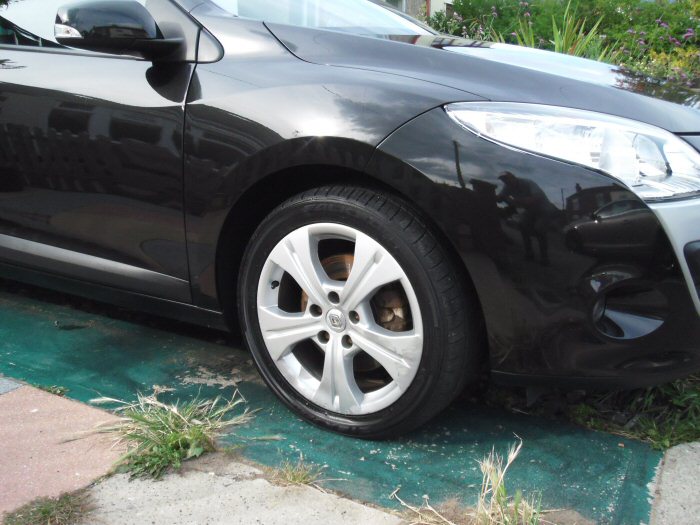
The car that I really wanted to test this on is a neighbour's 2009 Mégane.
The car has been left to the tender mercies of brillo pad wielding thugs. Well,
that's what it looks like to any of us. The paint was as grubby and rough as
they come, and detail preparation for this glaze and subsequent treatments
will be the subject of a showroom posting in due course.
Suffice to say the paint was washed and clay clothed. There was so much
stuff still left on the paint that it was given a bit of a hand polish, then given
a 2nd clay cloth treatment afterward. What I ensured with both of these cars
is that application is on paint as clean as I can get it.
These first two photographs are of this clean paint, with an attempt at
picking up some of the swirling as the light would allow...
Again, like with the Merc, I'll let the photos do the talking. When the Merc's
owner came over to inspect progress, several favourable comments were to
be heard. This from someone who's not too easily impressed and pretty clear
about what, to him, is good, or not.
While the finish wasn't entirely perfect, the effect was of a richer and maybe
slightly darker paint than hitherto.
A Later Experience
All the while during the preparation work on the Renault Mégane I was trying
to figure out the best way of testing the "Cover Up" glaze on this car.
Fortunately, I have carte-blanche to apply whatever is in my potions box.
So, I decided that I'd apply a variety of waxes. I found out a day or two
later that Cover Up doesn't provide any surface protection, in and of itself.
This is the eventual break-down. Apart from the wheels, just a single coat
of wax applied...- Bonnet: FK #1000p sealant
- Roof & rear spoiler: ADS ADK Obsidian Wax
- Rear valance & boot door: CG Butter-Wet Wax, untopped
- Pax side front wing & valance: Definitive #89
- Pax side door: Bouncers Strawb & Cream
- Pax side rear wing: 50.cal Wax
- Pax side wheels: FK #1000p x2 on clean surface
- Driver's side front wing & valance: FK #2685 Pink Wax
- Driver's side door: Harly Wax
- Driver's side rear wing: 50.cal Cover Up, untopped
- Driver's side wheels: FK #1000p x2 over Cover Up
So, there's a whole range of waxes, from the relatively cheap up to the fairly
costly, and a renown sealant. I will have to re-visit the driver's side rear wing
though I haven't yet decided what I'll be applying.
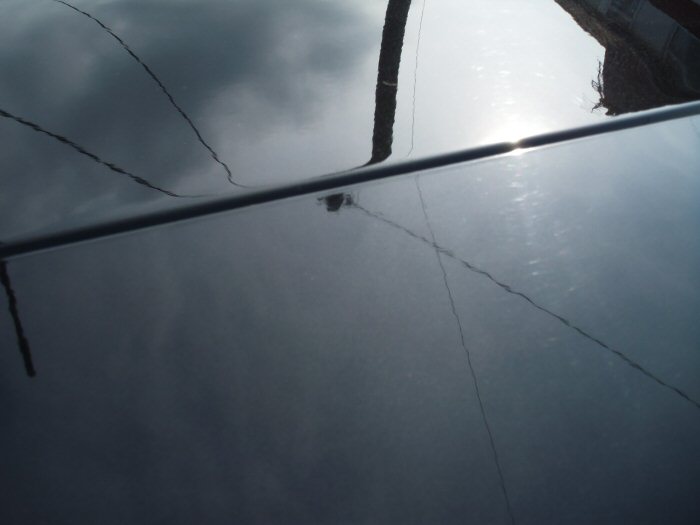
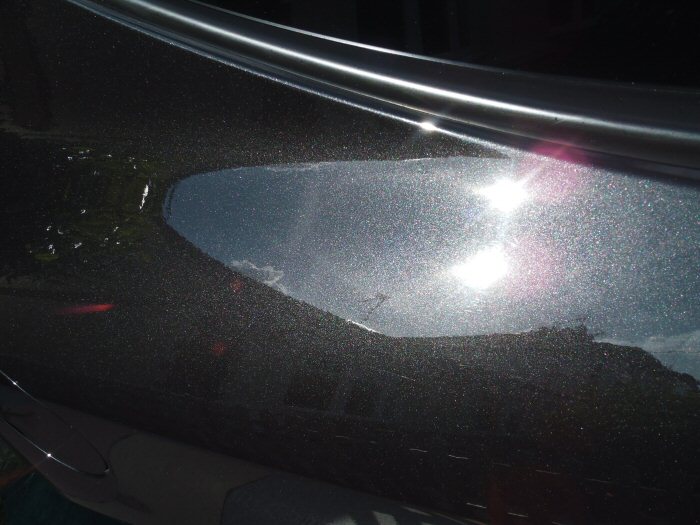
Continuing with application of the Cover Up, I almost binned this next photo,
in embarrassment!
It wasn't until I looked at the next photo that I remember why I took it. I'm
going to start with a question. How deep do you reckon those annoying swirls
on your paint really are? To put it another way, can you picture their depth in
your mind's eye?
Take a good look at that picture. This was an attempt to try and keep my
working area cool during the "Cover Up" application process. Almost a cheat
if you like, but I was using some basic chemistry to my advantage. What I
did was to spray the panel with some ONR at 32:1 and then very quickly work
the glaze into the paint. The process of evaporation, delayed by the ONR,
helped to keep the panel cooler than it should have been and allowed me to
properly work the product in.
If you've examined the photo, you'll see that only a very, very thin coat was
actually applied. So, was it thick enough to work? Well, I'll let this next photo
give you a clear answer...
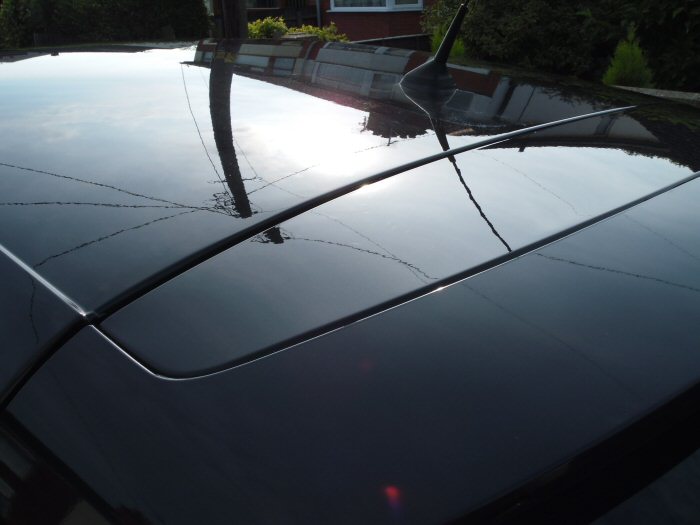
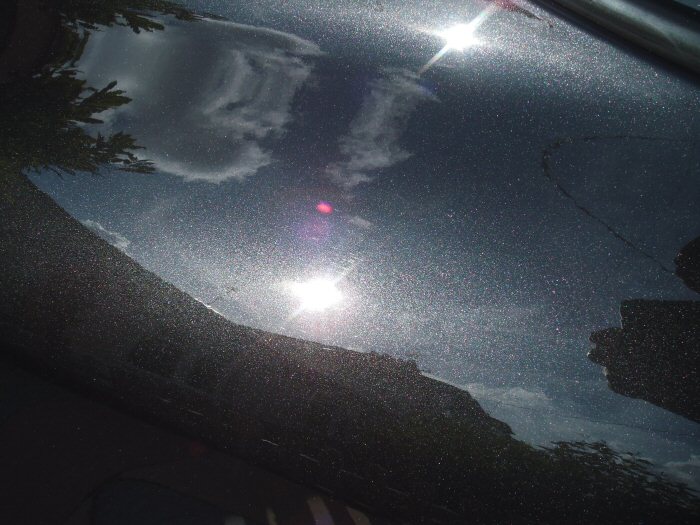
So, that goes some way toward answering the questions I posed just now,
doesn't it? I'm certainly happy with that result!
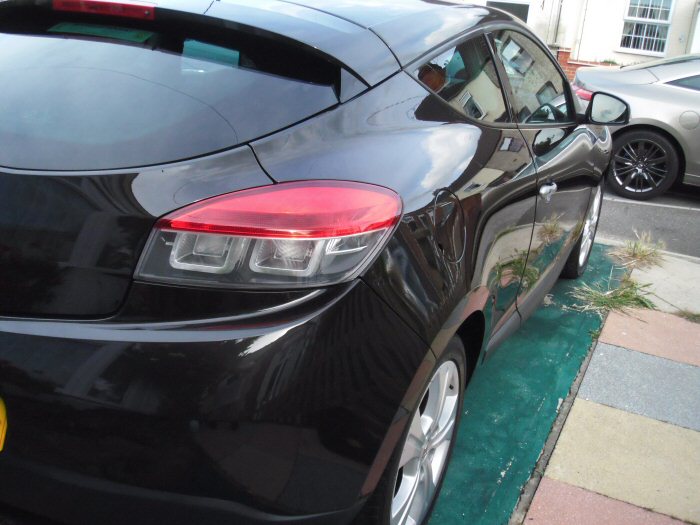
...as I am with this one.
Here's two final pictures where I've tried to convey just how good the finish
can be. The glaze has now been topped with a wax...
I should perhaps discuss the wax application on top of the glaze. Quite unlike
other glazes that I've used, the 50.cal "Cover Up" finish was not at all slick to
the finished touch. It certainly felt smooth, but I would describe it as being a
product providing a good key to whatever is to follow. Certainly, there were
no obvious bonding issues with the waxes that I applied.
At first glance, probably the finish that most impressed me was not any of
my favourite waxes. It was the richness of the FK #1000p sealant on the
bonnet! Considering that on its own that wax usually provides a bit of a
sterile finish, that was indeed a surprise.
One other thing that was quite evident with the glaze, which the FK #1000p
probably brought out, was some darkening effect. Yeah, I know it's black
paint, but the effect of giving the finish some depth and richness was there
nevertheless. Anyway, on to some finished car pictures...


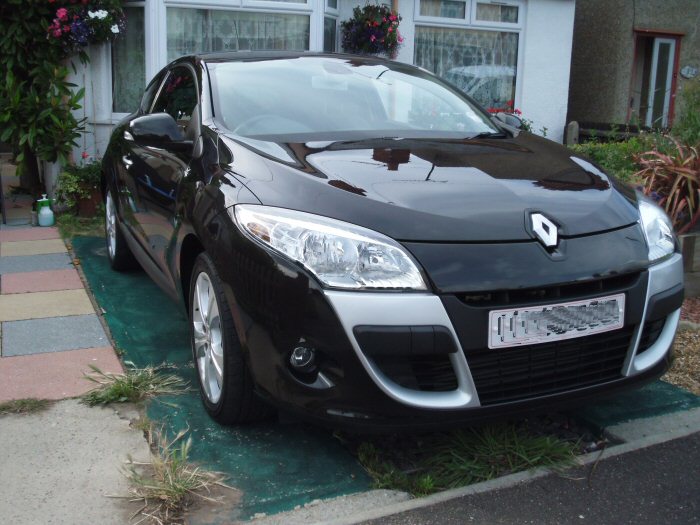
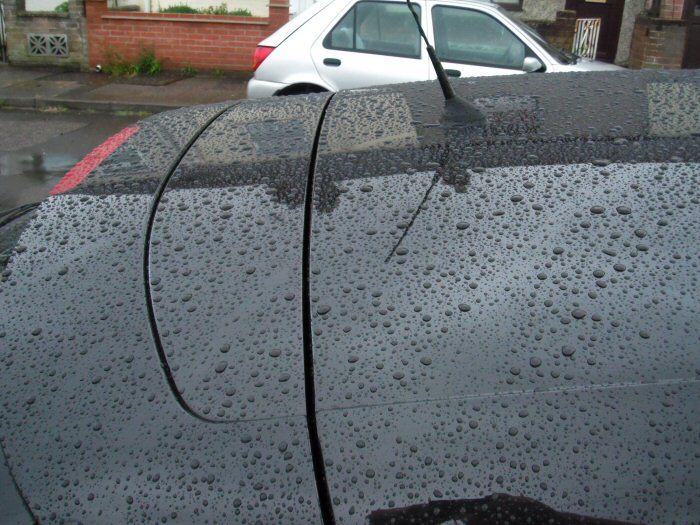
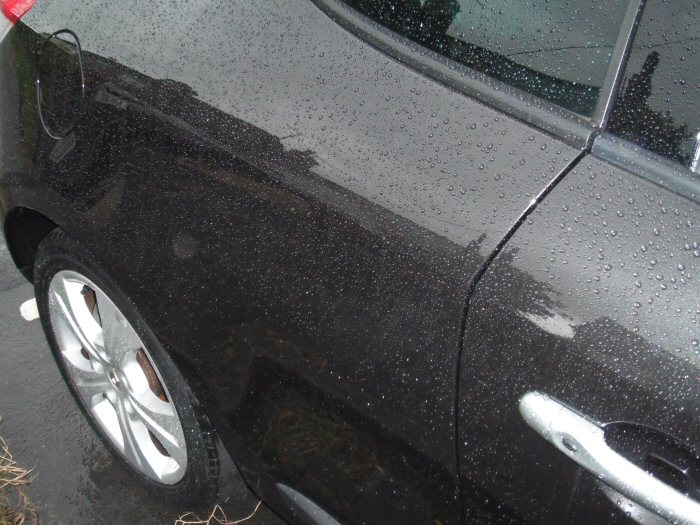
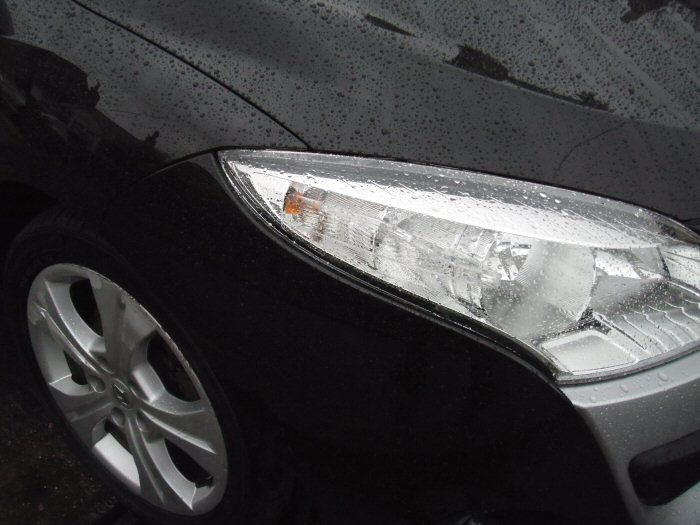
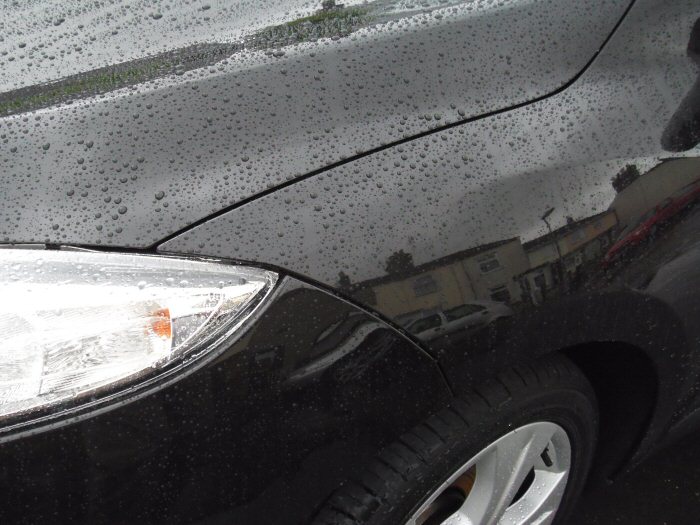
The Following Day
Well, once I've completed a detail, I don't really mind if the heavens open.
I know the paint is protected and there might be some nice beads to look at
instead. It seems that it rained for most of the night and a fair way into
Sunday morning - so no big reveal :/
Now, anyone familiar with my posts will know that I don't hold much store
by beading, other than their pretty patterns. So, here's a quick walk around
the car after a fairly wet night...
Long-term Report
Because Cover Up doesn't possess any protection qualities of its own, it
does depend upon its wax or sealant cover as far as longevity is concerned.
Quite obviously, 50.cal recommend their own wax for this task, but that still
transfers the onus of longevity to the wax.
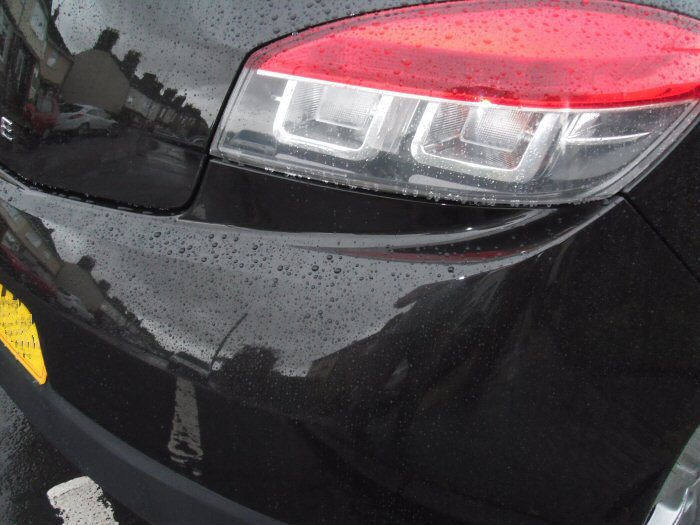
So, 5 months on, here's a picture of that same car after a quick winter wash
carried out today. There is a hint that it'll soon need treating once again...
...bearing in mind how badly swirled the car was initially, I cannot fail to be
very impressed. I imagine that to some extent it also depends upon the
protective coating placed over it, because in and of itself the "Cover Up" has
none. In this case it's not .50Cal's wax because I'm carrying out a longevity
test for another review product.
Conclusions
For someone who has limited motor function like myself, this product could
quite easily qualify as the biggest cheat in my armoury. Of course, to our
trained eyes, nothing but the real thing will probably suffice. After a bit of a
false start, I can only conclude that "Cover Up" is an impressive product.
There are a number of scenarios where this will tide someone over until they
can deal with any swirling, or pass the car off as being "detailed". On both
cars, a different wax was used by design. Although the manufacturers claim
"best results" with their own wax, I doubt very much that the performance of
this glaze will be hampered by a different choice, as long as a quality product
is used.
Other products of this type have had claims of being LSPs in their own right.
Whether or not this could be the case is something that I'll probably put to
the test. The resulting smoothness of the paint, before the wax application,
was very satisfying. The "oooh" from the lady next door, when invited to
stroke the Merc was almost "orgasmic" 
So far, I've used about a 5th of the bottle on doing two full cars along with
playing on panels of two others. So, in the value for money stakes it does
very well also. Despite my reservations over its effects on human skin, I can
do nothing but recommend this product and it will be on my replenish list when
the time comes 
Where Do I Buy It?
The 500ml bottle of "Cover Up" filler glaze costs [strike]£17.99[/strike] excluding delivery.
Since 02 February 2015, the cost is reduced to £13.99, excluding delivery
and is available direct from the 50.cal Detailing Web Site
Acknowledgements
My thanks to Morgan at 50.cal Detailing for his help and patience
Regards,
Steve
Last edited by Lowiepete; 26-09-2016 at 14:17.
 Posting Permissions
- You may not post new threads
- You may not post replies
- You may not post attachments
- You may not edit your posts
-
Forum Rules


