So, to buy from one place, go to
Serious Performance. Recommended products to buy
would be some...
paint cleanser - good on glass and paint,
show detailer as the lubricant
fine detailing clay
Both the cleaner and show detailer are available in larger sizes for little extra money.
I swear by both products - what the paint cleaner fetches out
with these pads will
probably astound you!
Cut the clay bar into 3 or 4 pieces and place the bits into an old mug and half fill with
fairly hot water. Add about 2 capfuls of show detailer (SPSD) and leave to stand for
several minutes. The water needs to be hand hot at this point. If the glass is cold, then
you'll need the mug handy to keep the clay warm. You need to be able to freely knead
the clay like softish plasticene. The clay will harden if it gets cold. Rotate the bits back
into the warm water as you go.
If you have some low-tack tape, then lower the window a little so the top is showing
and mask off the base. Spray the window with SPSD then clean with the clay, keeping an
eye on its surface. Try, if you can, to treat the clay as a puck beneath your palm. The
surface needs to be wet at all times so the clay slides freely without pressure! I repeat,
it does _not_ need pressure to work. Have a first practice on glass, where if you drop
the clay, it can be caught without getting dirty. Always, but always fold the clay so that
the dirt is folded in on itself. If you drop a clay piece, it's game over! No messing! Do
_not_ try and attempt any rescue!
Once you fold the clay, liberally spray the window then, supporting the glass from
behind, press the clay fairly firmly onto the surface to flatten it, taking care that it does
not stick!
Next give the glass a good polish with the paint cleaner (SPPC). Note it doesn't contain
abrasives and works chemically. Unlike the windscreen, you should not use any product
with abrasives because you don't want these getting into the bottom seals. You need
to allow the SPPC to work and just gently buff it off.
Once done, remove the tape, fully lower the window, soak the corner of a microfibre
cloth into the clay liquid and with it wrapped around a finger or three, give the slot a
really good clean. Keep rotating until the cloth comes out clean. You _don't_ need much
pressure, just let the cloth do its thing. Several gentle passes are better than a few with
force.
Finally, liberally spray neat SPSD into the cloth and apply that to the slot. Test the
window operation, giving it a wipe if there's surplus SPSD on it.
If you order the lot from Alex at SP, you can name drop - he'll look after you!

The SPSD is fantastic on paint too.
With Season's Greetings,
Steve


Originally Posted by markg

Just seen on the back and there is a tiny + - sign. I'll stick to building engines! Lol


 Reply With Quote
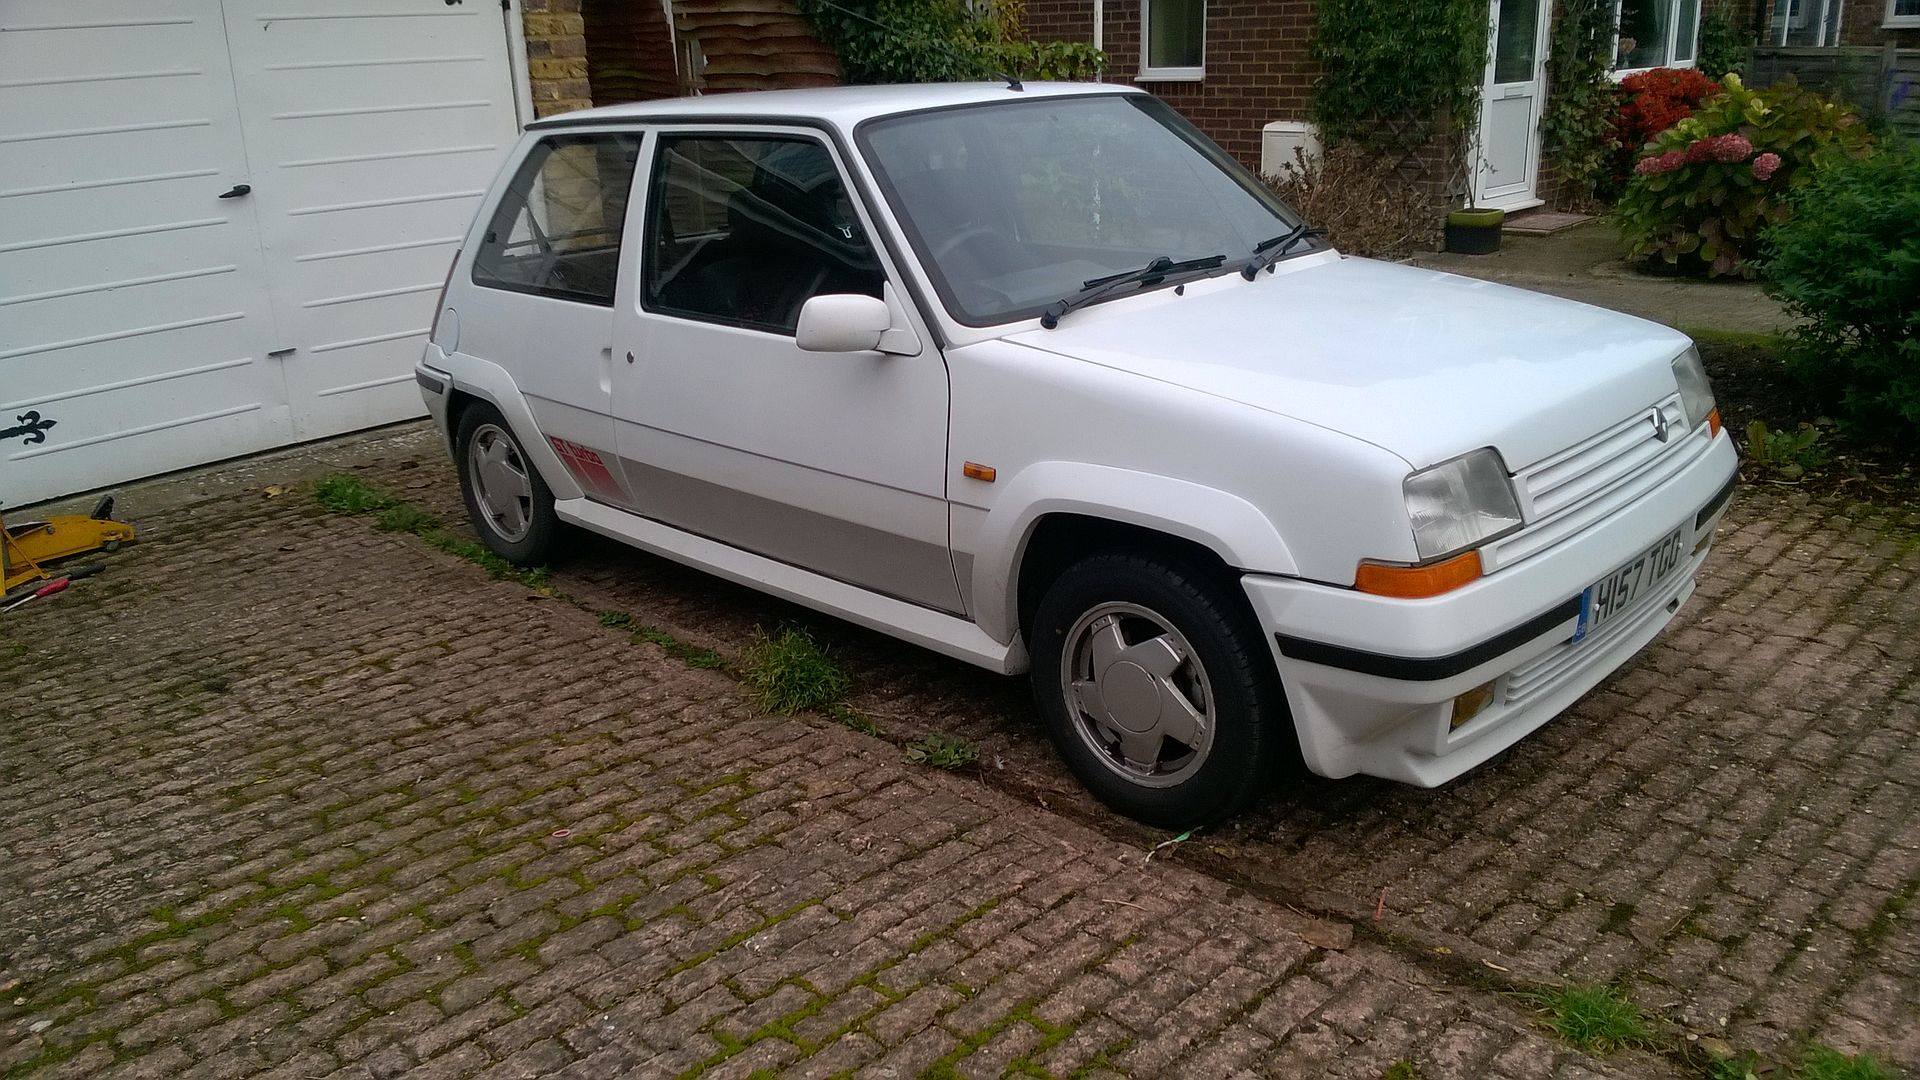
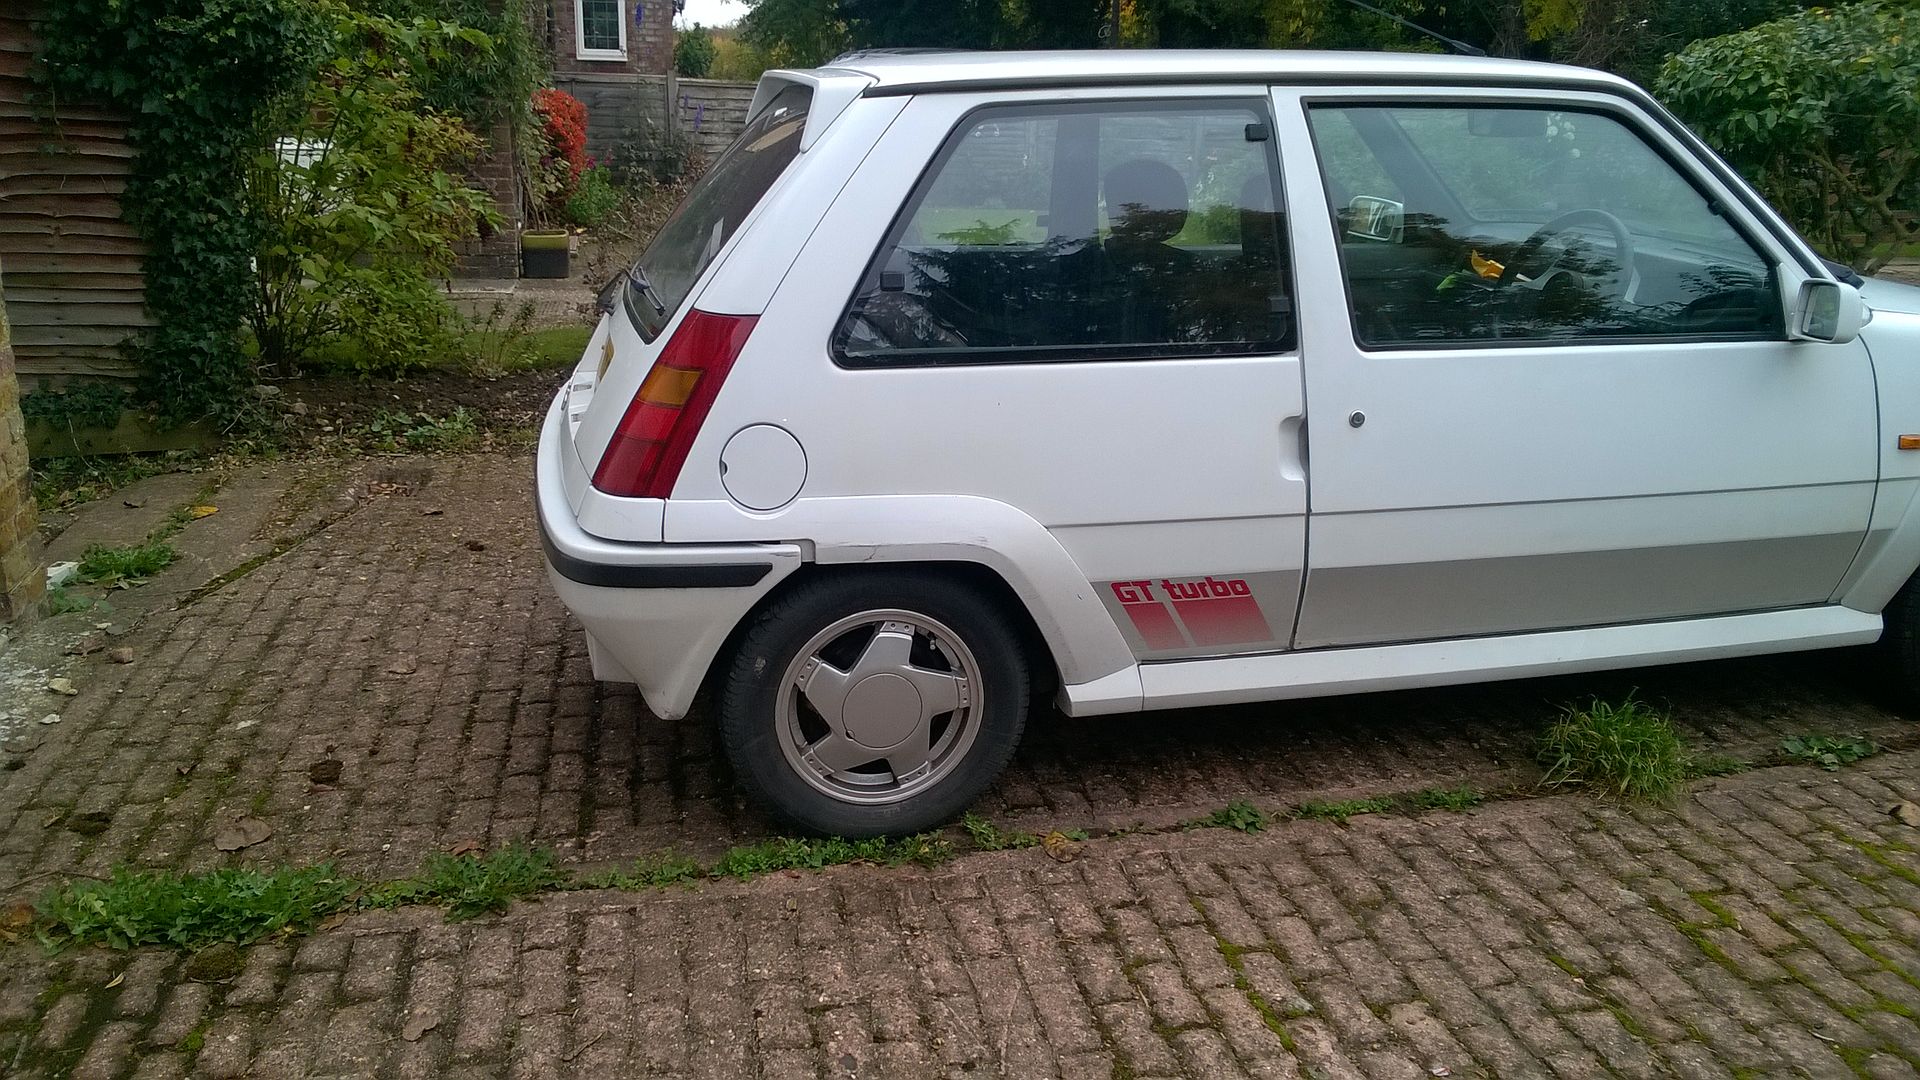
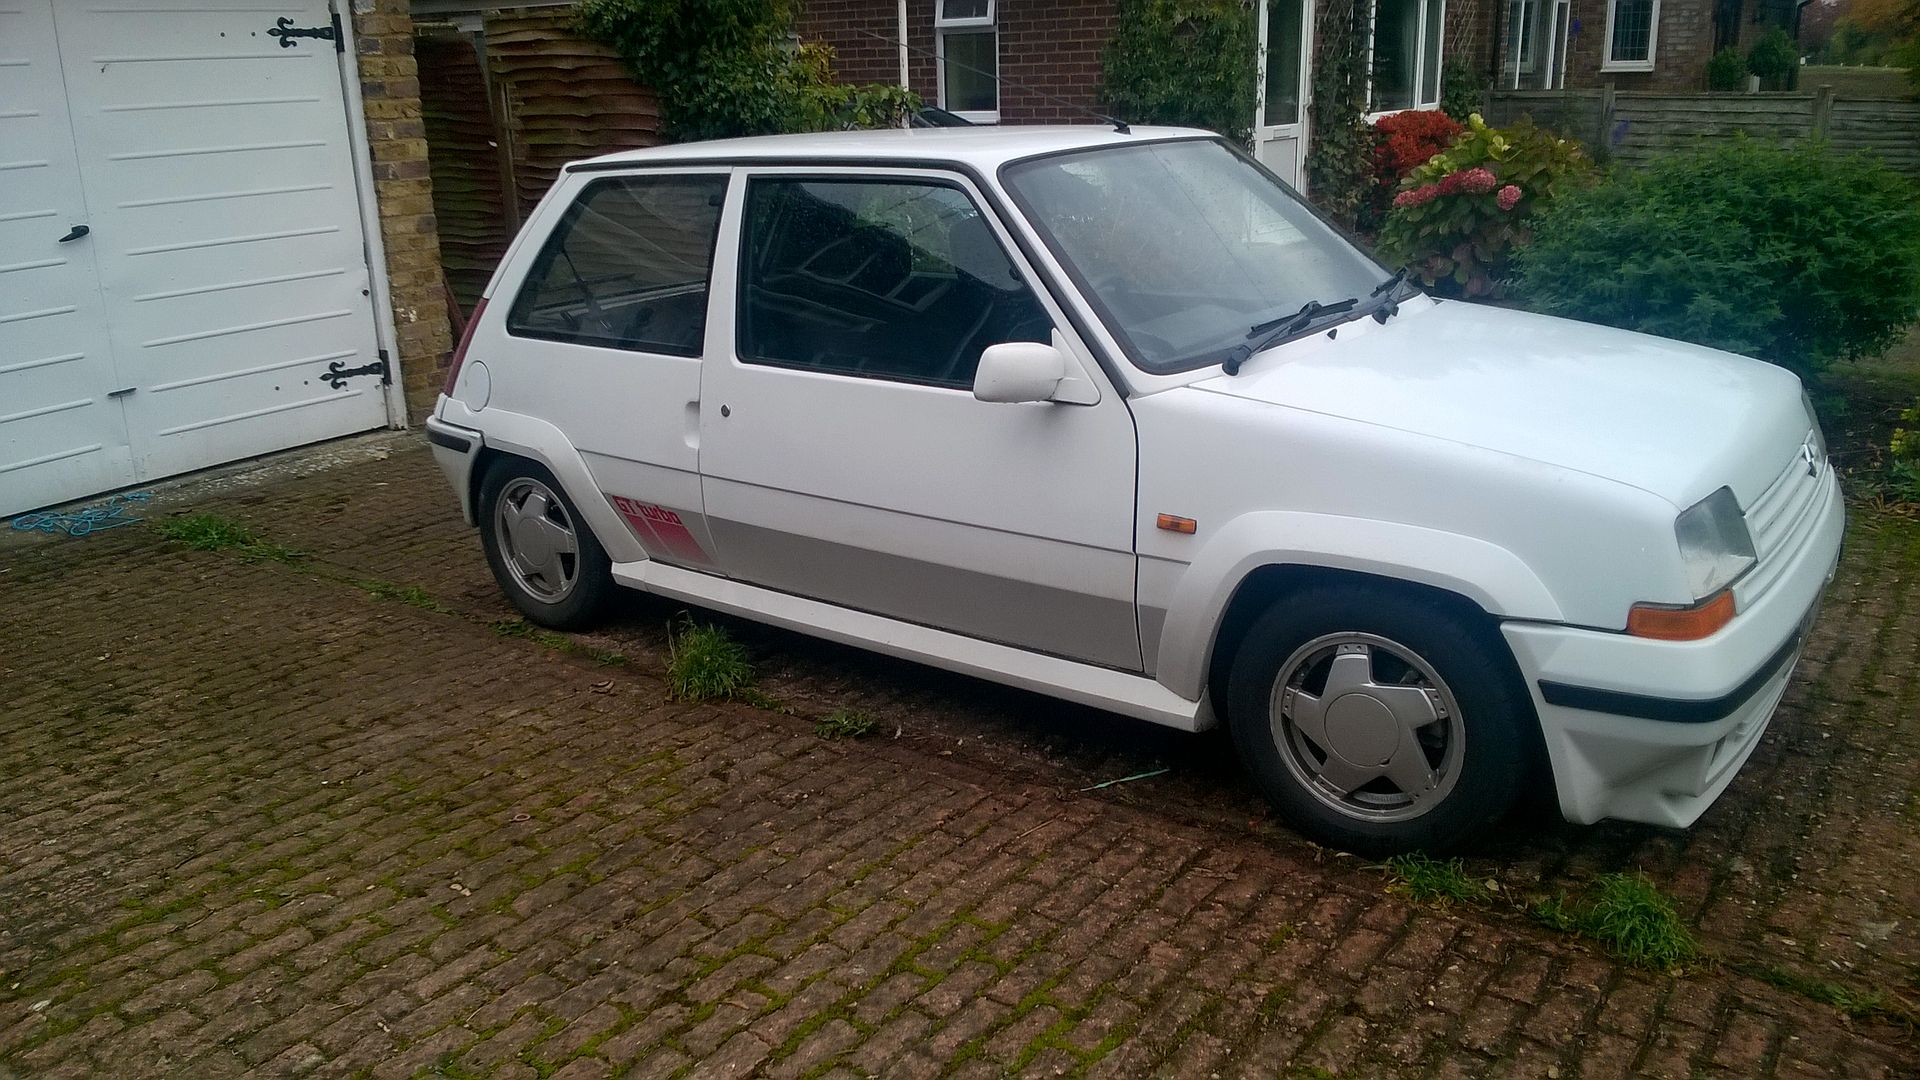
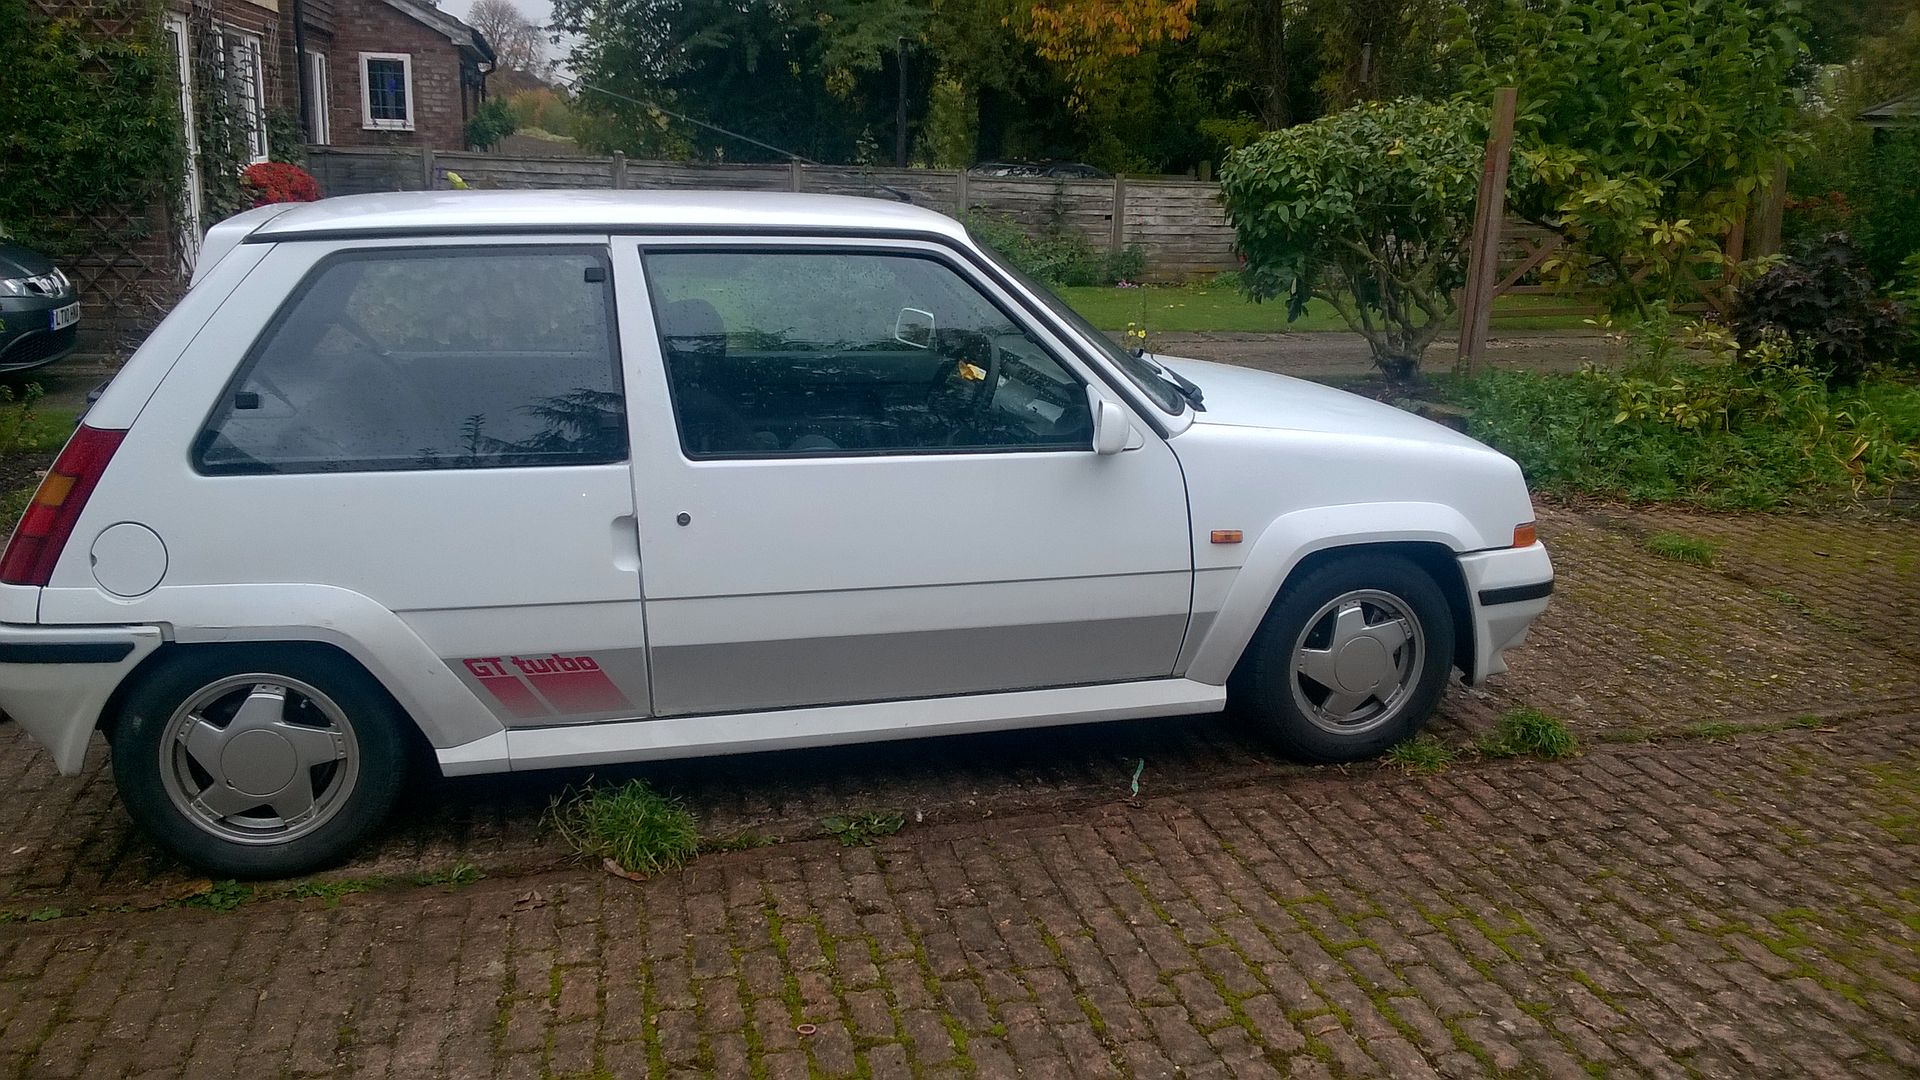
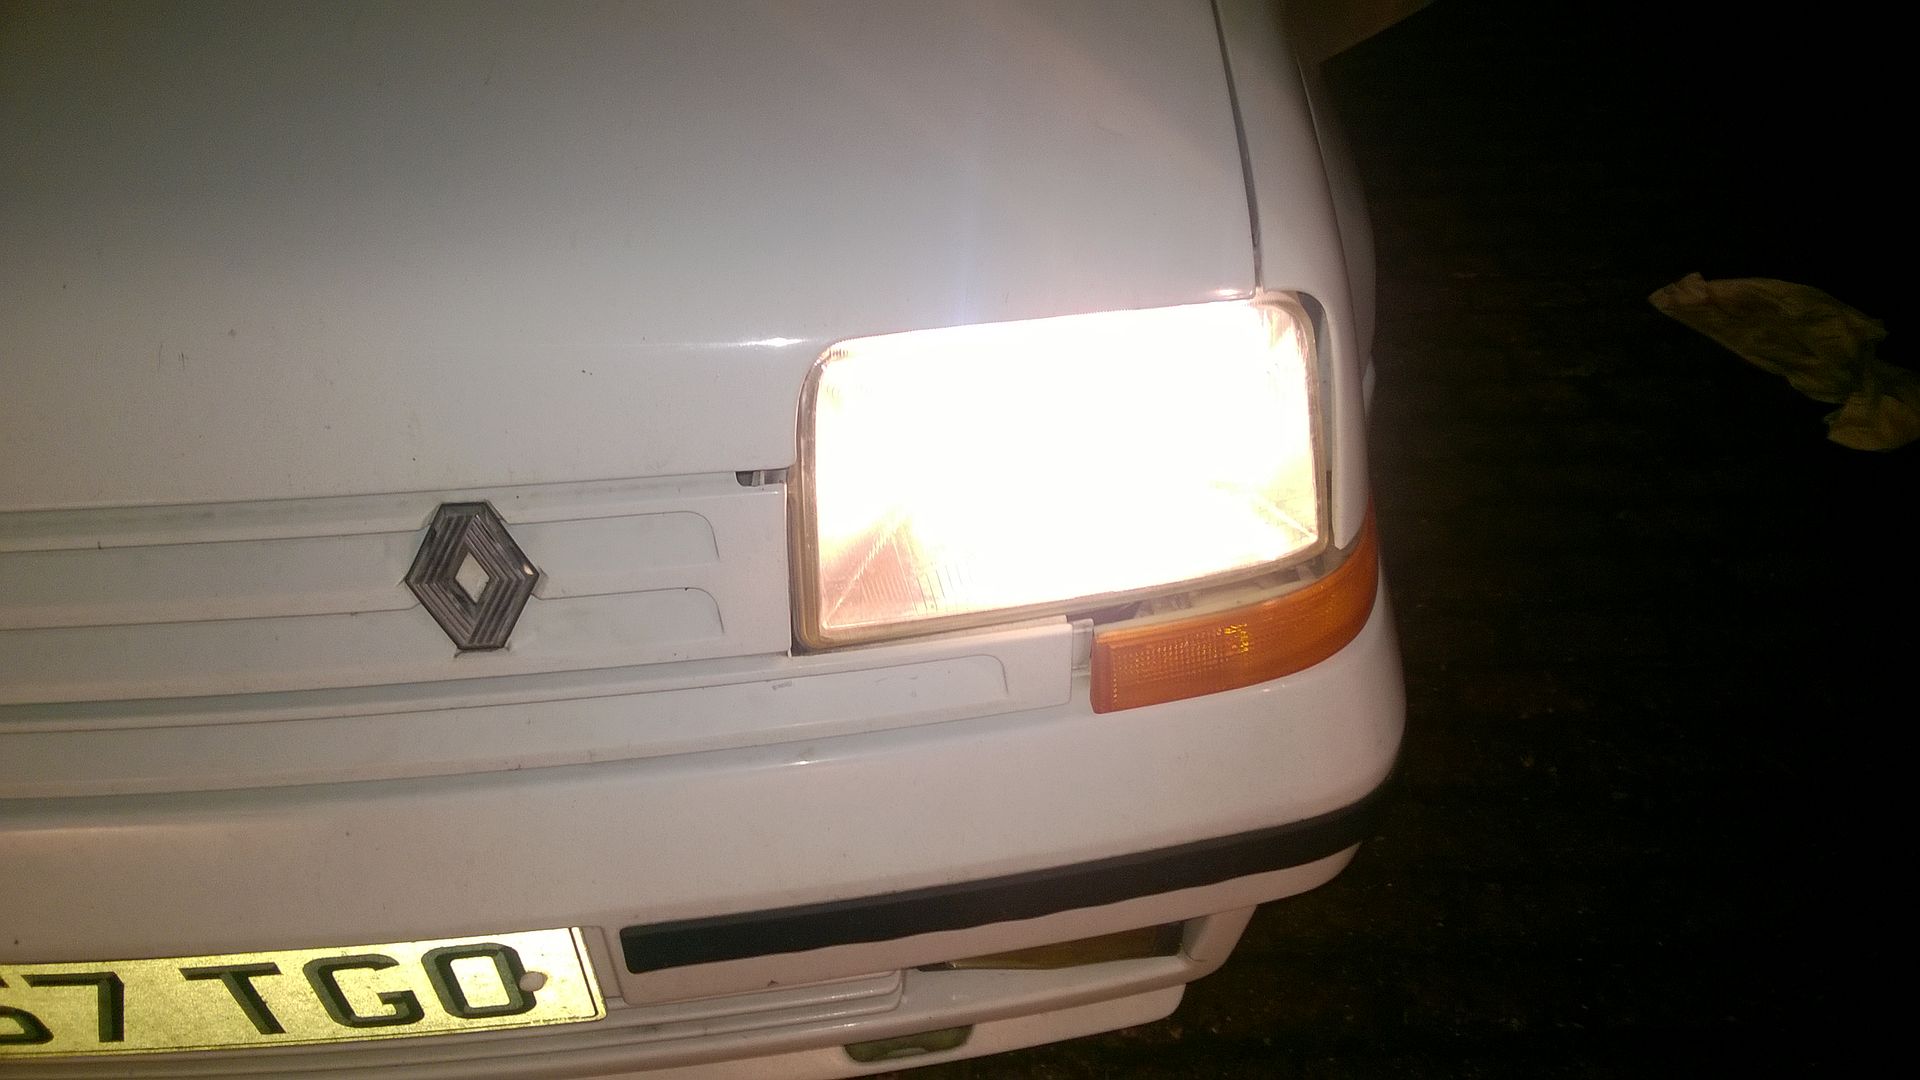
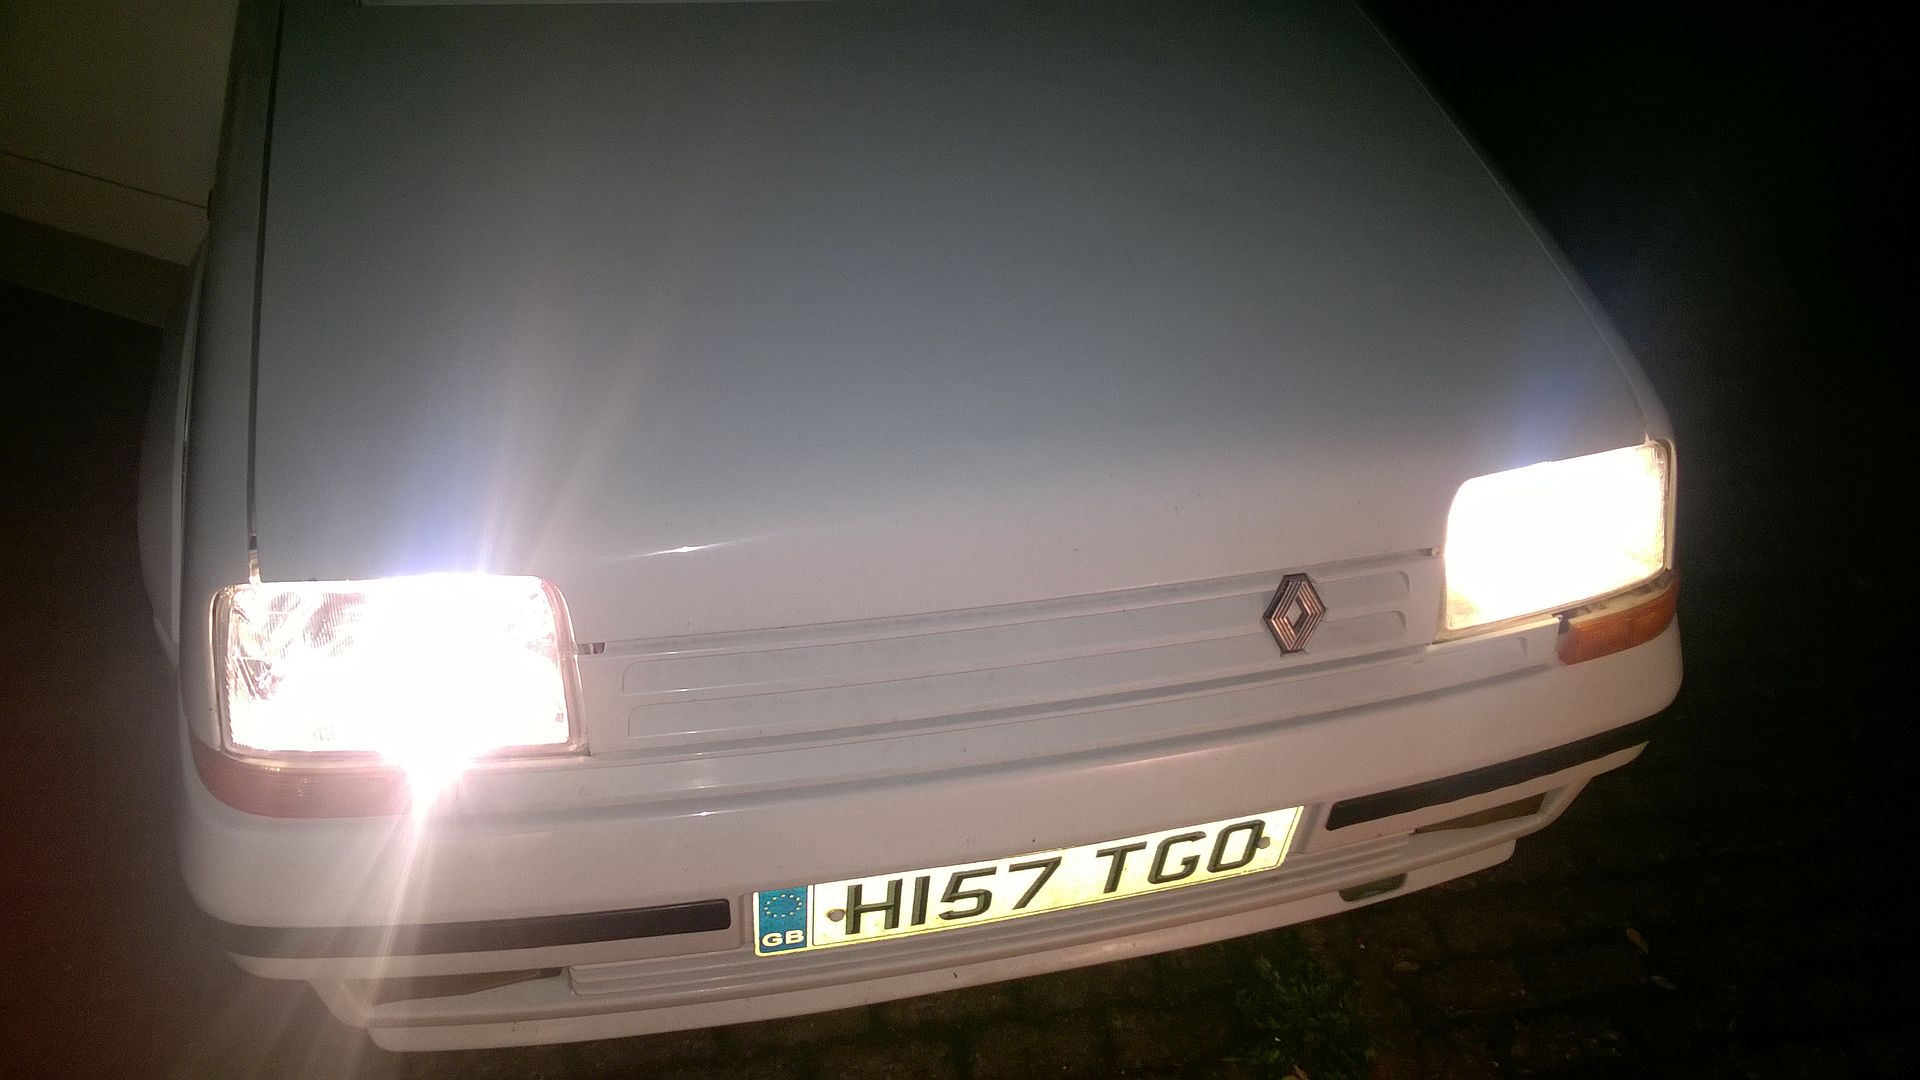
") then it can go in for an mot. Badges have been blasted and repainted correct colour.
then it can go in for an mot. Badges have been blasted and repainted correct colour. 

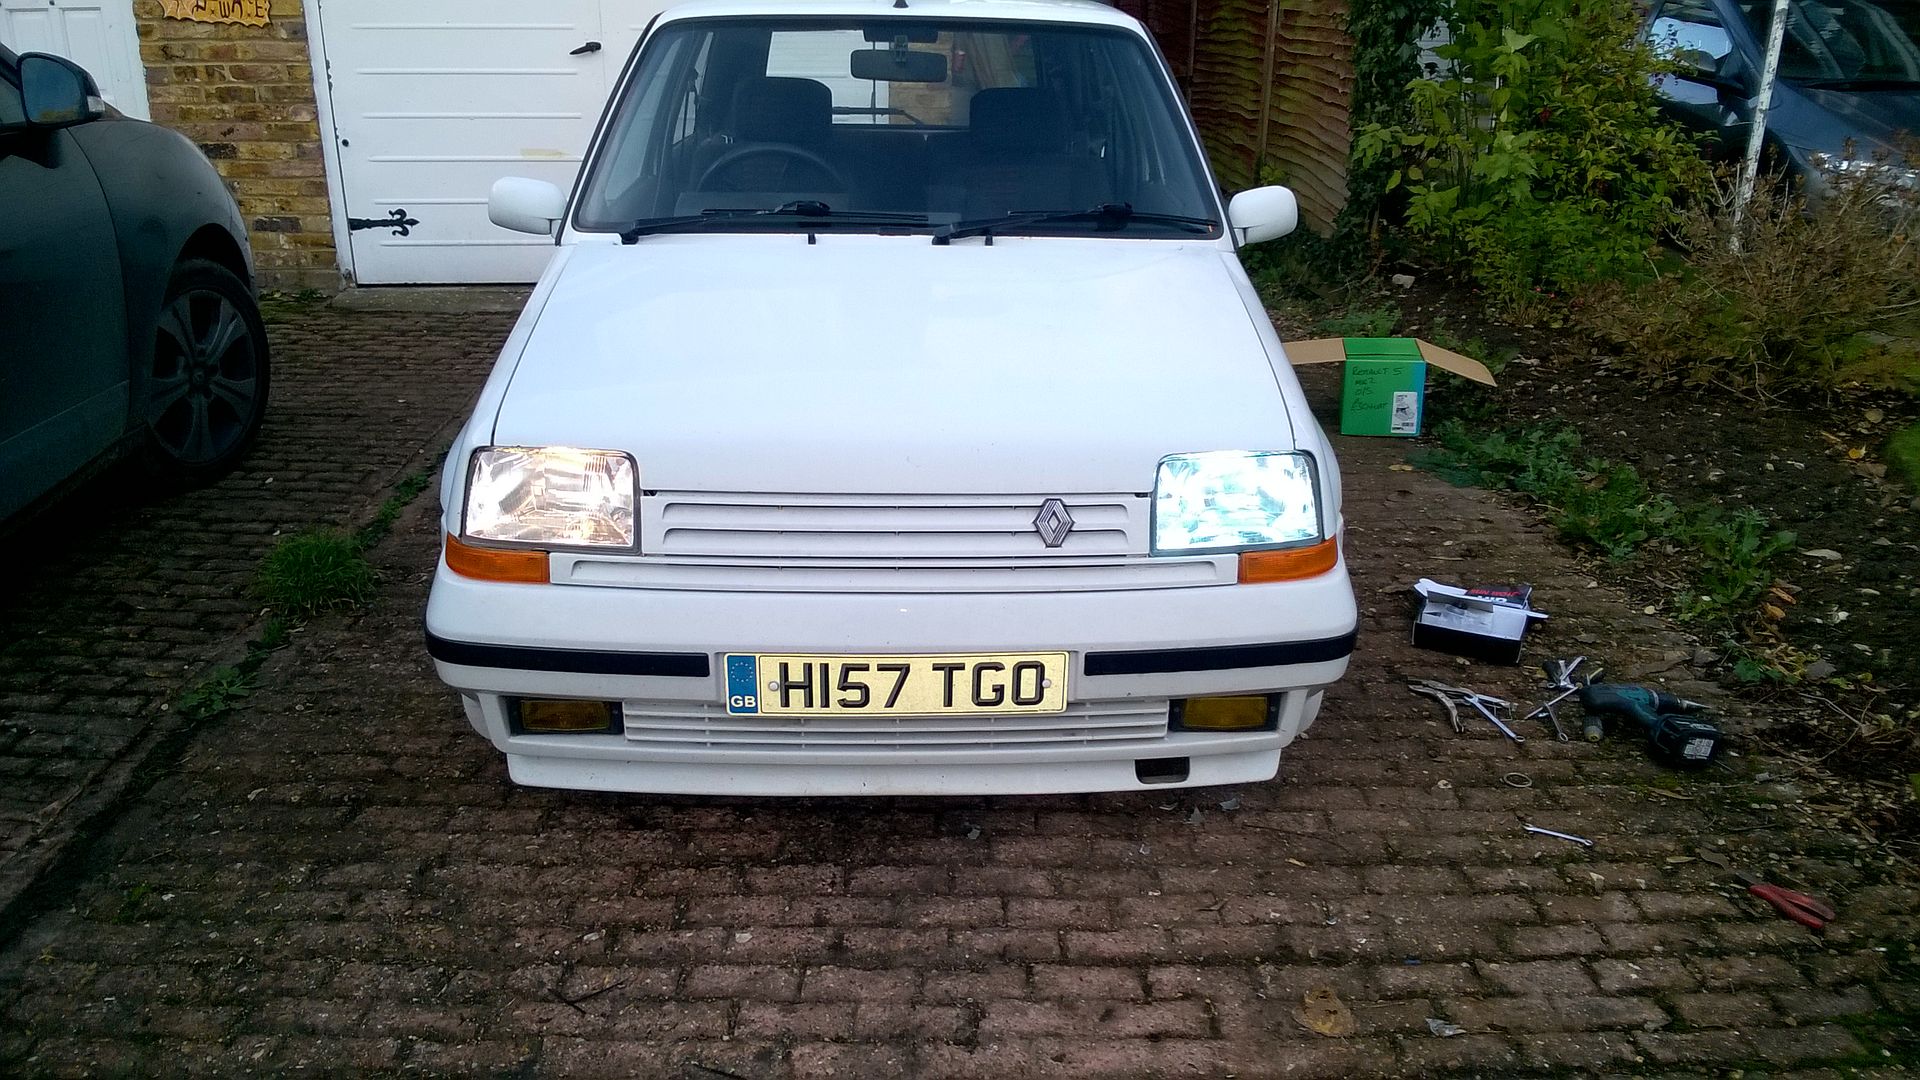
 Mot booked for Saturday, so fingers crossed!


 soo far I've continuity tested wiring, to the oil sender and level switch, all checked out fine. When I switch the ignition on I get 5.5v on the oil pressure gauge terminal on the back of the gauge, then after 3-4seconds it disappears, which sounds right. Then when I start the car, I get a steady 5.5v on the gauge. The only thing is the needle doesn't move. So I took the clocks out today, and put a 5v power supply on the terminals of the oil pressure gauge and negative wire on clock earth pin and the needle moved round to about the 4-5bar mark on the dials, so why doesn't it move when it's in the car and getting 5v? I'm determined to not let this beat me! Lol any help on this would help me tick this problem off the list!


 forget his name.

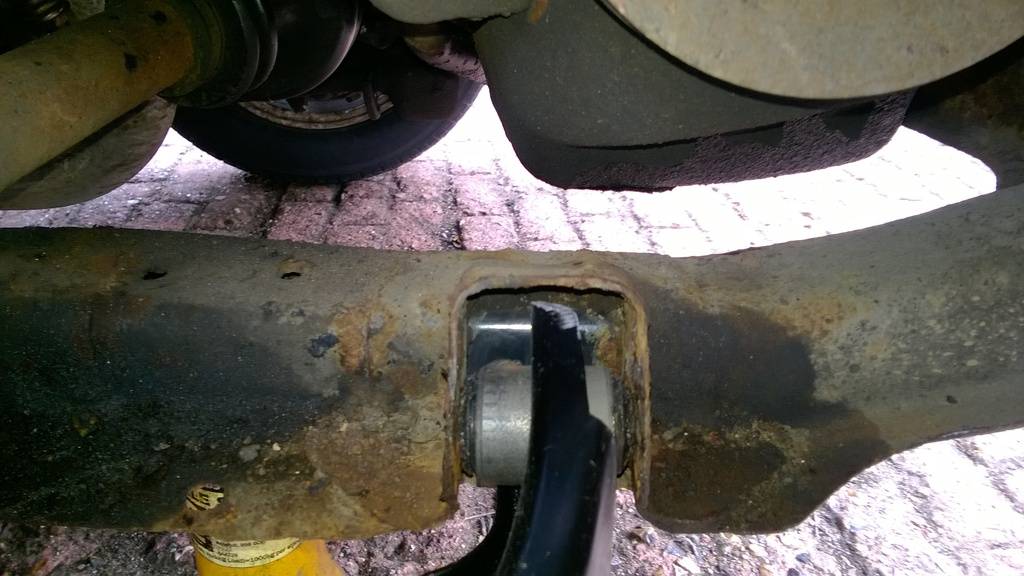
 I started trimming another section from a do ar panel, it's nearly ready to weld up, took some time.


