


Thought I'd write this to potentially save people money.
My alternator started flashing the battery warning light on over bumps. It finally died by not charging anymore, giving less than 12volts with heaters lights and wipers on full at 3,000rpm.
I must say this is for a Valeo alternator with part number A13N110 and 2 pin voltage regulator.
You will need a new regulator/brush pack, new heavy duty versions are available here.
First remove your alternator from the car. A 2 inch wide masking tape roll is perfect to slide over the pulley to let the alternator sit flat on the floor. And check the bearings and in good condition.
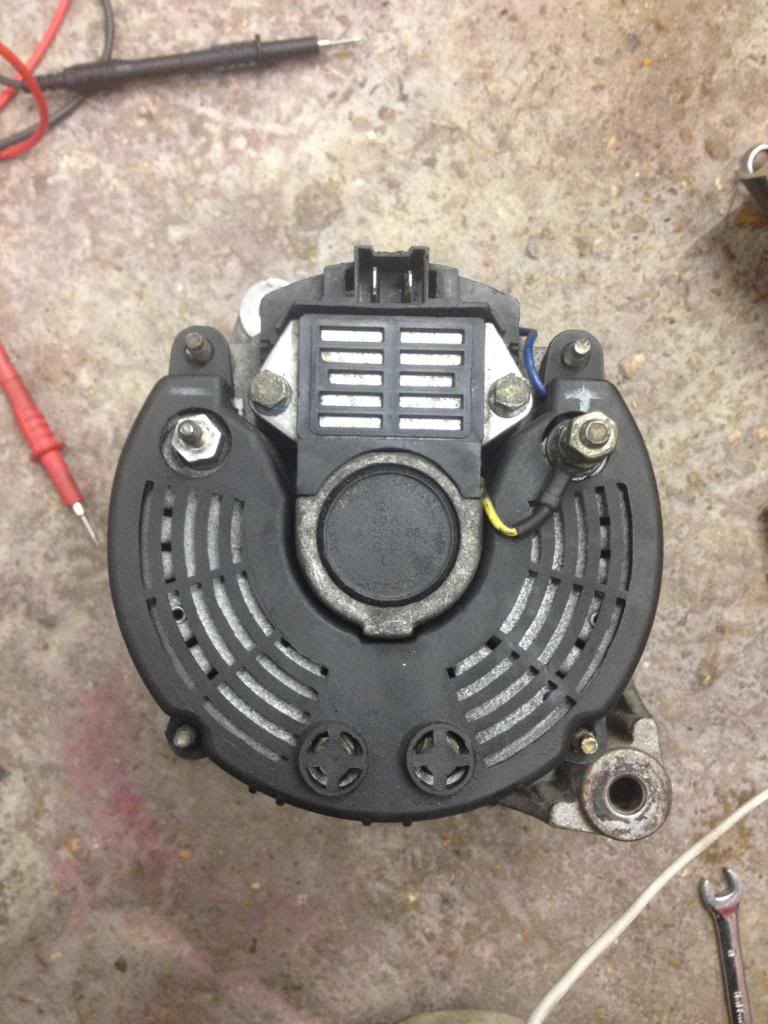
Remove the black plastic cover by carefully pulling it off to reveal the rectifier and voltage regulator/brush pack.
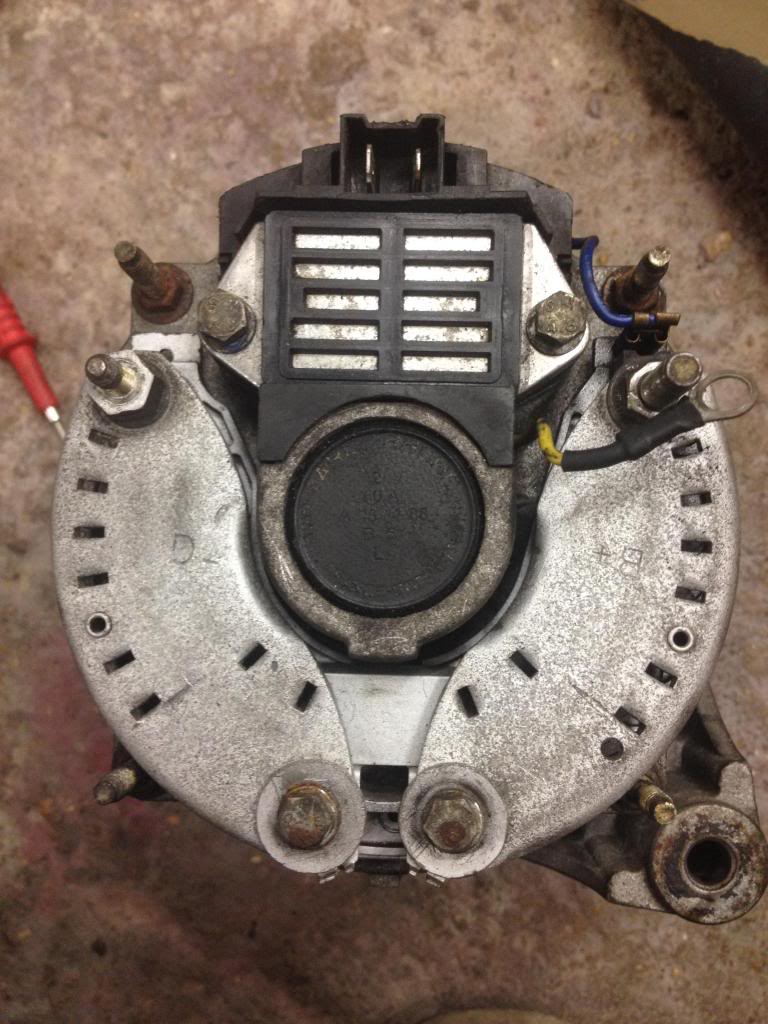
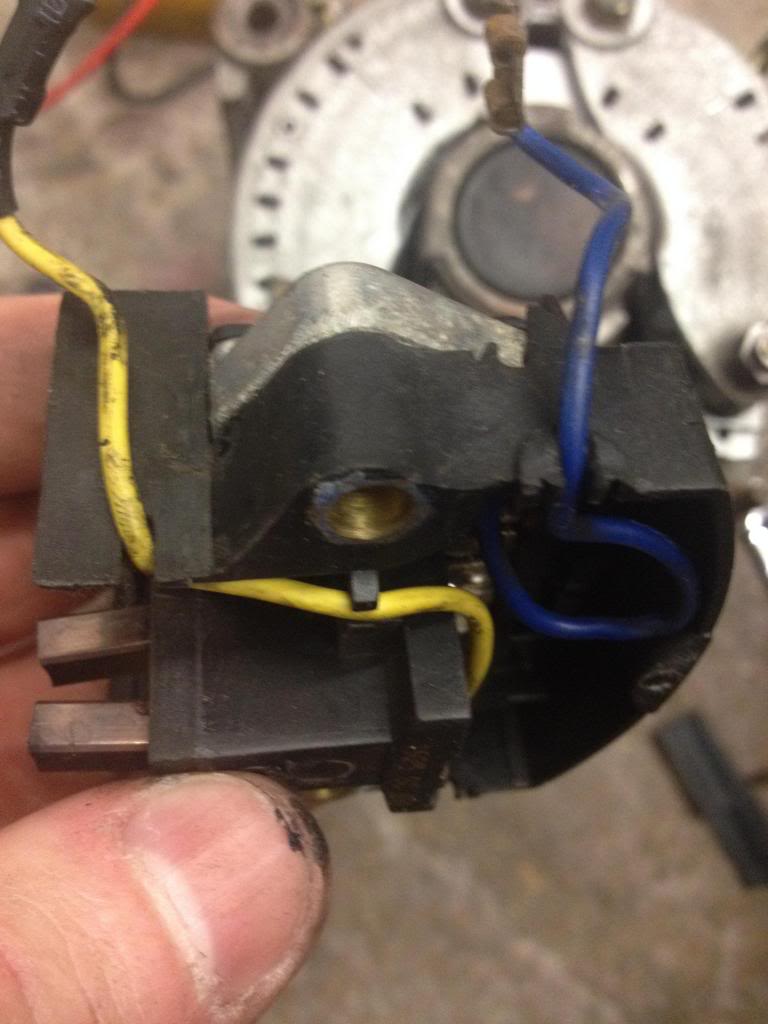
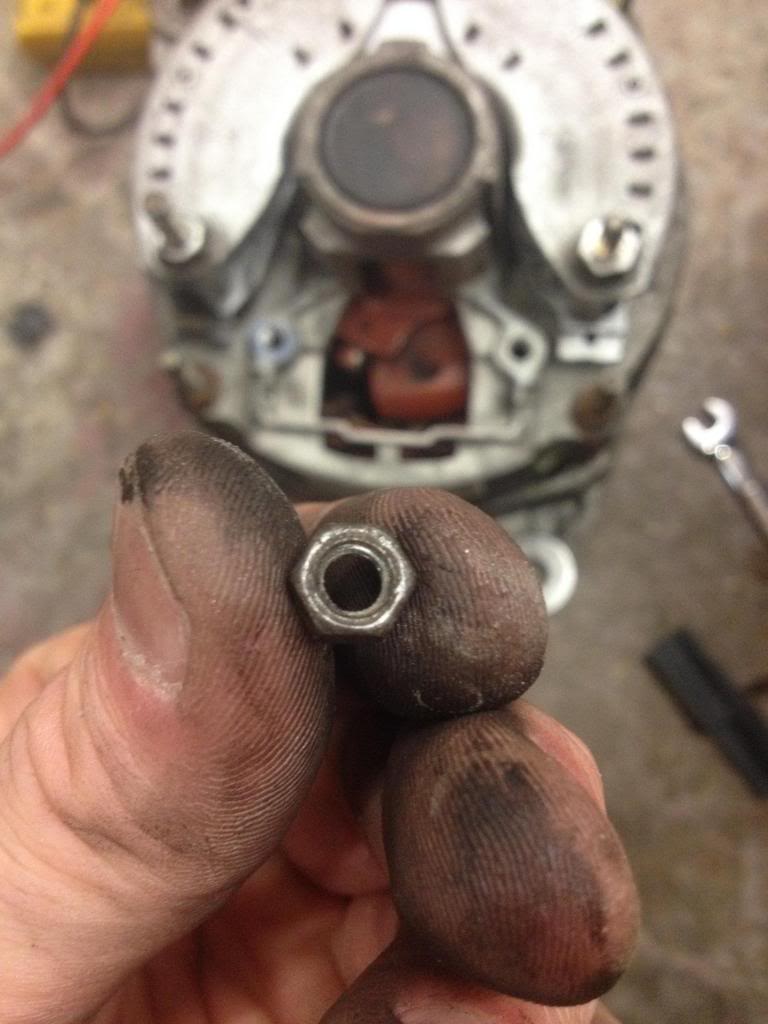
Now carefully pull off the blue wire connector off the rectifier, and undo both 8mm bolts that hold down the voltage reg/brush pack and carefully lift off and out.
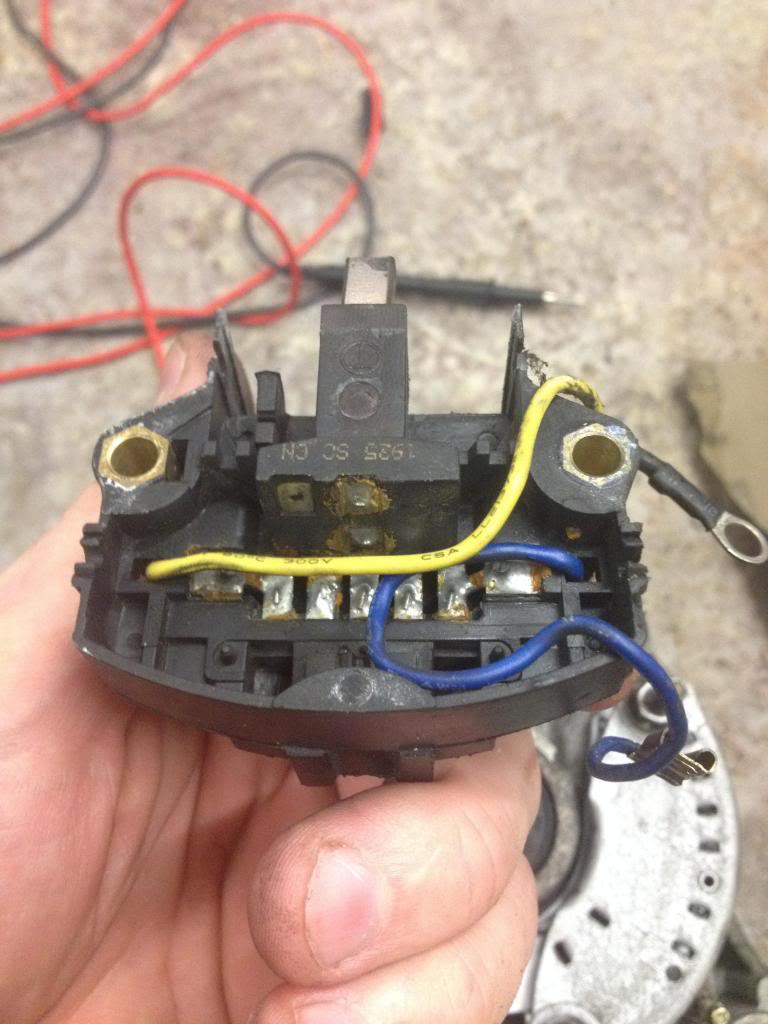
As you can see the voltage reg/brush pack on this unit has suffered on the soldered connections, the brushes are as expected for a used unit since 2005. If your brushes are worn out they will be very short and black on the contacting surface.
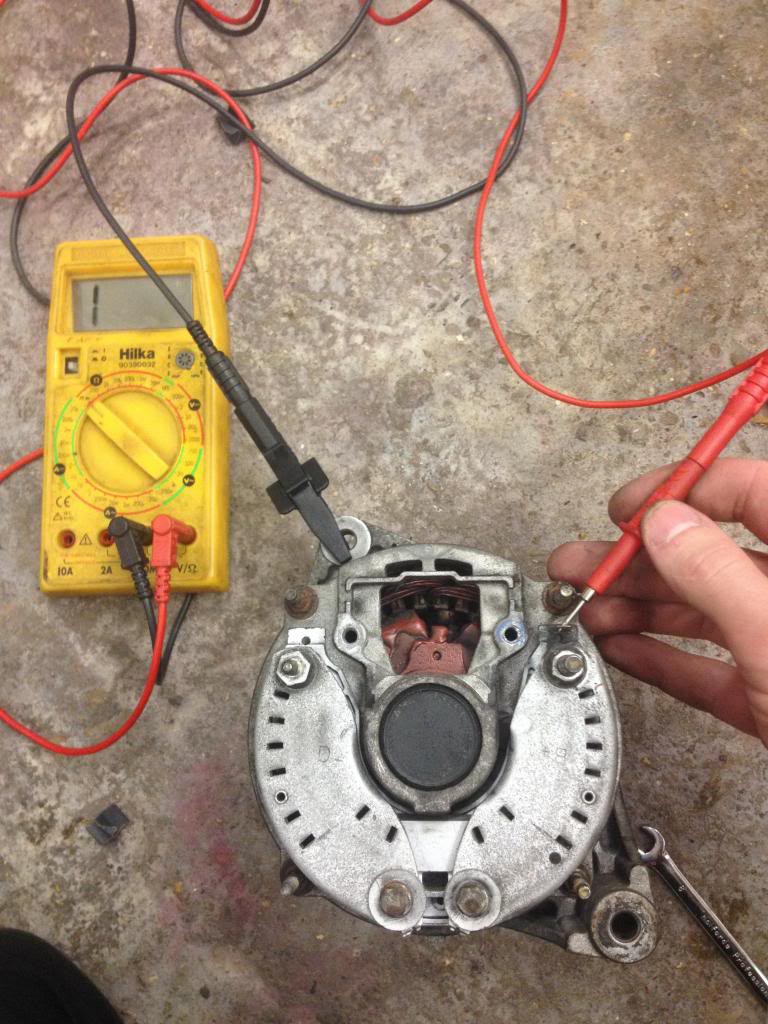
How to check the rectifier/diode pack.
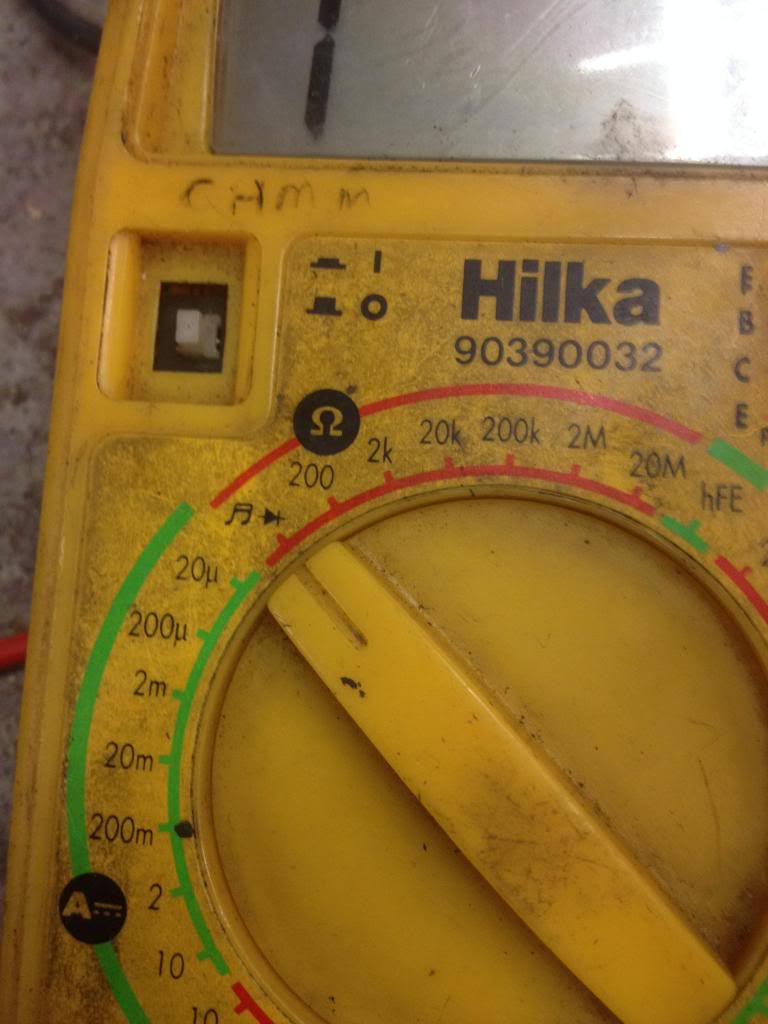
Any multimeter with this symbol can be used to do this check.
With your multimeter set to the above symbol. Connect one lead to the rectifier connection and one to the alternator case.
With a good diode pack you should only get a noise/reading one way.
If you have noise/readings both ways the diode pack is faulty and needs to be replaced.
Replacing the diode pack is not an easy task without a powerful soldering iron and the costs involved get close to the price of a exchange unit.
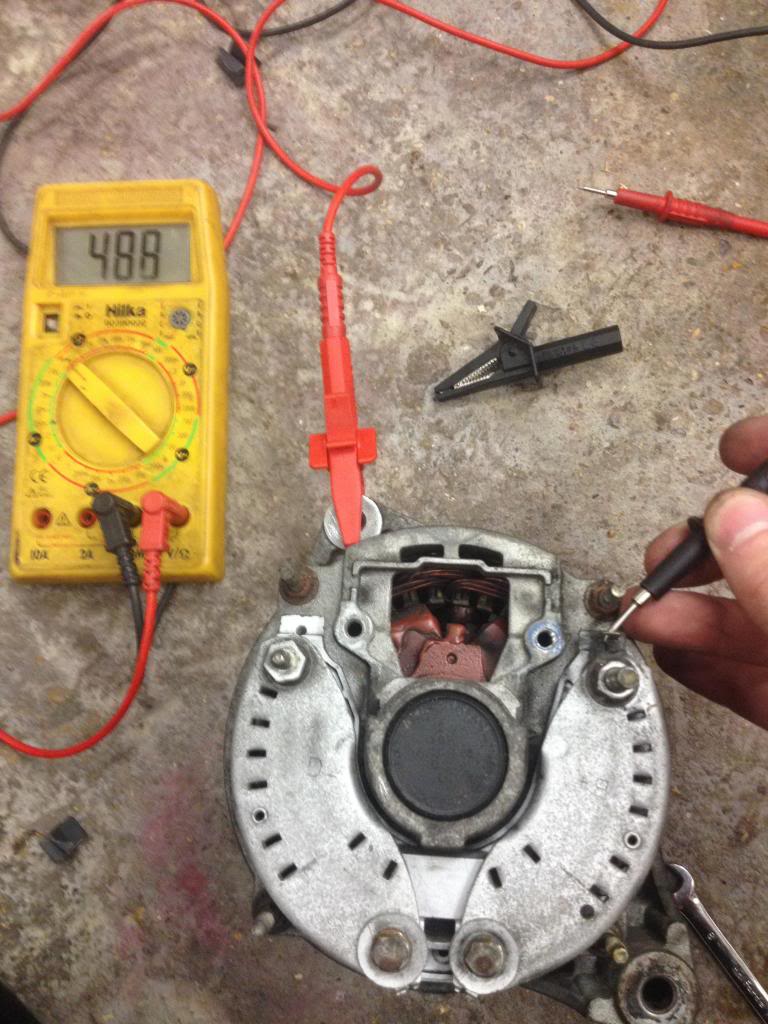
Here is an example of a good rectifier diode pack.
Once you have confirmed the diode pack is ok you can carry on with the repairs.
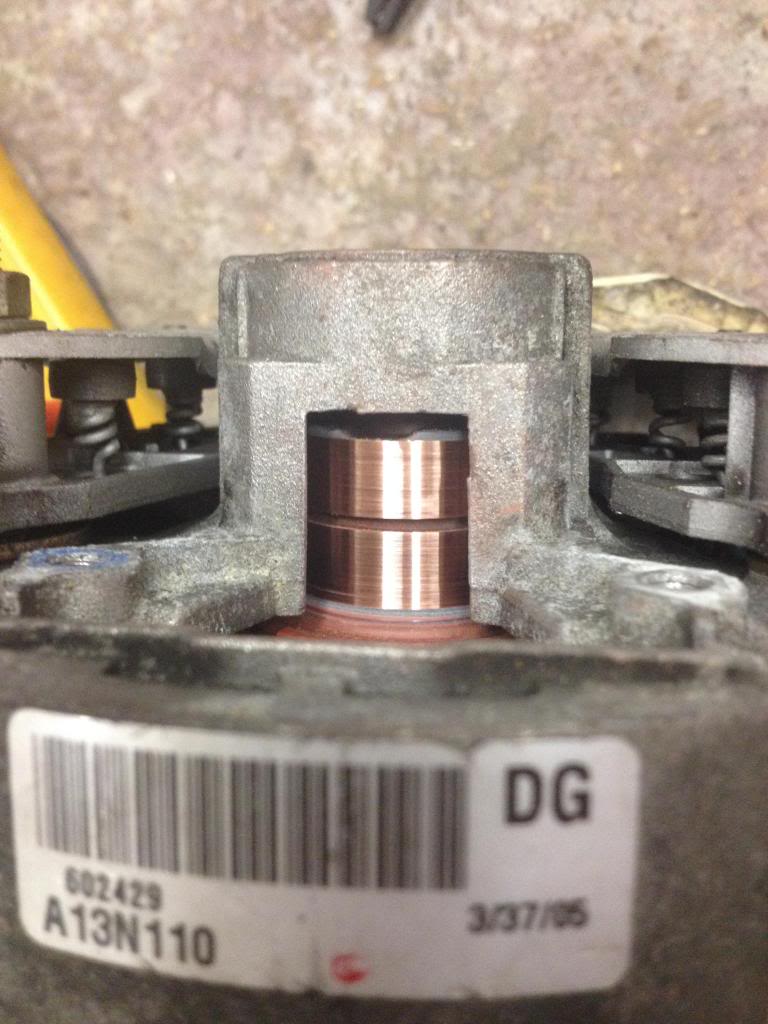
Now for the new brushes to work correctly you need to inspect the slip ring inside the alternator.
Check the slip ring isn't deeply grooved or worn so thin its showing plastic through in places, if this is the case again a exchange unit will be a cheaper and easier repair.
Light grooves and blackening of the slip ring is ok and can be fixed using 500 grit sandpaper to refinish the copper.
Here is an example of the blacking and light grooves, against a refinished.
This was achieved by just pressing the sandpaper against it and turning the pulley round by hand numerous times.
The finished product.
Now fit the new voltage reg/brush pack ensuring the wires are fitted in the pack grooves as shown. Refit as removed and tighten the two 8mm bolts.
Then refit the black plastic cover and make sure you clean the nuts with sandpaper so you have good contacting surfaces.
examples of before and after
Hope this helps.


 Reply With Quote


