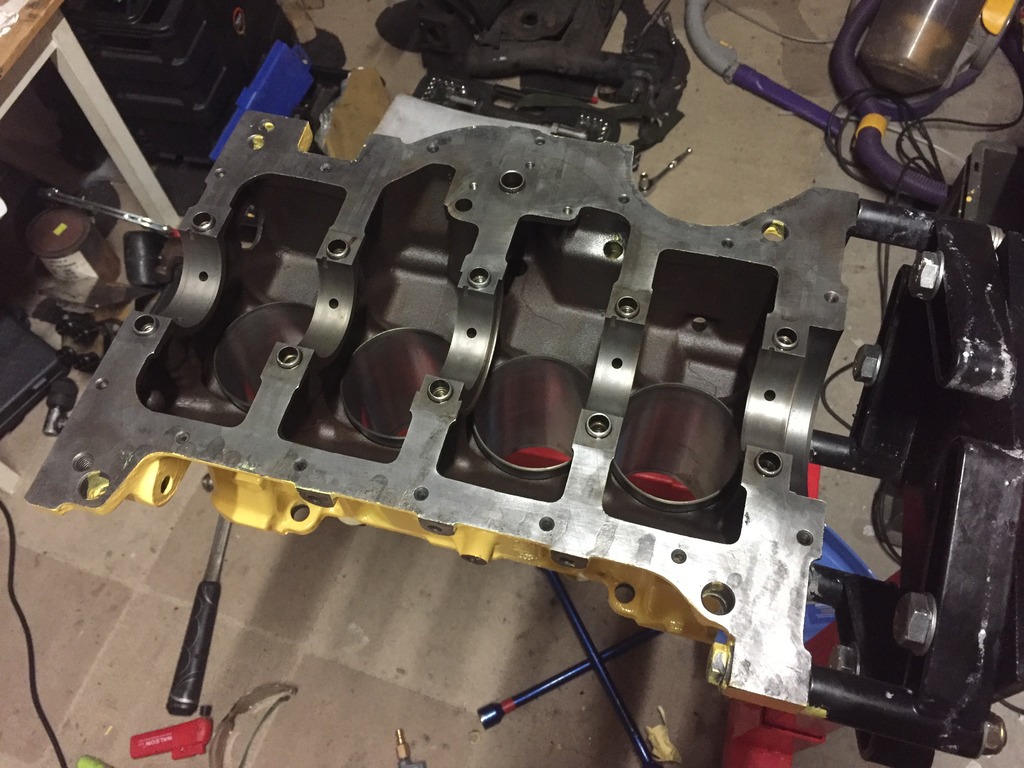
Not too much to mention here, other than I dropped my Block and Liners off to get the chemically cleaned, and also get the liners honed ready for the new Piston Rings. I also took my Crank to check to see if it's going to need a grind or a linish. Took my spare Crank so I should get the best one back.
Once I get the Block back, I'll hit it with the POR15 Engine Enamel and hopefully create a thing of beauty!


 Reply With Quote


 I think this is the slowest burn project on RTOC whereby the process has been gradual and continual. Must be getting on for 8yrs Woz, or a bit longer maybe?
")


 .
.


's Avatar")