Well, I've had the car a while but it's not quite there yet (are they ever?) and I thought an entry in the project section is long overdue so here goes.
My first 5 was a Leccy Blue Ph1 that I ran for about 18 months and absolutely loved. In April '95 someone decided I was having too much fun and promptly T-boned me managing to snap off the LH rear trailing arm sending it down the road 50m!
A month later a friend with a Pearl White Ph2 had a minor interior fire and decided to break the car for parts. I saw this as fate and bought the rolling shell shortly after with the intension of creating some sort of half way house between Max Power monstrosity and Race car.
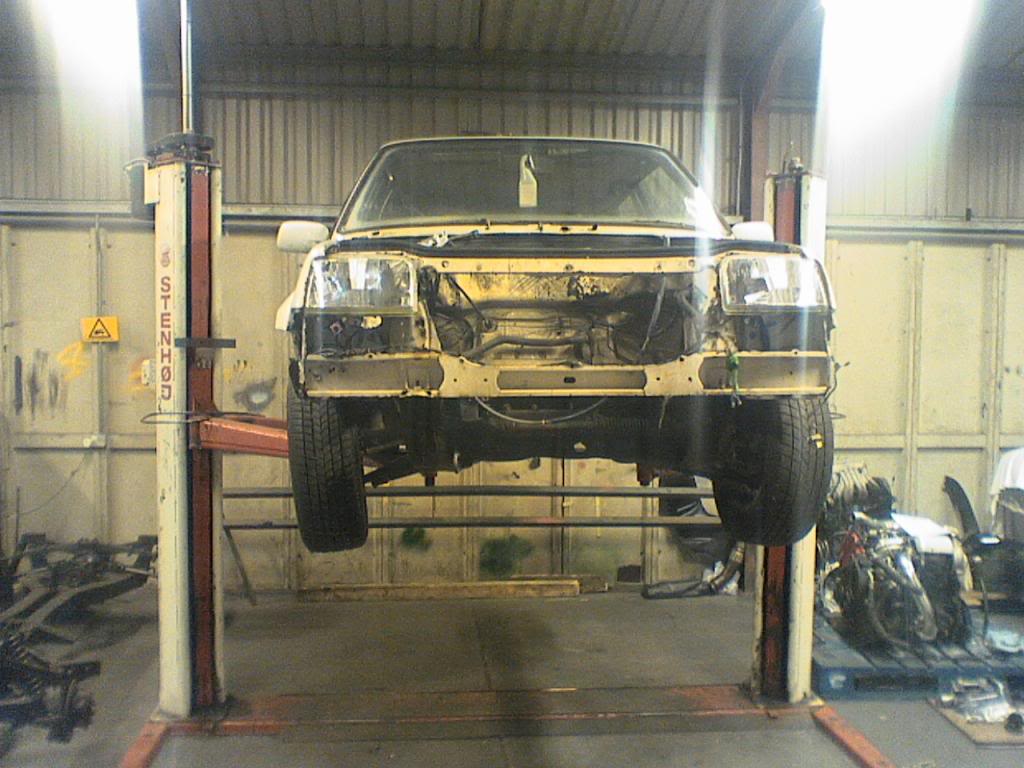
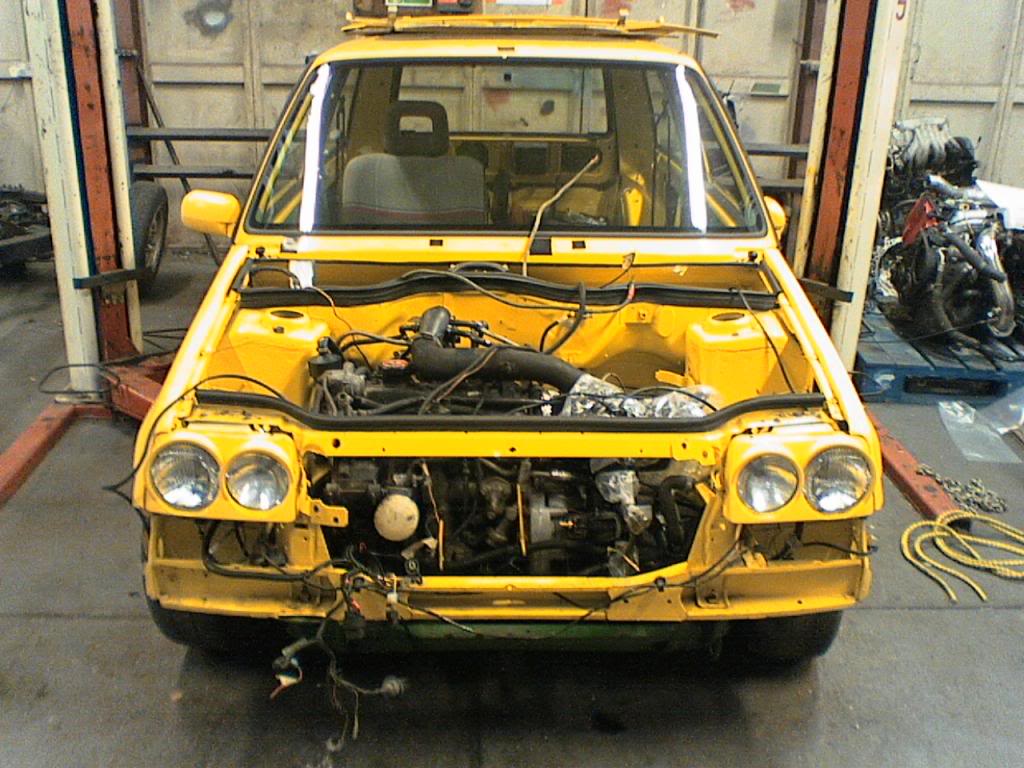
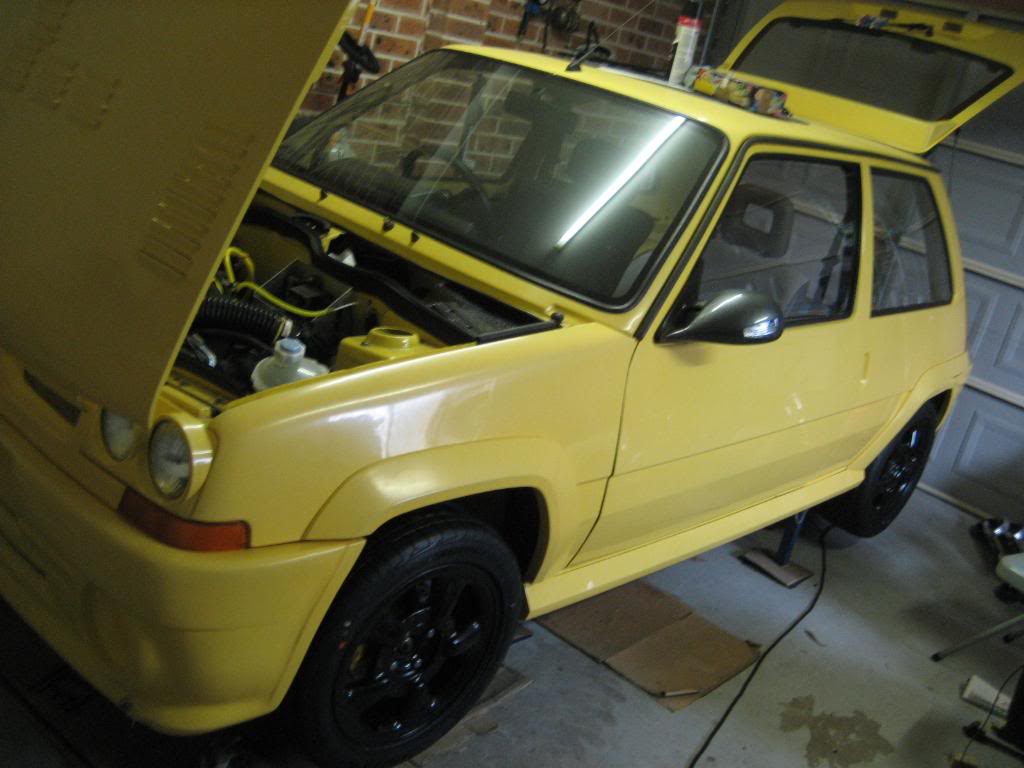
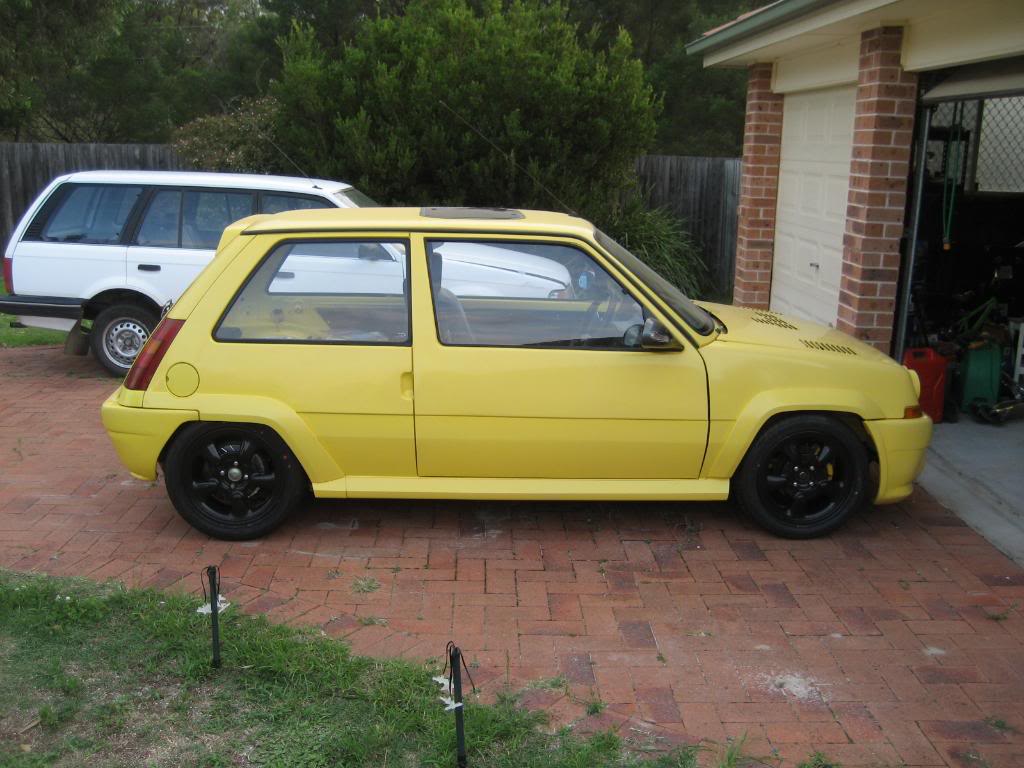
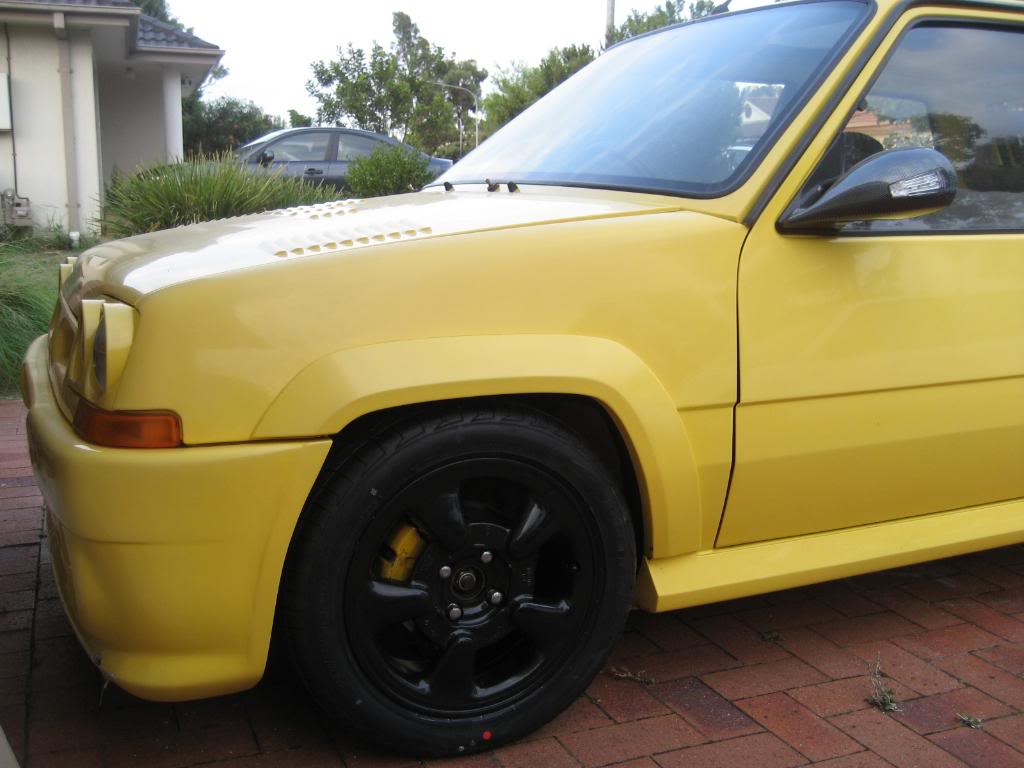
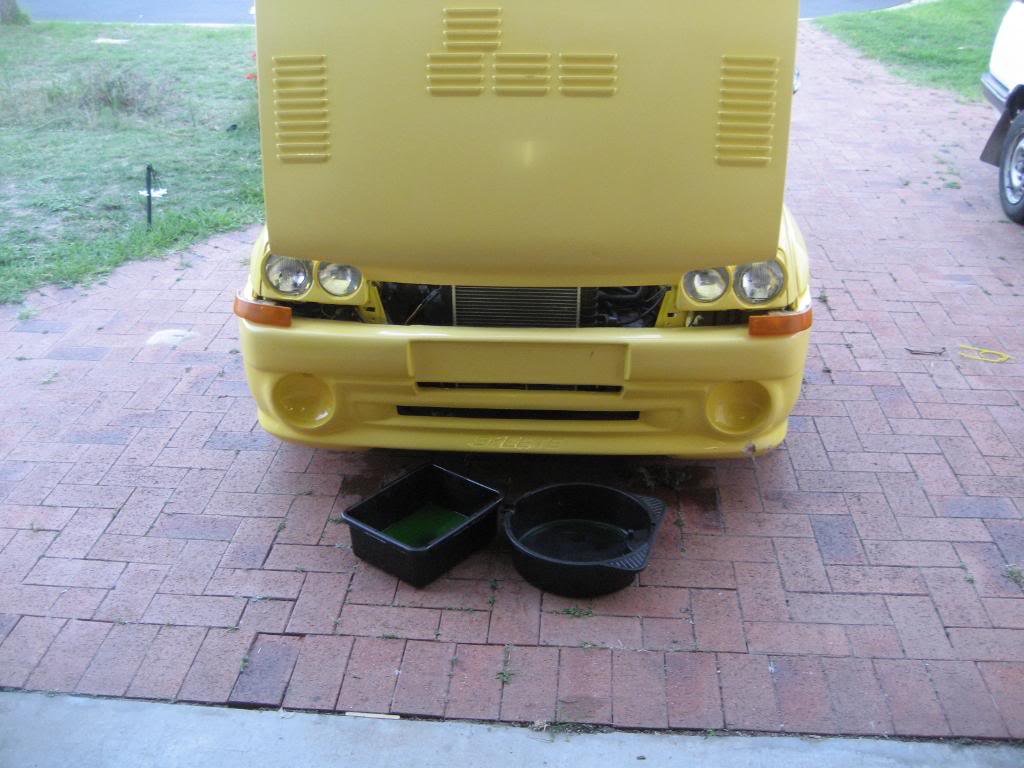
The shell was stripped of all equipment, other than subframes and suspension, and sent it off to a bodyshop to be sprayed in a VW Yellow (can't remember the exact colour) complete with std width Skeete front and rear bumpers, R19 style grill, cool louvres bonnet and Morette twin headlamps, while I sunned myself in war torn Croatia for 6 months.
7 years later and the being trailered all over the UK for various reasons (rented garage evictions, Army postings etc, etc) then finally I was posted to a RAF Base (club med to someone in the Army) where they had a car club!
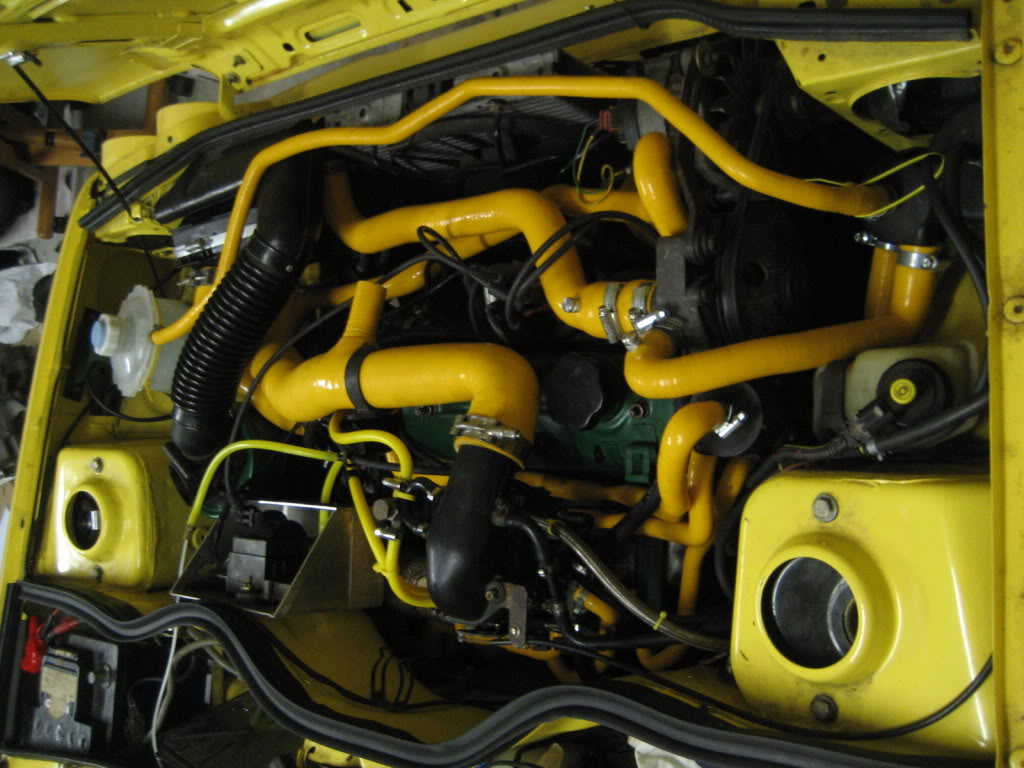
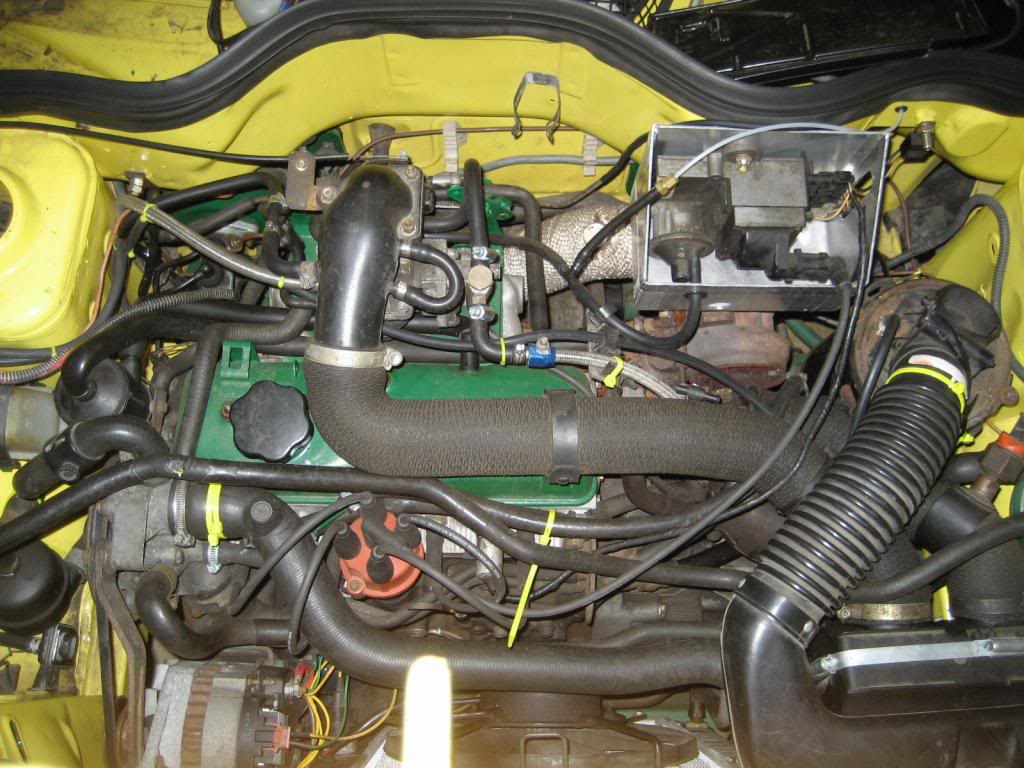
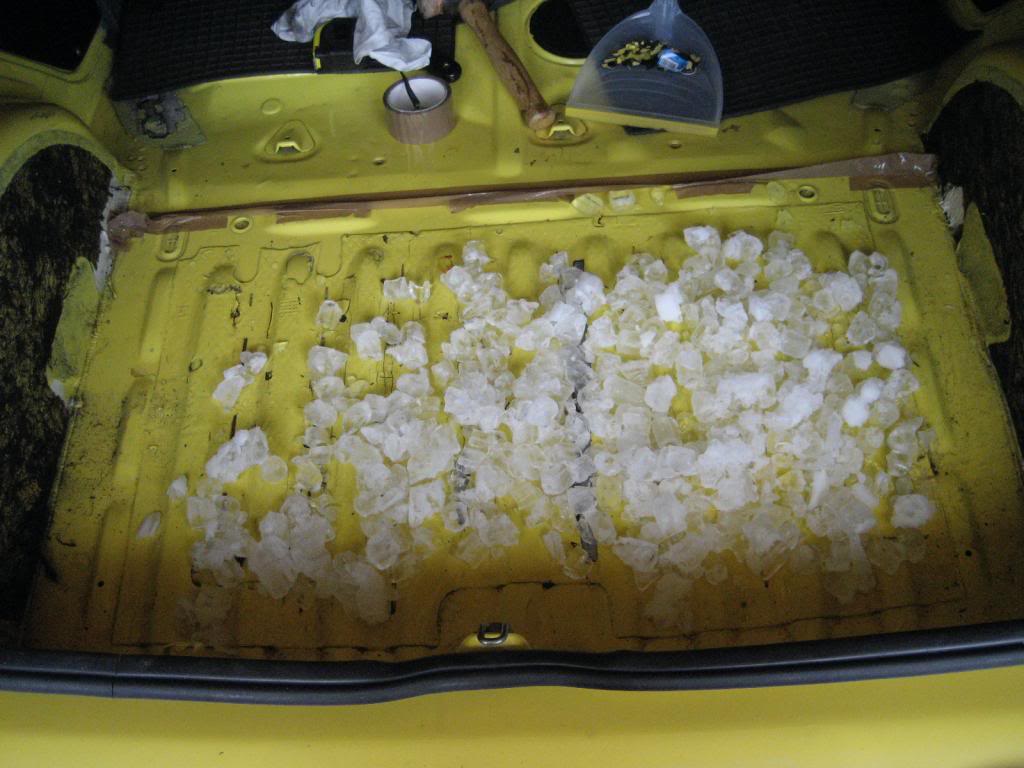
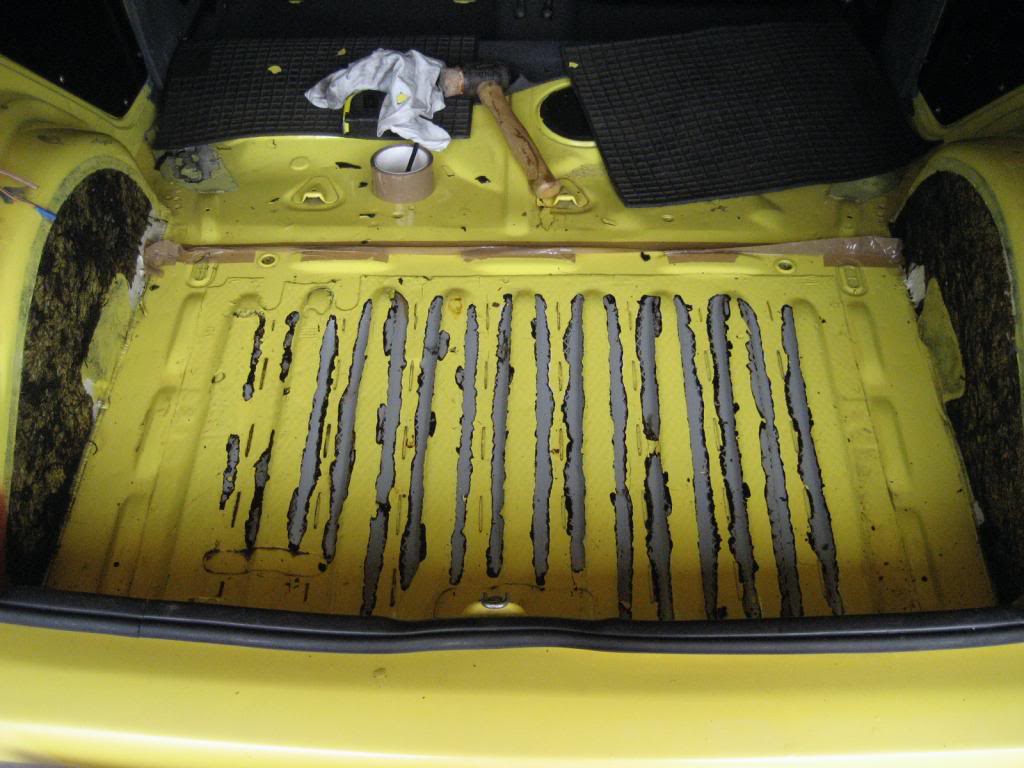
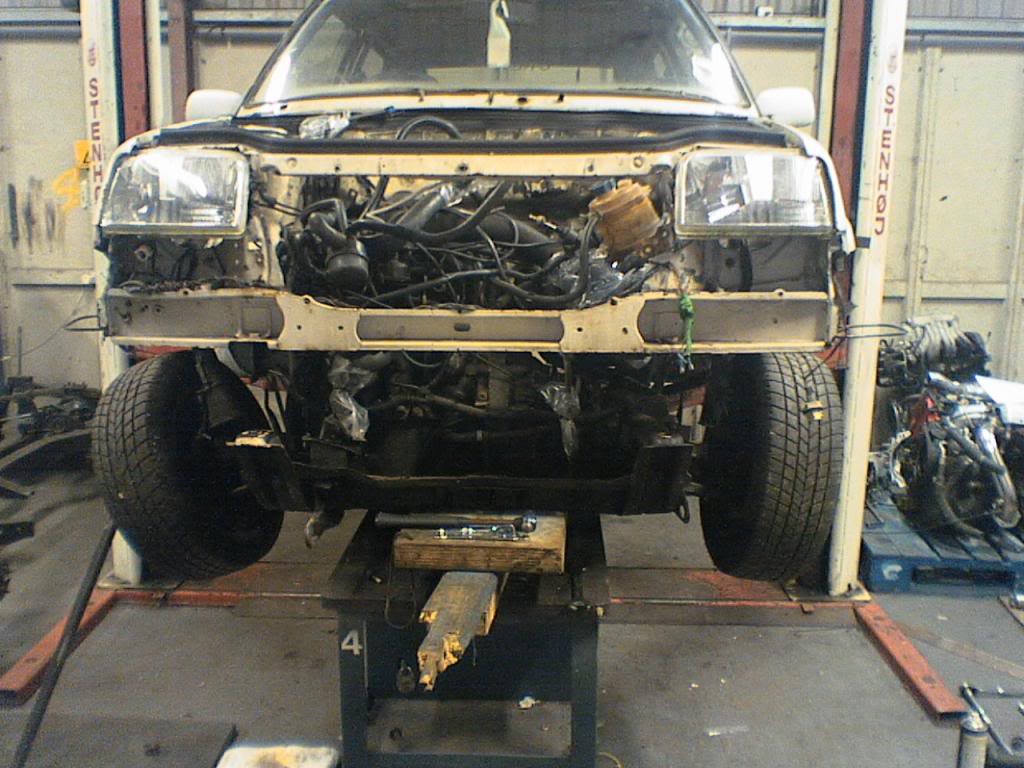
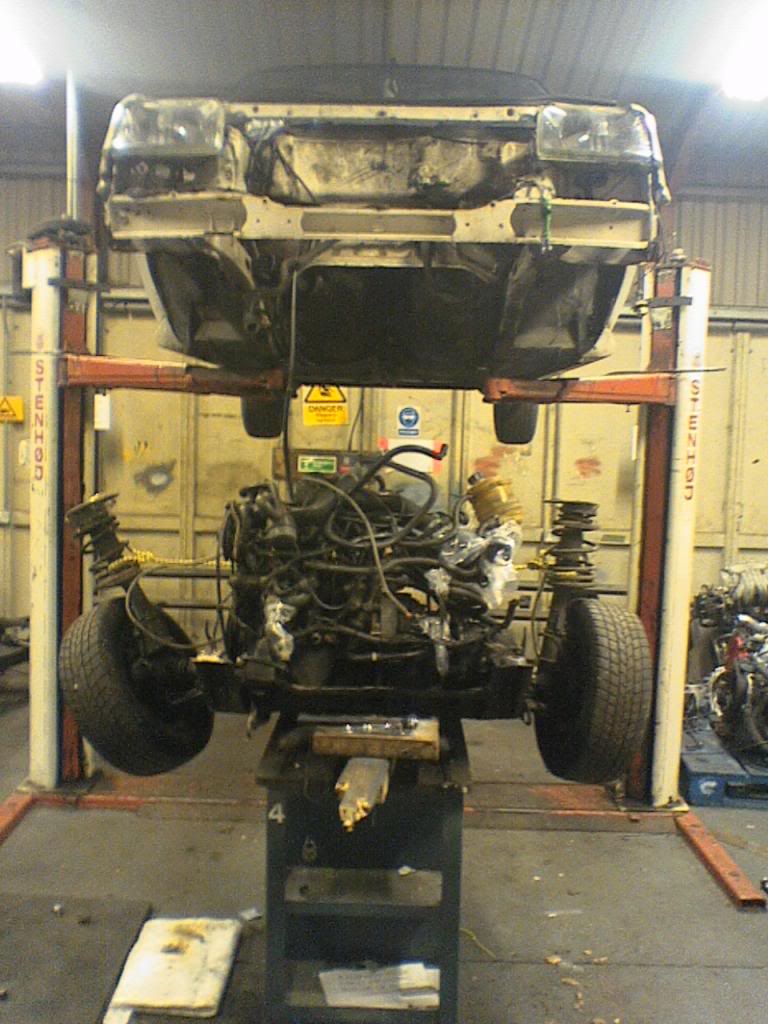
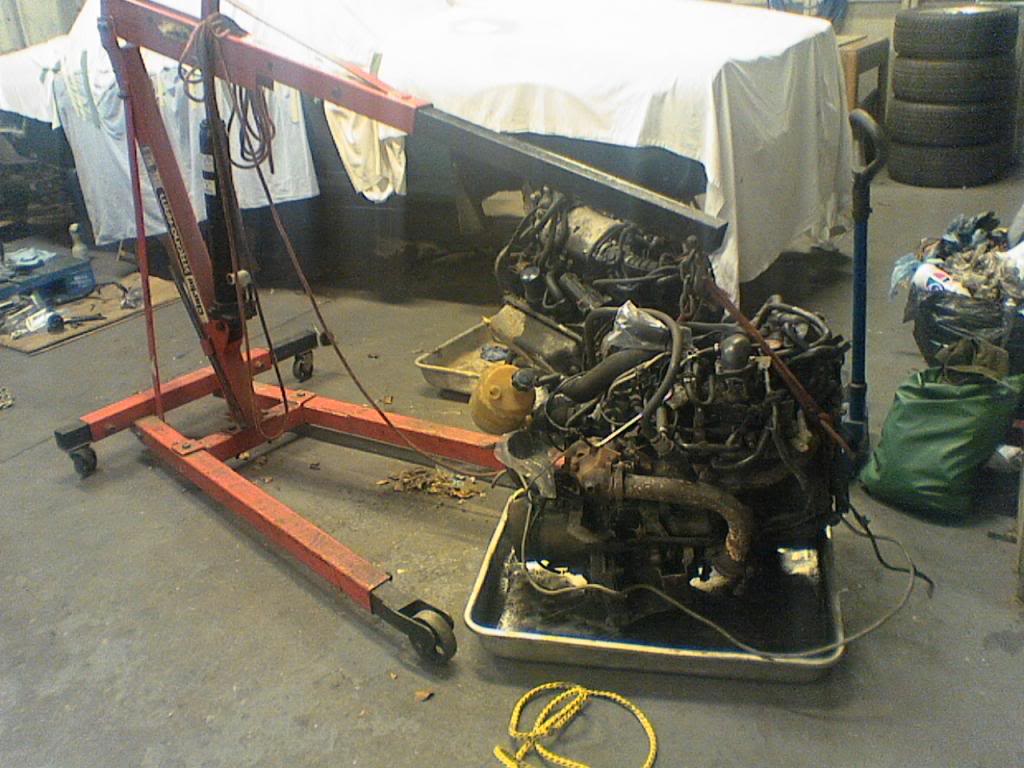
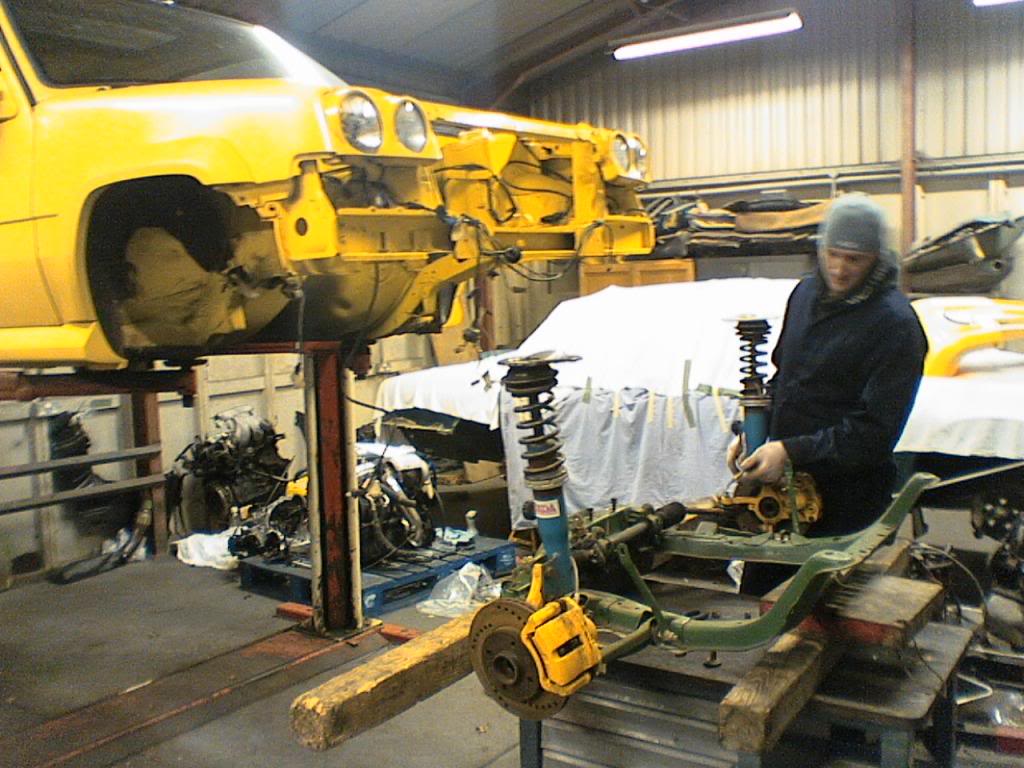
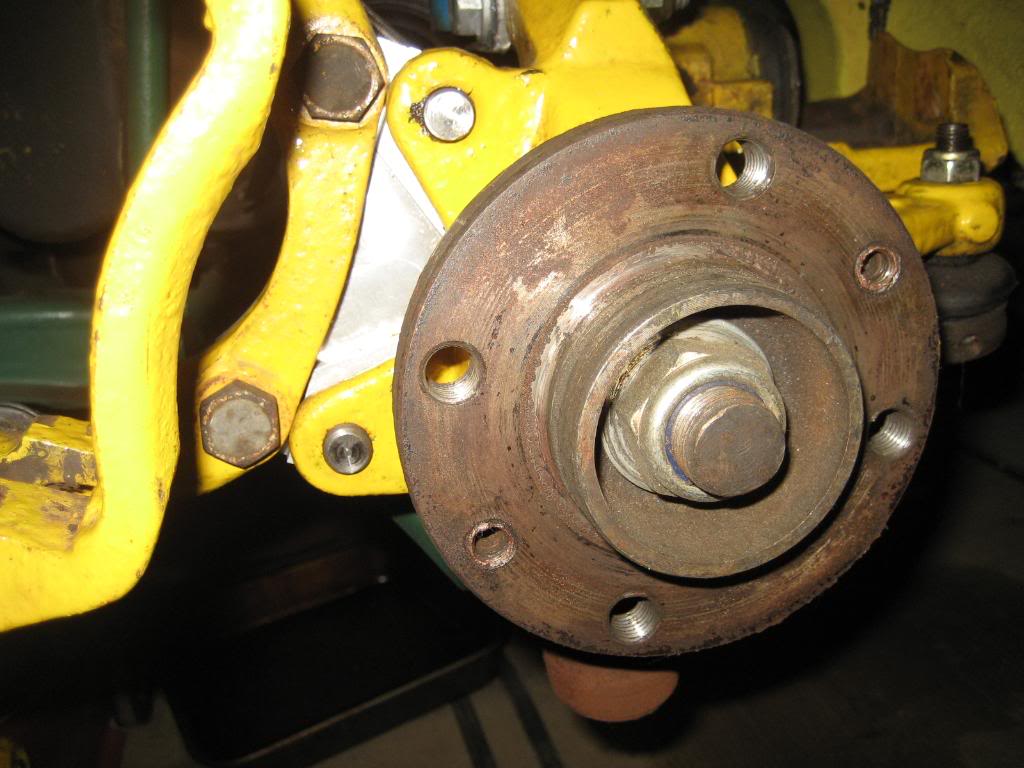
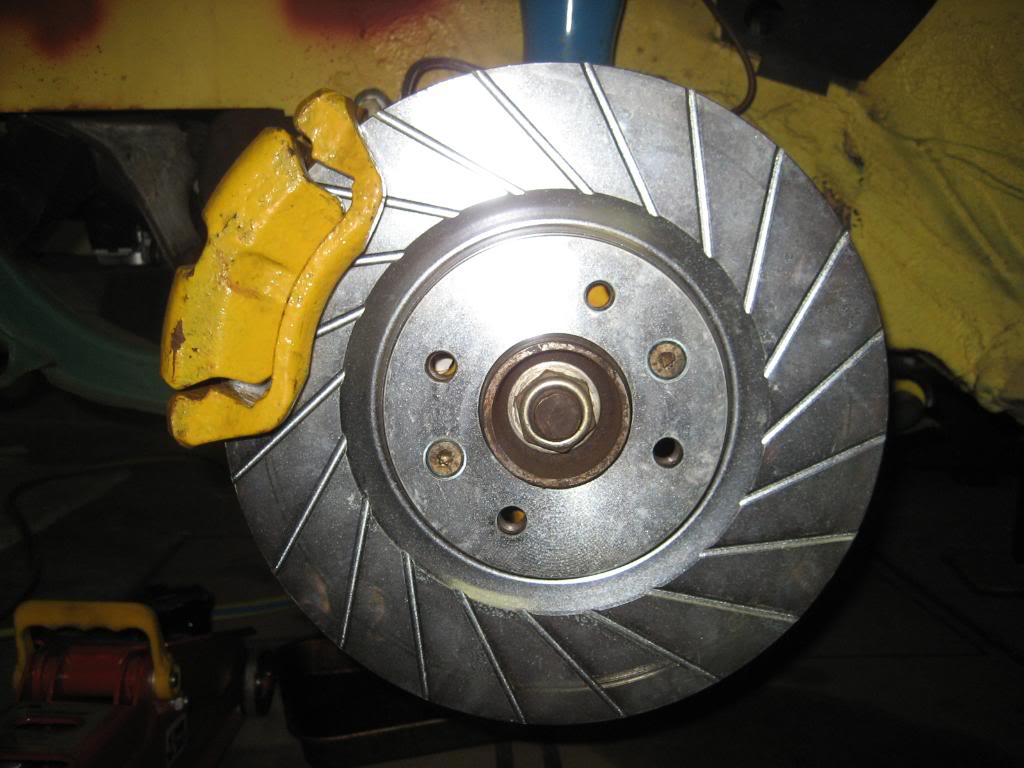
Over the next four years I managed to complete some minor jobs which included fitting a std donor engine from a scrapper that I paid 250 quid for (result), fitting the wiring loom, glass, seatbelts, door & boot mechs, brakes and suspension.
In Feb '06 I made the move down under and decided that I couldn't leave an unfinished project and so imported it to Oz with me! So over the last 3.5 years I've been trying to finish the project with the new goal of getting the car fit for road use in Oz with a target of competing some form of Sprinting in 2010? (Probably optimistic based on the time taken so far).
Enough waffle. I'll try to get some pics up, some of which I've already posted in seperate threads but, what the hey!
Woz


 Reply With Quote
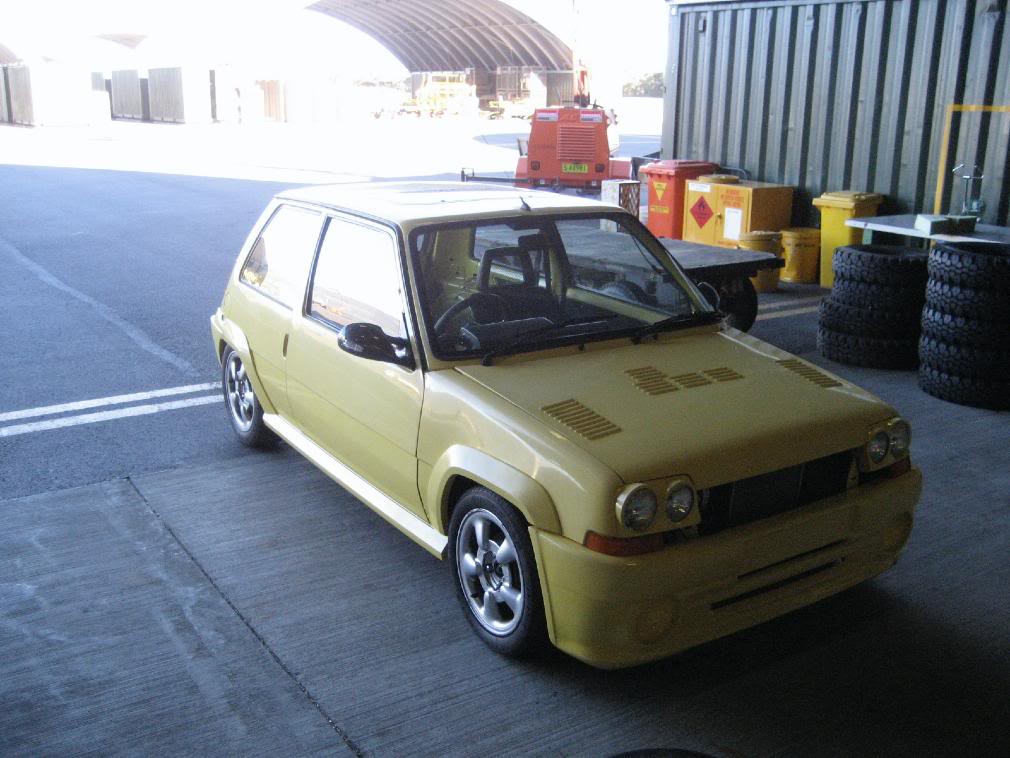
 .
.
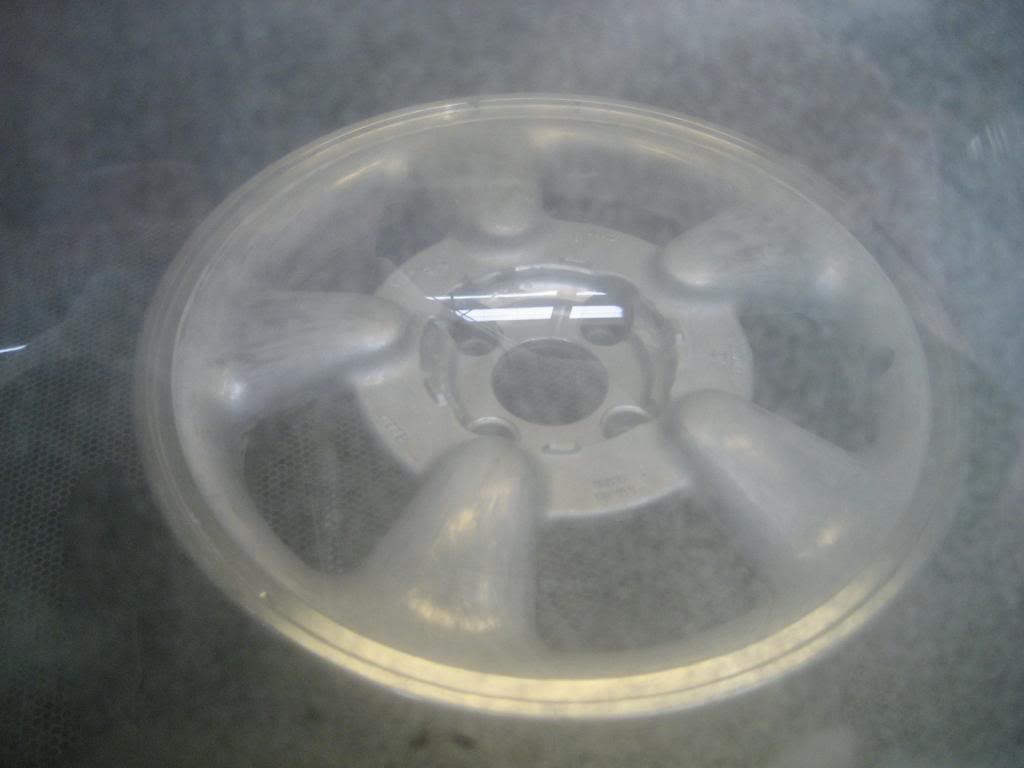
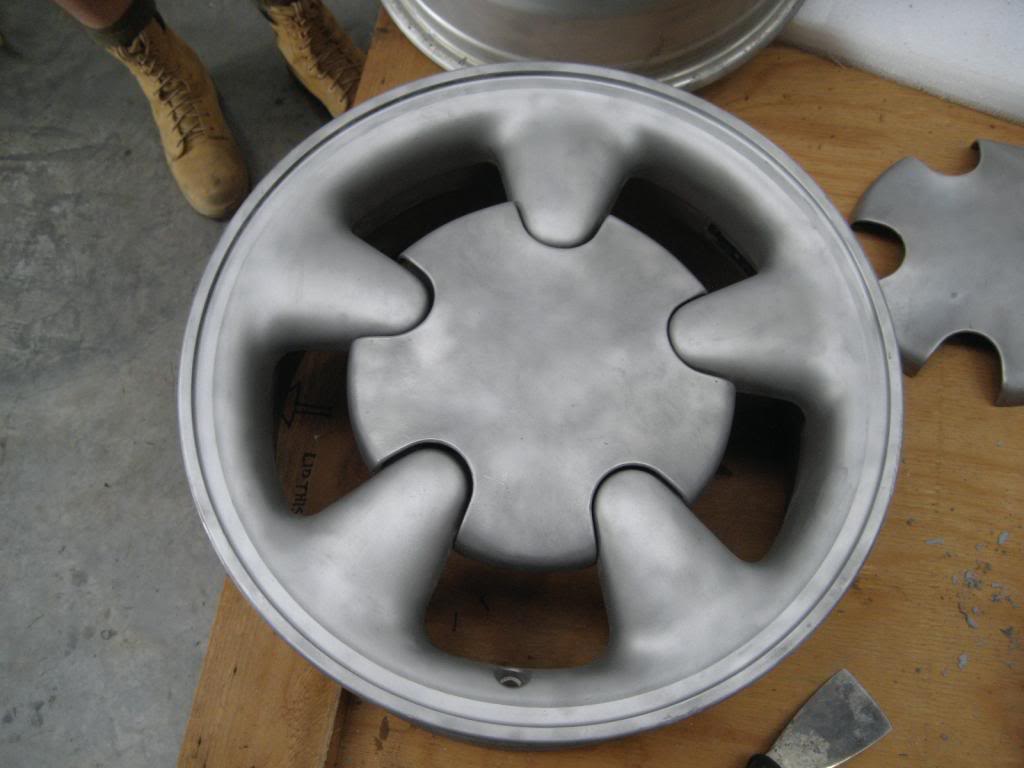
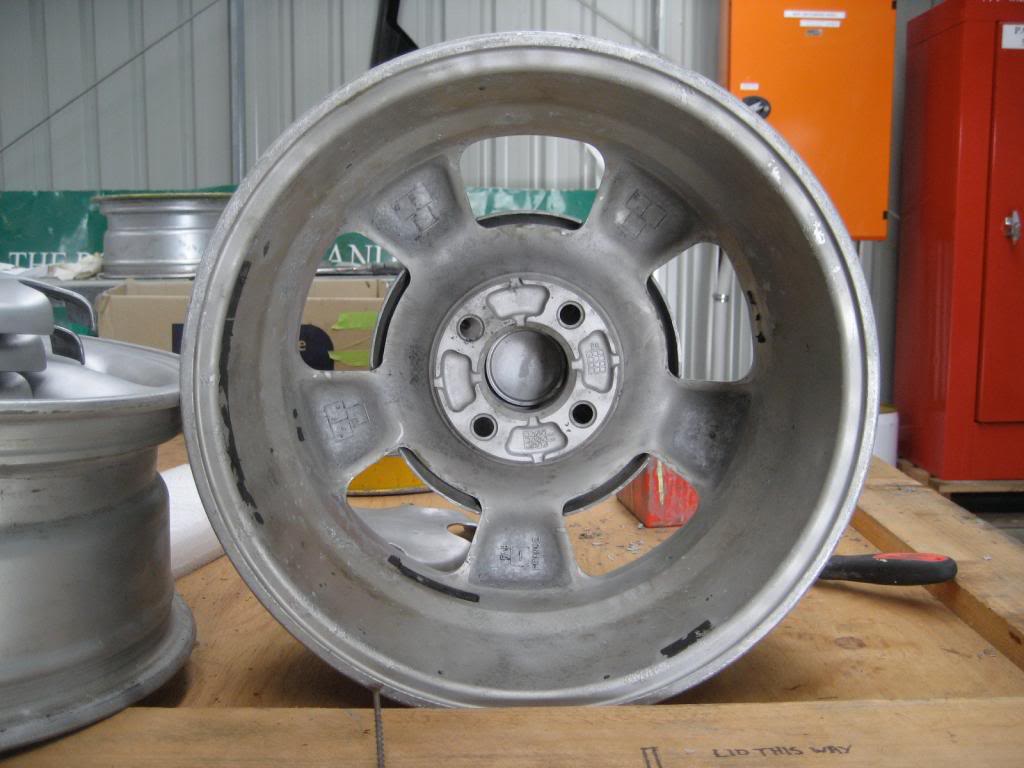
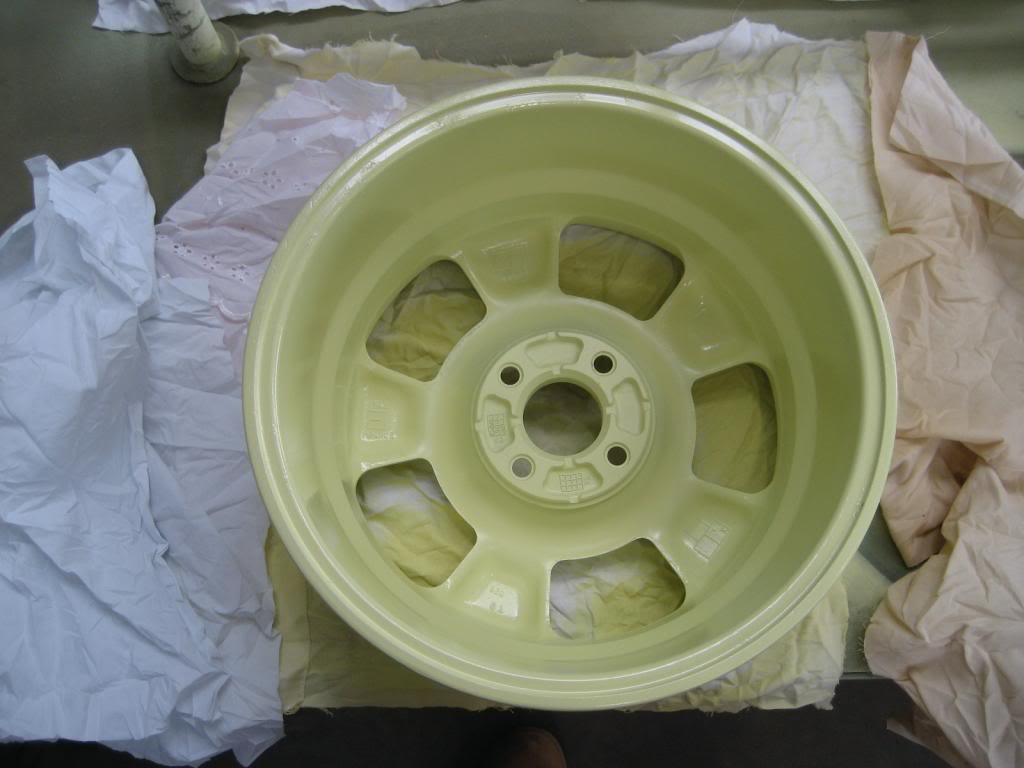
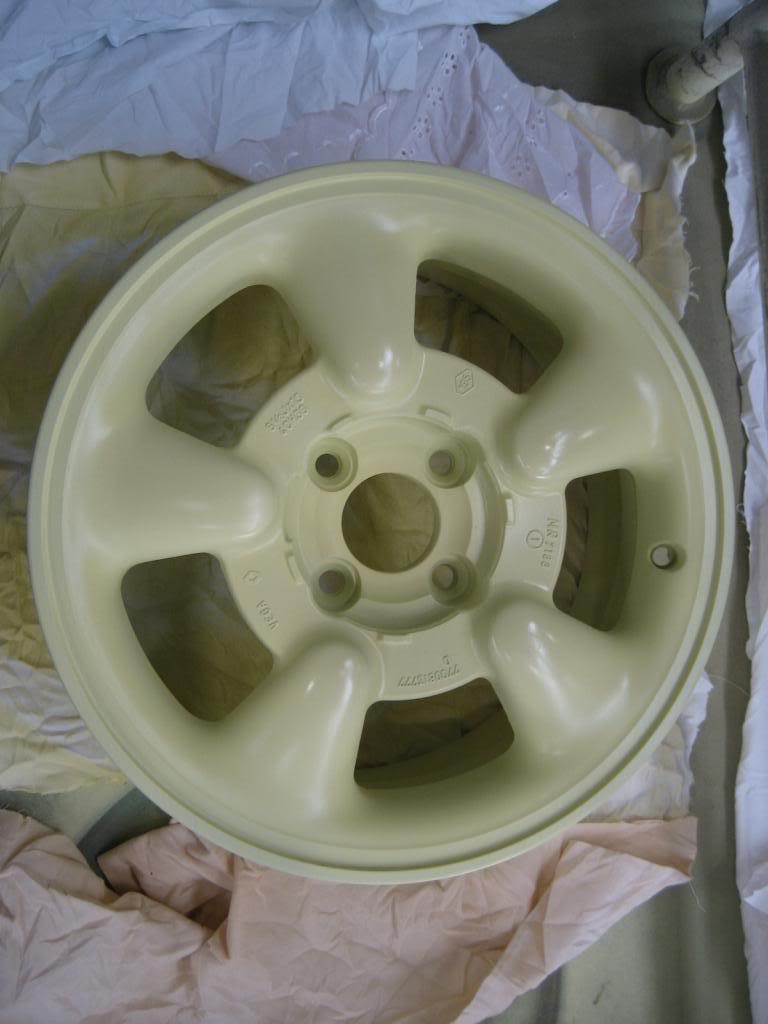
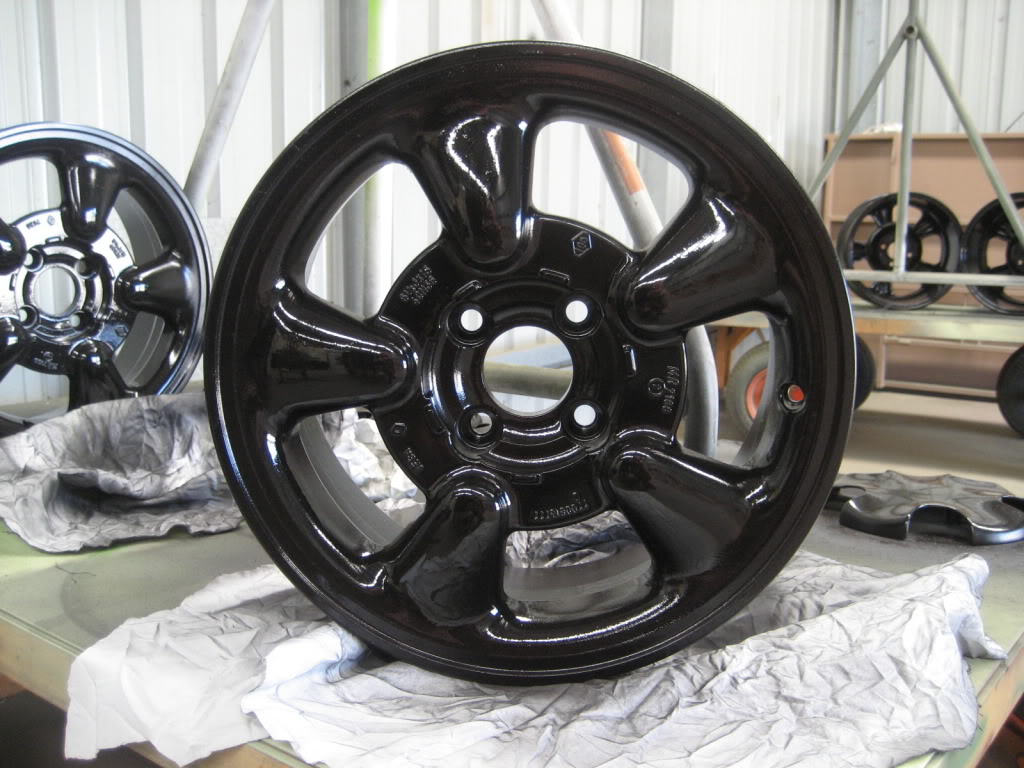
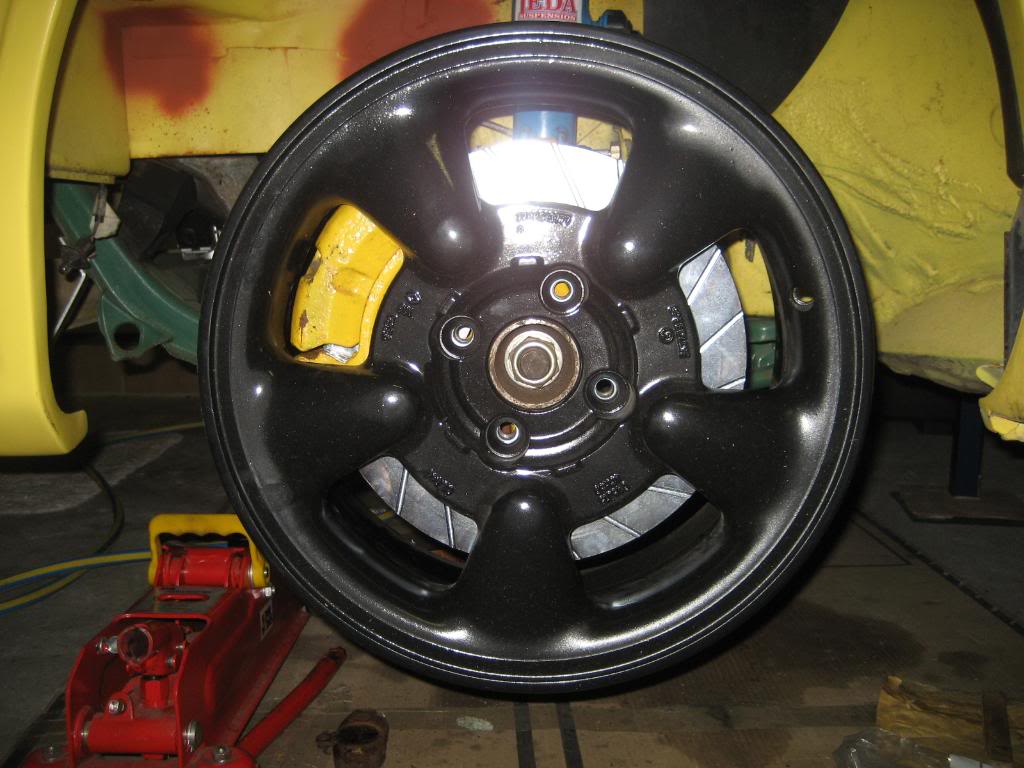
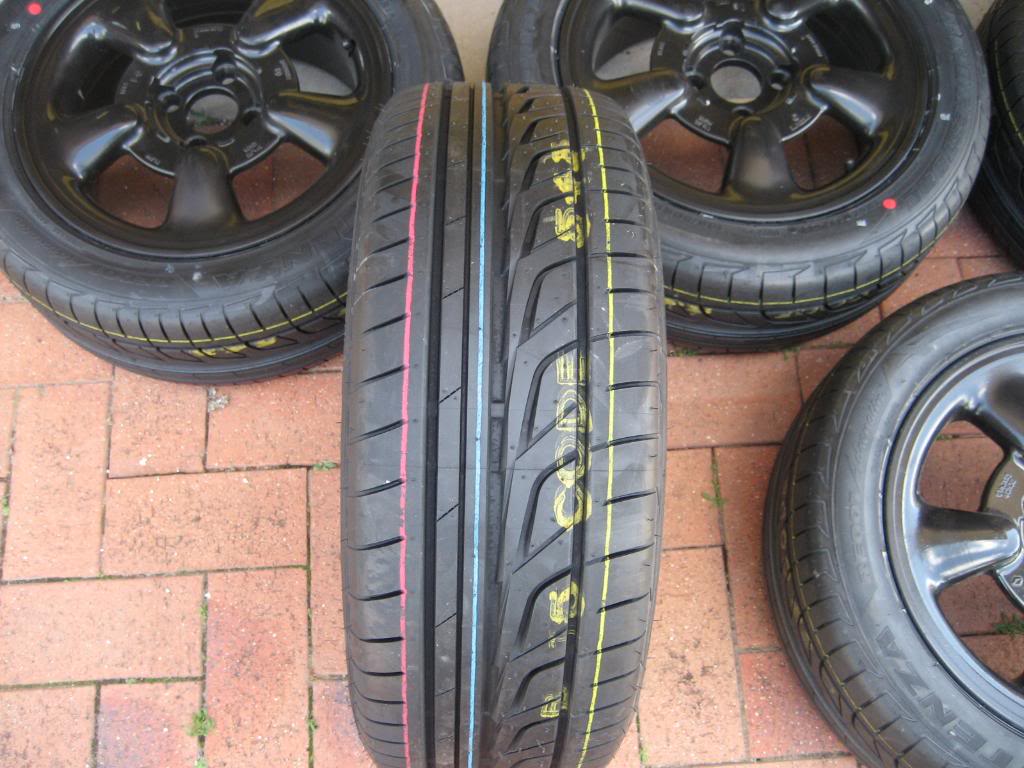
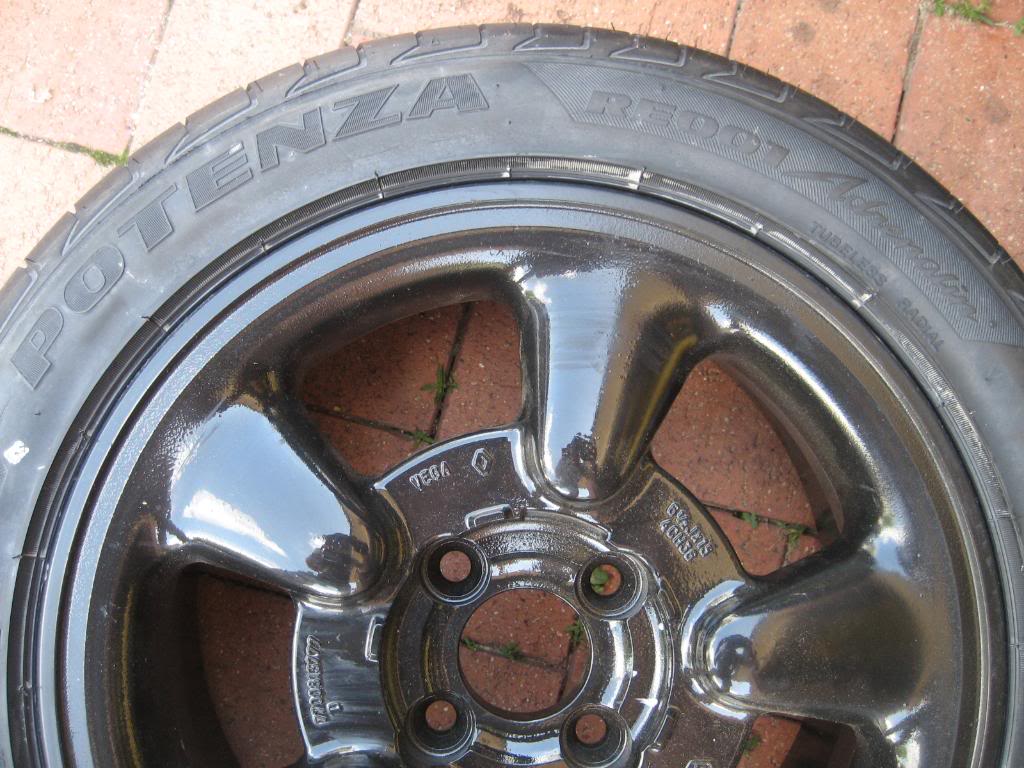
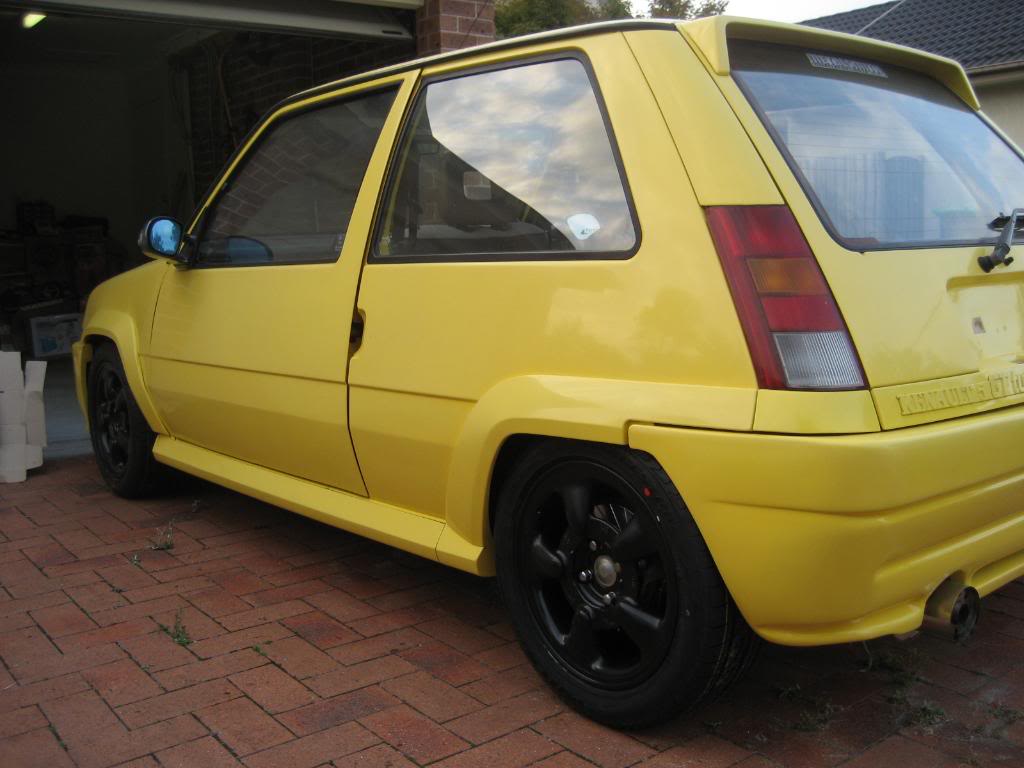
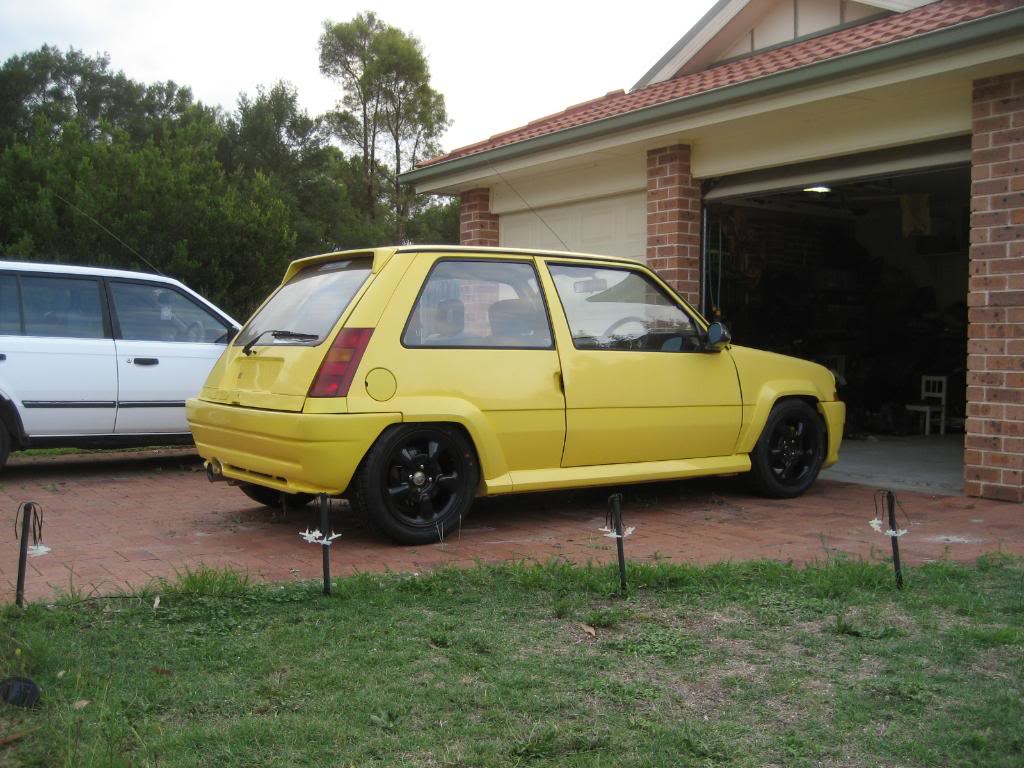
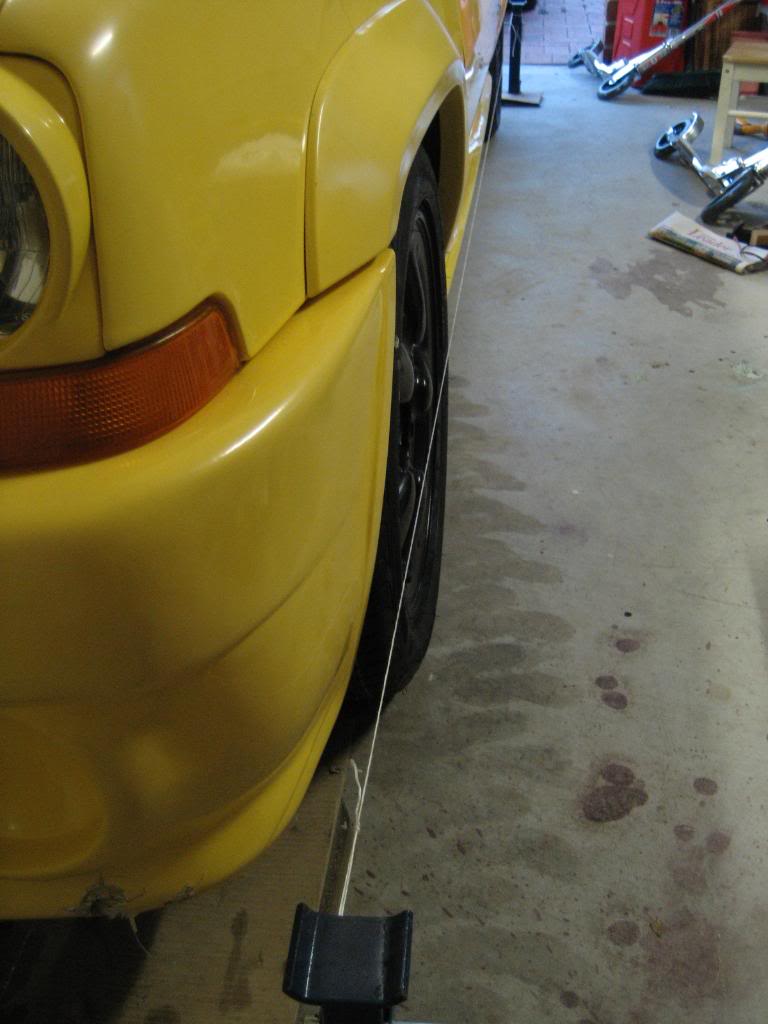
 (she's got an old Mustang) so I've decided to paint my wheels black until I can afford some good quality light weight rims.
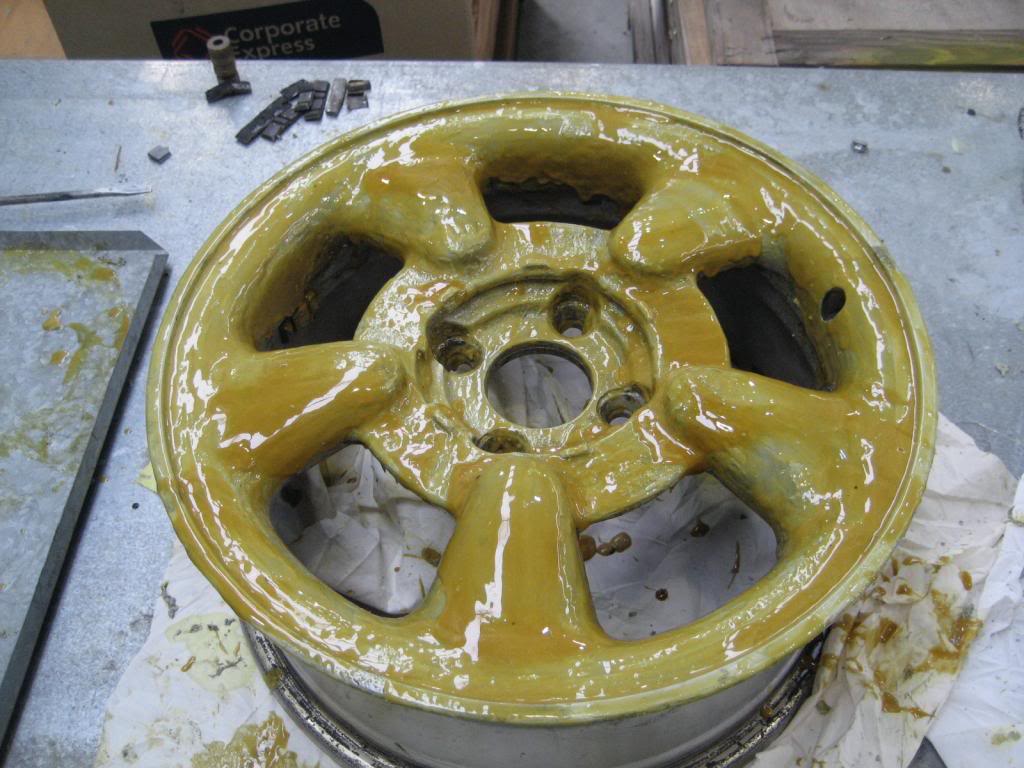
 . Tried emailing several times but it's ok to fob me off as I'm on the other side of the world!!!


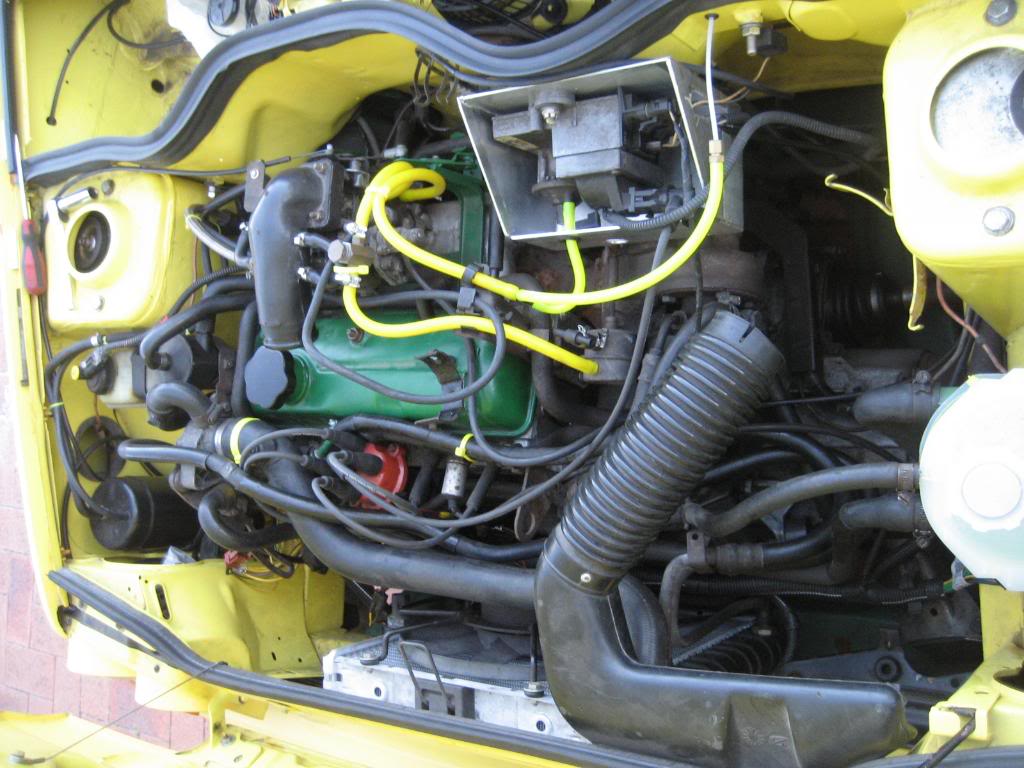
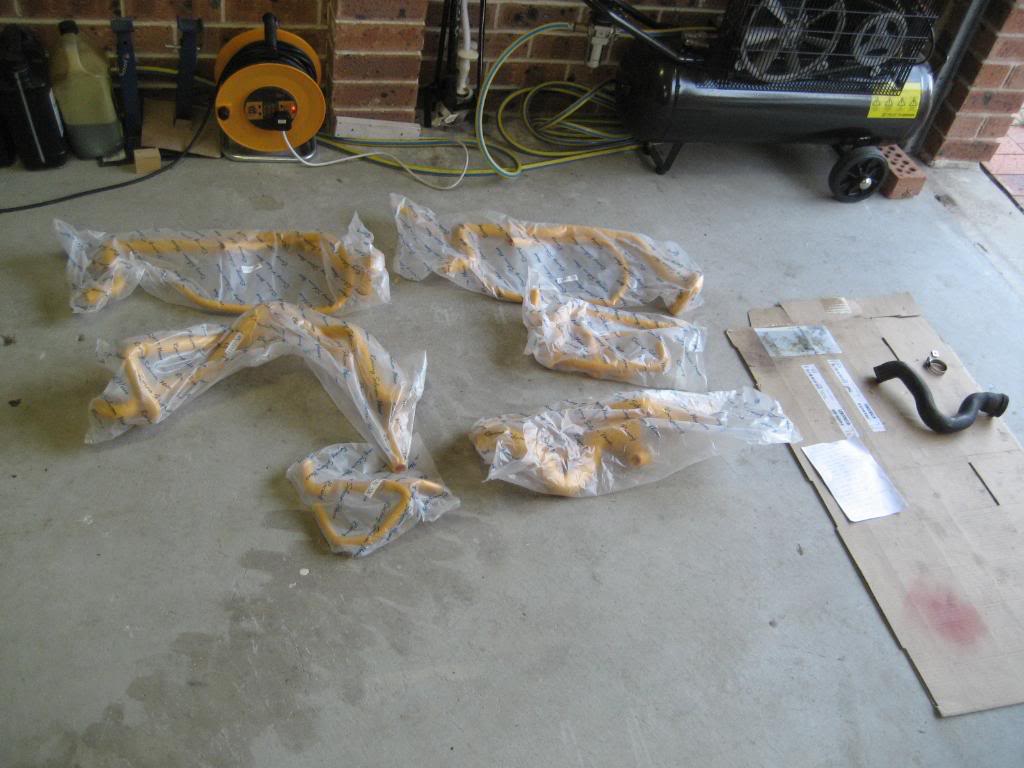
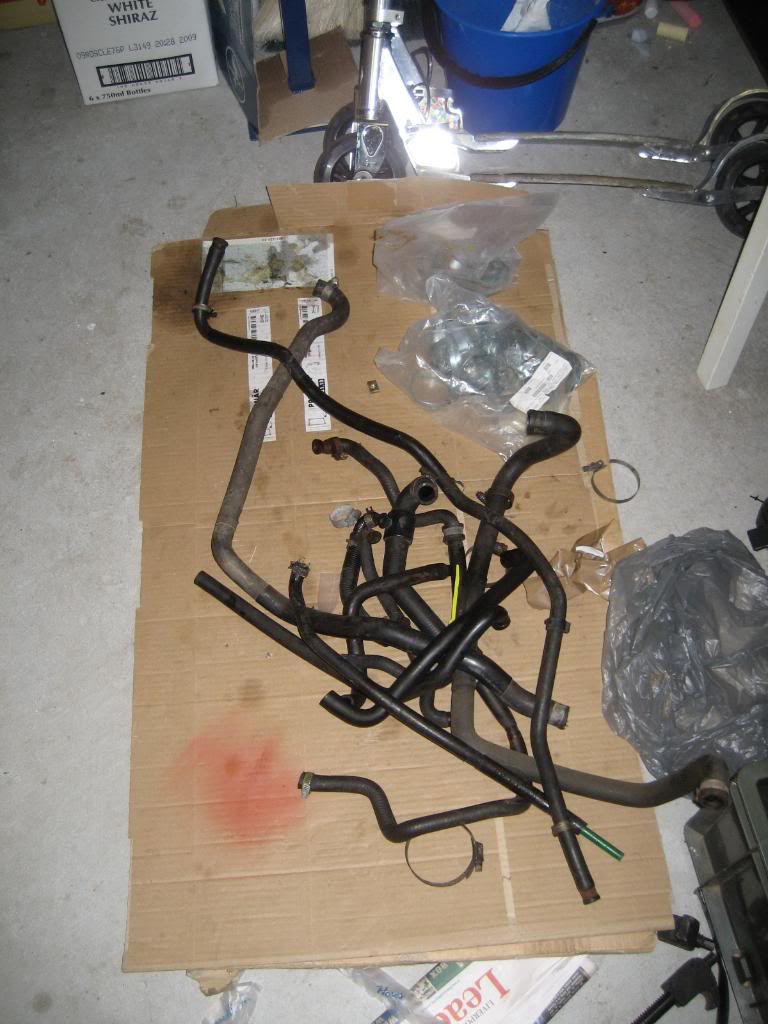
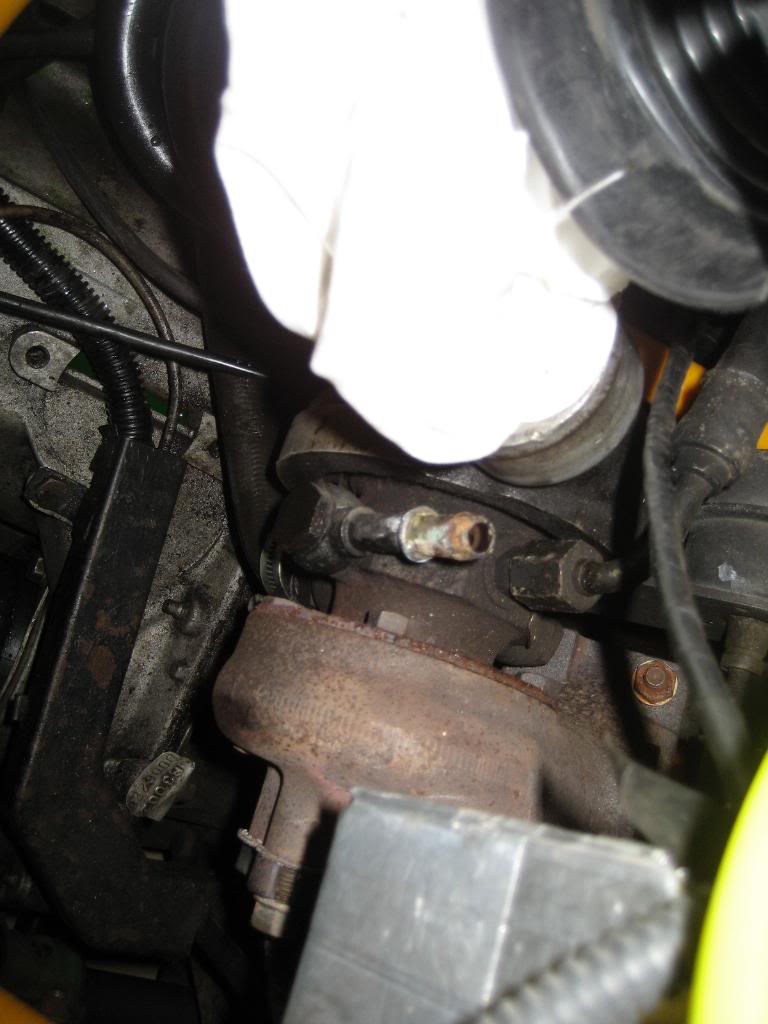
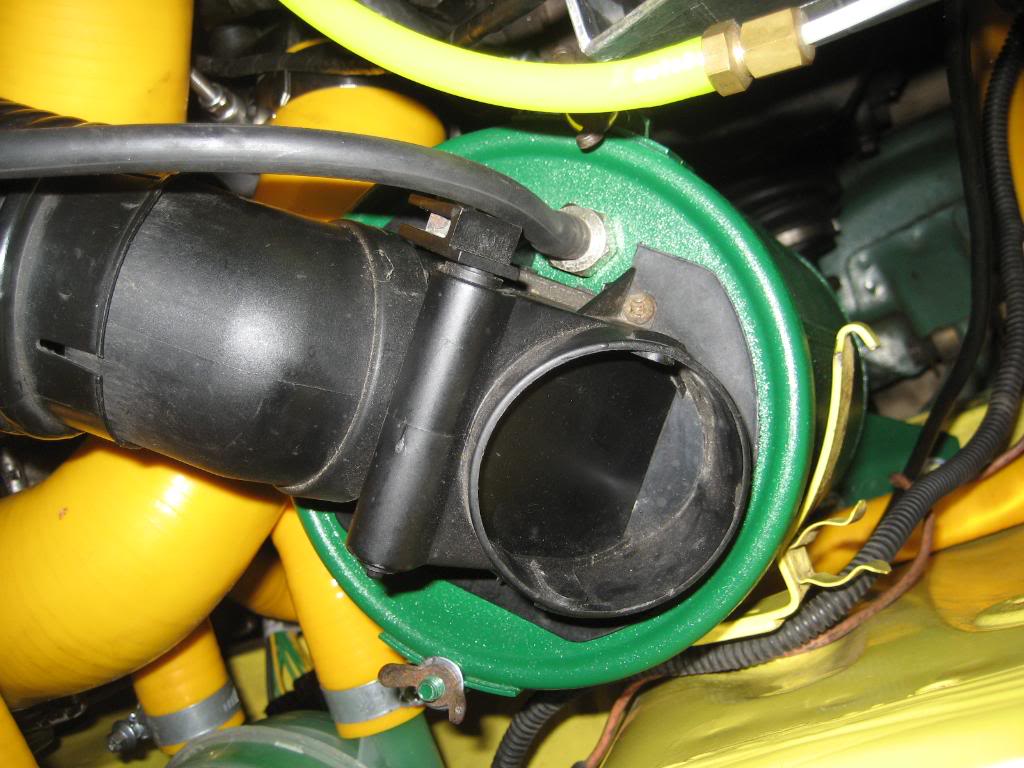
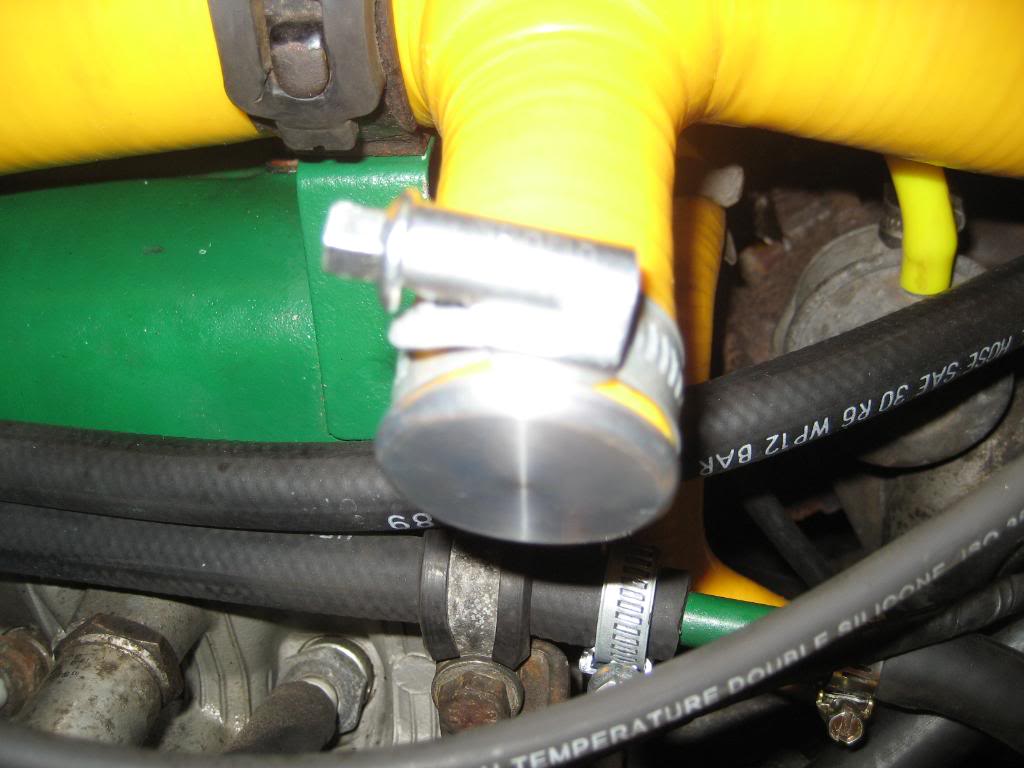
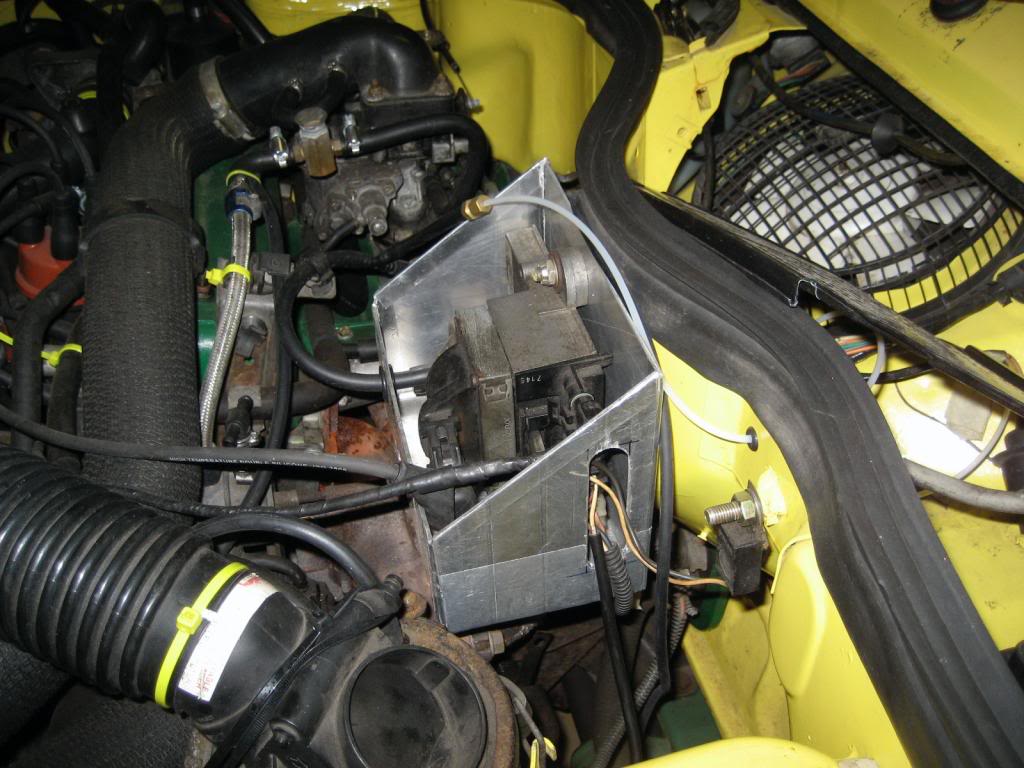
 This means I don't have the turbo water hoses.